5-12
Installing and Configuring System Board Options
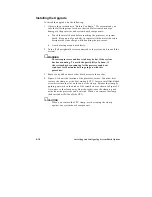
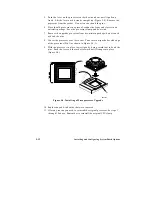
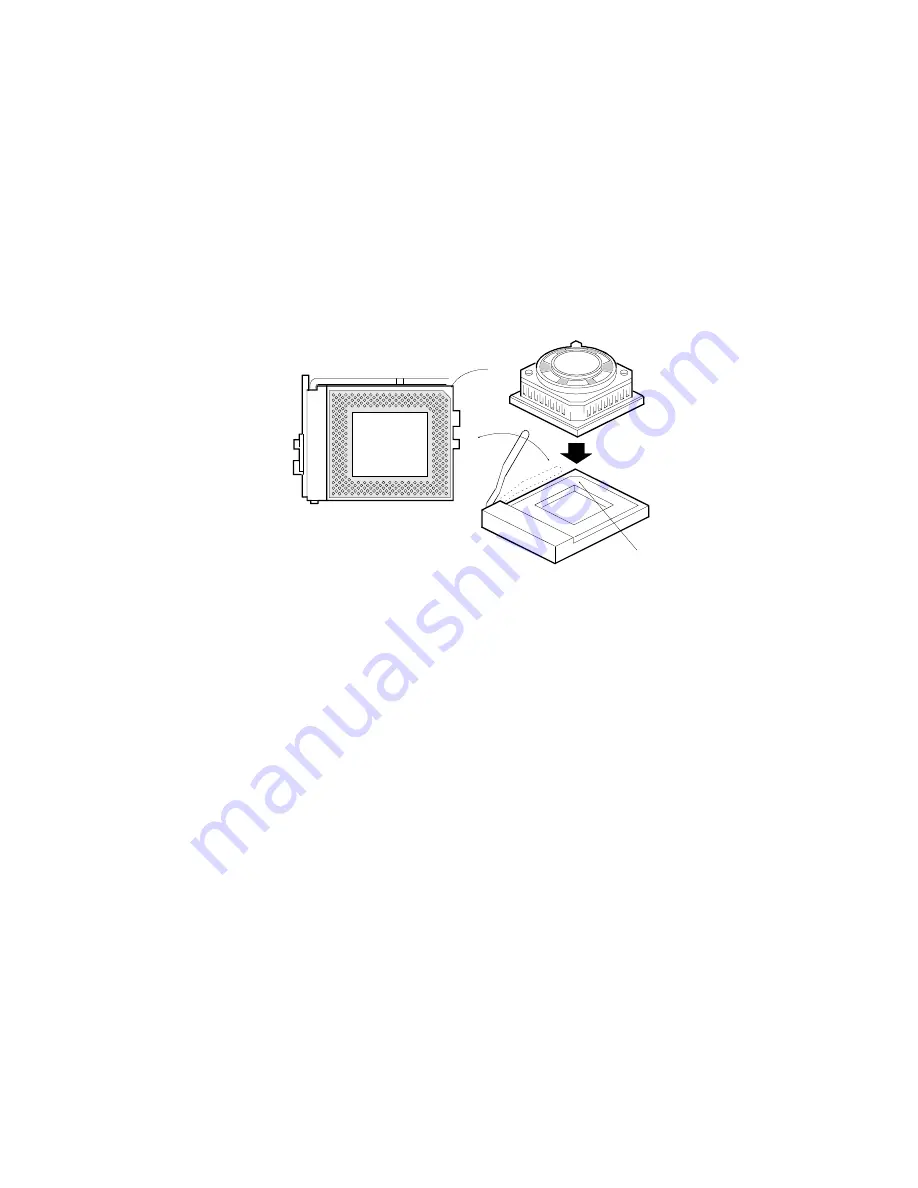
5. Push the lever on the processor socket down and out until it pulls up
freely. Lift the lever until it stands straight up (Figure 5-4). Remove the
processor from the socket. Do not touch or bend the pins.
6. Place the old processor in a piece of conductive foam and store it in an
antistatic package. Save the processor clamp and heat sink.
7. Remove the upgrade processor from its antistatic package; do not touch
or bend the pins.
8. Center the processor over the socket. Take care to align the beveled edge
of the processor (Pin 1) as shown in Figure 5-4, A.
9. With the processor in place, lower it gently, being careful not to bend the
pins. Push the lever on the socket forward until it snaps into place
(Figure 5-4).
OM04466
A
A
Figure 5-4. Installing a Microprocessor Upgrade
10. Replace any add-in boards that were removed.
11. If for any reason you need to reinstall the original processor, do steps 1
through 10 above. Remember to reinstall the original CPU clamp.
Summary of Contents for apricot VS660
Page 1: ...SYSTEM PRODUCT GUIDE VS660 apricot MITSUBISHI ELECTRIC ...
Page 2: ...Mini Tower System Product Guide ...
Page 51: ......
Page 55: ...4 4 Taking Your System Apart OM04061 A B A Figure 4 1 Removing the Side cover ...
Page 75: ......
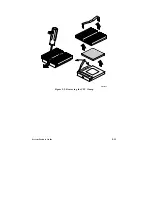
Page 86: ...System Product Guide 5 11 OM03834 Figure 5 3 Removing the CPU Clamp ...
Page 138: ......
Page 139: ......
Page 141: ......
Page 145: ......

