System Preparation 3-9
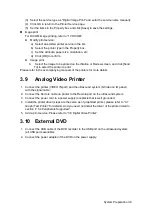
(3) Select the service type as "Digital Image Print" and enter the service name manually.
(4) Click OK to return to the Printer Service page.
(5) Set the items in the Property box and click [Save] to save the settings.
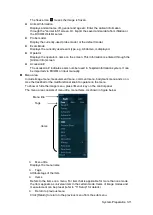
Image print
For DICOM image printing, refer to “10 DICOM”.
Modify print service:
a) Select an existed printer service in the list.
b) Select the printer type in the Property box.
c) Set the attribute: paper size, orientation, etc.
d) Click [OK] to confirm.
Image print
Select the image to be printed on the iStation or Review screen, and click [Send
To] to select the printer to print.
Please refer to the accompanying manuals of the printers for more details.
3.9
Analog Video Printer
1. Connect the printer (VIDEO IN port) and the ultrasound system (S-Video on IO panel)
with the signal cable;
2. Connect the Remote cable on printer to the Remote port on the ultrasound system.
3. Connect the power cord to a power supply receptacle that is well grounded.
4. Install th
e printer driver (steps are the same as of graph/text printer, please refer to “3.7
” for details). And you need not install the driver of the printer listed in
section “2.5.4 Peripherals Supported”.
5. Add a print service. Please refer to
3.10 External DVD
1. Connect the USB cable of the DVD recorder to the USB port on the ultrasound system
(all USB ports available).
2. Connect the power adapter of the DVD on the power supply.
Summary of Contents for DP-50 Exp Vet
Page 2: ......
Page 34: ...2 6 System Overview 2 6 Introduction of Each Unit Right View Left View...
Page 42: ......
Page 68: ......
Page 128: ......
Page 148: ......
Page 166: ...10 18 DICOM For details on tast manager see 9 6 Animal Task Manager...
Page 180: ......
Page 220: ......
Page 224: ......
Page 236: ......
Page 242: ......
Page 248: ......
Page 342: ...D 2 Printer Adapter Type Model SONY X898MD...
Page 343: ...P N 046 017713 02 1 0...


