DICOM 10-13
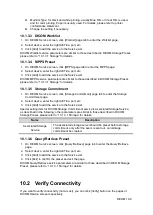
(2) Set a default print server.
a) Enter the DICOM Service Prese
t screen via “[Setup]→ [DICOM Preset] →
[DICOM Service]”.
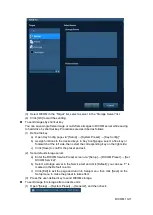
b) Click [Print] to open the Print page.
c)
Select a Print server in the Service List and click [Default]; you can see “Y” is
marked in the Default column.
d) Click [Exit] to exit the page and return to Setup menu, then click [Save] on the
Setup menu to make the preset to take effect.
(3) After finishing presets, you can perform image scanning, each time you press <End
Exam> on the control panel, the system will send the image to the default DICOM
print server for printing.
10.3.3 DICOM Worklist
After successfully connected DICOM Worklist server with ultrasound system, you can query
animal records from Worklist server, and then import the desired information to your system.
To query animal information via Worklist server:
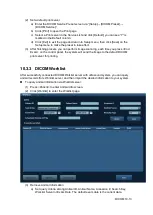
(1) Press <Patient> to enter Animal Info screen.
(2) Click [Worklist] to enter the Worklist page.
(3) Retrieve Animal Information
a) Set query criteria among Animal ID, Animal Name, Accession #, Search Key,
Worklist Server or Exam Date. The default exam date is the current date.
Summary of Contents for DP-50 Exp Vet
Page 2: ......
Page 34: ...2 6 System Overview 2 6 Introduction of Each Unit Right View Left View...
Page 42: ......
Page 68: ......
Page 128: ......
Page 148: ......
Page 166: ...10 18 DICOM For details on tast manager see 9 6 Animal Task Manager...
Page 180: ......
Page 220: ......
Page 224: ......
Page 236: ......
Page 242: ......
Page 248: ......
Page 342: ...D 2 Printer Adapter Type Model SONY X898MD...
Page 343: ...P N 046 017713 02 1 0...


