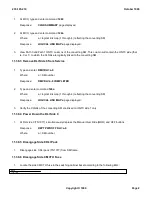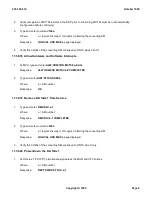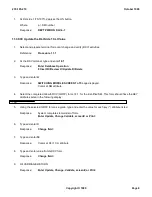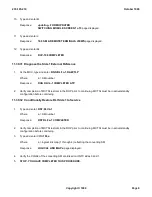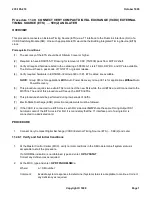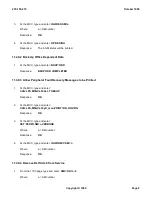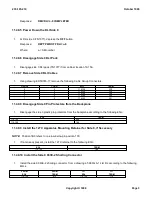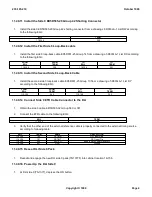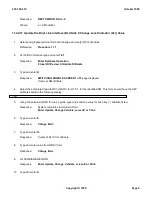
11.39.3 Remove DLI Side 0 from Service
1.
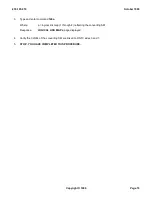
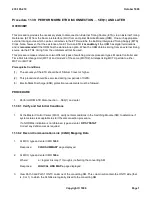
Type and enter:
RMV:DLI=a-0
Where:
a = SM number
Response:
RMV DLI=a-0 COMPLETED
2.
Type and enter CMD
126a
Where:
a = logical link map (1 through 4) reflecting the converting SM
Response:
LOGICAL LINK MAP a
page displayed.
3.
Verify the CLNKs of the converting SM are linked to ONTC side 1 only.
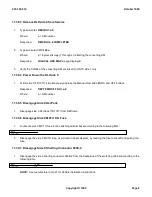
11.39.4 Power Down the DLI Side 0
1.
At DLI side 0 (TN1077), simultaneously depress the Manual Over Ride (MOR) and OFF buttons.
Response:
REPT PWR OFF DLI=a-0
Where:
a = SM number
11.39.5 Disengage Side 0 DLI Pack
1.
Disengage side 0 DLI pack (TN1077) from SM frame.
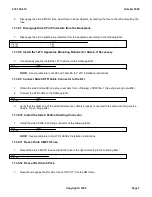
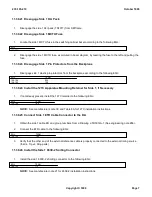
11.39.6 Disengage Side 0 MCTU DLI Fuse
1.
Locate the side 0 MCTU fuse in the switching cabinet bezel according to the following EQL:
EQL
119-156
2.
Disengage the side 0 MCTU fuse, as pictured in bezel diagram, by twisting the fuse to the left and pulling the
fuse.
11.39.7 Disengage Side 0 Shorting Connector 963E-2
1.
Disengage the side 0 shorting connector 963E-2 from the backplane of the switching cabinet according to the
following EQL:
EQL
TERM
119-156
112
NOTE:
See manufacturer note 21 for 963E-2 installation instructions.
235-105-210
October 1999
Copyright © 1999
Page 2
Summary of Contents for 5ESS-2000
Page 96: ...235 105 210 October 1999 Copyright 1999 Page 2 ...
Page 184: ...235 105 210 October 1999 Copyright 1999 Page 3 ...
Page 300: ...13 STOP YOU HAVE COMPLETED THIS PROCEDURE 235 105 210 October 1999 Copyright 1999 Page 55 ...
Page 339: ...7 STOP YOU HAVE COMPLETED THIS PROCEDURE 235 105 210 October 1999 Copyright 1999 Page 13 ...
Page 342: ...235 105 210 October 1999 Copyright 1999 Page 2 ...
Page 359: ...235 105 210 October 1999 Copyright 1999 Page 5 ...
Page 609: ...2 STOP YOU HAVE COMPLETED THIS PROCEDURE 235 105 210 October 1999 Copyright 1999 Page 12 ...
Page 676: ...235 105 210 October 1999 Copyright 1999 Page 9 ...
Page 792: ...3 STOP YOU HAVE COMPLETED THIS PROCEDURE 235 105 210 October 1999 Copyright 1999 Page 9 ...
Page 799: ...Figure 11 36 3 1 Cleaning Points 235 105 210 October 1999 Copyright 1999 Page 7 ...
Page 801: ...235 105 210 October 1999 Copyright 1999 Page 9 ...
Page 839: ...2 STOP YOU HAVE COMPLETED THIS PROCEDURE 235 105 210 October 1999 Copyright 1999 Page 16 ...
Page 999: ...2 STOP YOU HAVE COMPLETED THIS PROCEDURE 235 105 210 October 1999 Copyright 1999 Page 13 ...
Page 1008: ...Figure 11 55 1 CTSNS DIP Switch Settings 235 105 210 October 1999 Copyright 1999 Page 2 ...
Page 1011: ...235 105 210 October 1999 Copyright 1999 Page 5 ...
Page 1053: ...235 105 210 October 1999 Copyright 1999 Page 15 ...
Page 1289: ...Figure 15 17 2 AMATPS Data Link 235 105 210 October 1999 Copyright 1999 Page 2 ...
Page 1292: ...235 105 210 October 1999 Copyright 1999 Page 5 ...
Page 1303: ...9 STOP YOU HAVE COMPLETED THIS PROCEDURE 235 105 210 October 1999 Copyright 1999 Page 2 ...
Page 1360: ...Figure 15 47 2 Typical SCANS III Link Diagram 235 105 210 October 1999 Copyright 1999 Page 2 ...
Page 1372: ...235 105 210 October 1999 Copyright 1999 Page 2 ...
Page 1374: ...235 105 210 October 1999 Copyright 1999 Page 4 ...
Page 1421: ...Table 1 1 O M Checklist 235 105 210 October 1999 Copyright 1999 Page 3 ...

