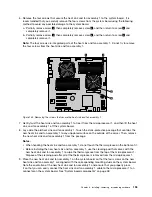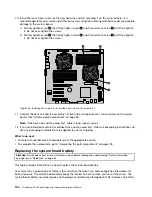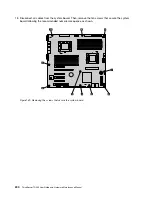
What to do next:
• To work with another piece of hardware, go to the appropriate section.
• To complete the replacement, go to “Completing the parts replacement” on page 205.
• After a system board is replaced, do the following:
1. Start the Setup Utility program by pressing the F1 key, and then check the BIOS and BMC version.
2. Go to http://www.lenovo.com/drivers and follow the instructions on the Web page to download the
latest version of firmware. Then, install the firmware to your server.
3. Update the machine type, model number, and serial number of the system board. Either you will
be prompted to do this while upgrading the BIOS, or you can locate the files for updating the
VPD within the DOS BIOS package. For some servers, the VPD utility is available for download
at: http://www.lenovo.com/drivers.
Note:
If you want to use the Firmware Updater program, ensure that it is the latest version. To get the
latest version of the Firmware Updater program, go to http://www.lenovo.com/drivers, locate different
versions of the program, and then identify the latest version by comparing readme files. If the latest
version of the Firmware Updater program does not contain the latest version of the driver you need,
download that driver separately from the Web page and install it individually to your server.
Completing the parts replacement
This topic provides instructions to help you complete the parts replacement and turn on your server.
To complete the parts replacement, properly route the cables inside the server, reinstall the server cover,
reconnect all the external cables. For some devices, update the firmware and run the Setup Utility program
to do further setup.
Reinstalling the server cover and reconnecting cables
Attention:
Do not open your server or attempt any repair before reading and understanding “Safety information”
on page iii and “Guidelines” on page 83.
This topic provides instructions on how to reinstall the server cover and reconnect cables to your server.
Attention:
For proper cooling and airflow, reinstall the server cover before turning on the server. Operating
the server for extended periods of time (more than 30 minutes) with the server cover removed might
damage server components.
Before you begin, print all the related instructions or ensure that you can view the PDF version on another
computer for reference.
Note:
Depending on the model, your server might look slightly different from the illustrations in this topic.
To reinstall the server cover and reconnect cables to your server, do the following:
1. Ensure that all components have been reassembled correctly and that no tools or loose screws are
left inside your server.
2. Ensure that all internal cables are routed correctly and secured by any cable clips or ties in the server.
Keep cables clear of the hinges and sides of the server chassis to avoid interference with reinstalling
the server cover.
3. If you have removed the front bezel, reinstall it. See “Removing and reinstalling the front bezel” on
page 87.
Chapter 6
.
Installing, removing, or replacing hardware
205
Summary of Contents for 70B4
Page 16: ...4 ThinkServer TD340 User Guide and Hardware Maintenance Manual ...
Page 18: ...6 ThinkServer TD340 User Guide and Hardware Maintenance Manual ...
Page 94: ...82 ThinkServer TD340 User Guide and Hardware Maintenance Manual ...
Page 220: ...208 ThinkServer TD340 User Guide and Hardware Maintenance Manual ...
Page 230: ...218 ThinkServer TD340 User Guide and Hardware Maintenance Manual ...
Page 244: ...232 ThinkServer TD340 User Guide and Hardware Maintenance Manual ...
Page 245: ......
Page 246: ......

