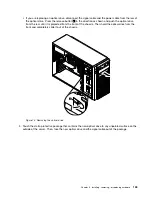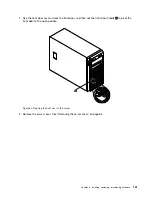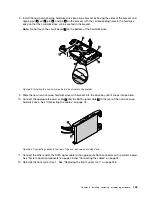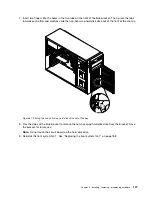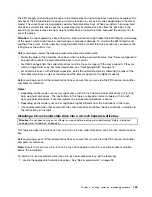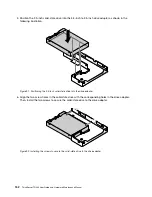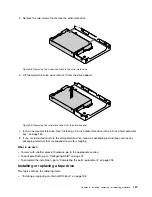
8. Install the new non-hot-swap hard disk drive into a blue bracket by flexing the sides of the bracket and
aligning pin
1
, pin
2
, pin
4
, and pin
5
on the bracket with the corresponding holes in the hard disk
drive so that the hard disk drive can be seated in the bracket.
Note:
Do not touch the circuit board
3
on the bottom of the hard disk drive.
Figure 82. Installing the non-hot-swap hard disk drive into the bracket
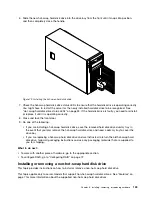
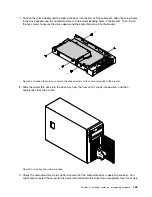
9. Slide the new non-hot-swap hard disk drive with bracket into the drive bay until it snaps into position.
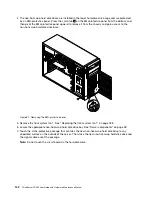
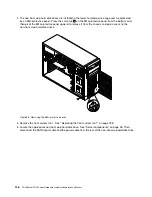
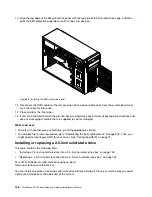
10. Connect the appropriate power cable
1
and the SATA signal cable
2
to the rear of the non-hot-swap
hard disk drive. See “Connecting the cables” on page 43.
Figure 83. Connecting cables to the rear of the non-hot-swap hard disk drive
11. Connect the other end of the SATA signal cable to the appropriate SATA connector on the system board.
See “System board components” on page 48 and “Connecting the cables” on page 43.
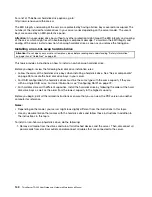
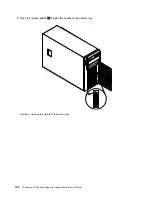
12. Reinstall the front system fan 1. See “Replacing the front system fan 1” on page 188.
Chapter 6
.
Installing, removing, or replacing hardware
143
Summary of Contents for 70B4
Page 16: ...4 ThinkServer TD340 User Guide and Hardware Maintenance Manual ...
Page 18: ...6 ThinkServer TD340 User Guide and Hardware Maintenance Manual ...
Page 94: ...82 ThinkServer TD340 User Guide and Hardware Maintenance Manual ...
Page 220: ...208 ThinkServer TD340 User Guide and Hardware Maintenance Manual ...
Page 230: ...218 ThinkServer TD340 User Guide and Hardware Maintenance Manual ...
Page 244: ...232 ThinkServer TD340 User Guide and Hardware Maintenance Manual ...
Page 245: ......
Page 246: ......

