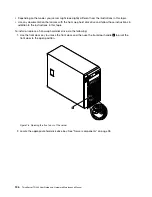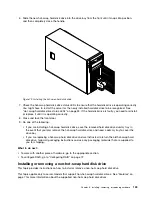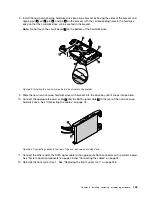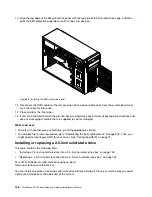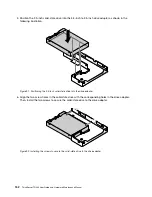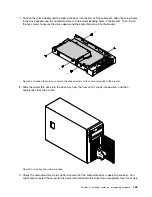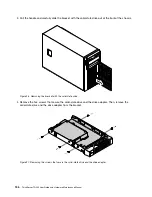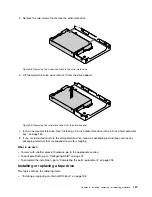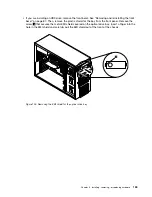
10. Align the top edge of the EMI-protective panel with the top side of the hard-disk-drive cage, and then
pivot the EMI-protective panel down until it snaps into position.
Figure 88. Installing the EMI-protective panel
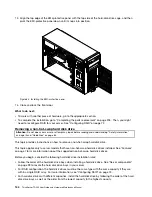
11. Disconnect the SATA cable for the removed non-hot-swap hard disk drive from the system board and
save the cable for future use.
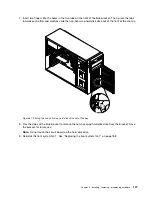
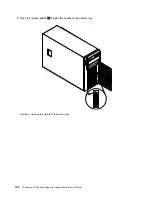
12. Close and lock the front door.
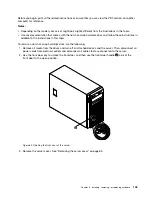
13. If you are instructed to return the old non-hot-swap hard disk drive, follow all packaging instructions and
use any packaging materials that are supplied to you for shipping.
What to do next:
• To work with another piece of hardware, go to the appropriate section.
• To complete the removal procedure, go to “Completing the parts replacement” on page 205. Then, you
might need to reconfigure RAID for your server. See “Configuring RAID” on page 72.
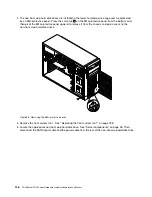
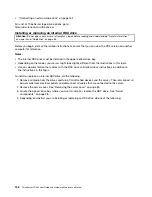
Installing or replacing a 2.5-inch solid-state drive
This topic contains the following items:
•
“Installing a 2.5-inch solid-state drive into a 3.5-inch hard-disk-drive bay” on page 149
•
“Replacing a 2.5-inch solid-state drive from a 3.5-inch hard-disk-drive bay” on page 154
For a list of ThinkServer solid-state drive options, go to:
http://www.lenovo.com/thinkserver
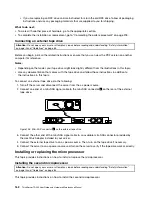
You can install or replace a hot-swap solid-state drive without turning off the server, which helps you avoid
significant interruption to the operation of the system.
148
ThinkServer TD340 User Guide and Hardware Maintenance Manual
Summary of Contents for 70B4
Page 16: ...4 ThinkServer TD340 User Guide and Hardware Maintenance Manual ...
Page 18: ...6 ThinkServer TD340 User Guide and Hardware Maintenance Manual ...
Page 94: ...82 ThinkServer TD340 User Guide and Hardware Maintenance Manual ...
Page 220: ...208 ThinkServer TD340 User Guide and Hardware Maintenance Manual ...
Page 230: ...218 ThinkServer TD340 User Guide and Hardware Maintenance Manual ...
Page 244: ...232 ThinkServer TD340 User Guide and Hardware Maintenance Manual ...
Page 245: ......
Page 246: ......


