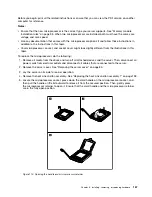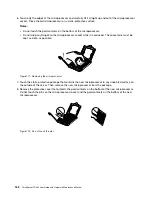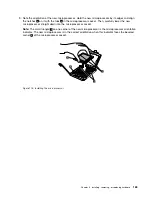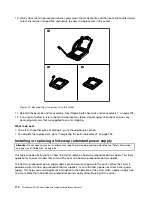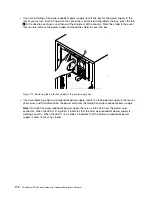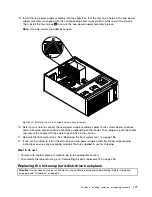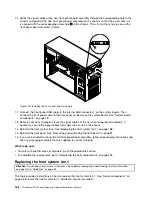
2. If you are replacing a hot-swap redundant power supply, press the release tab
1
in the direction as
shown and carefully pull the handle
2
at the same time to slide the failing hot-swap redundant power
supply out of the chassis.
Figure 116. Removing a hot-swap redundant power supply
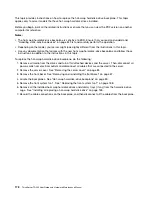
3. Touch the static-protective package that contains the new hot-swap redundant power supply to any
unpainted surface on the outside of the server. Then, remove the new hot-swap redundant power
supply from the package.
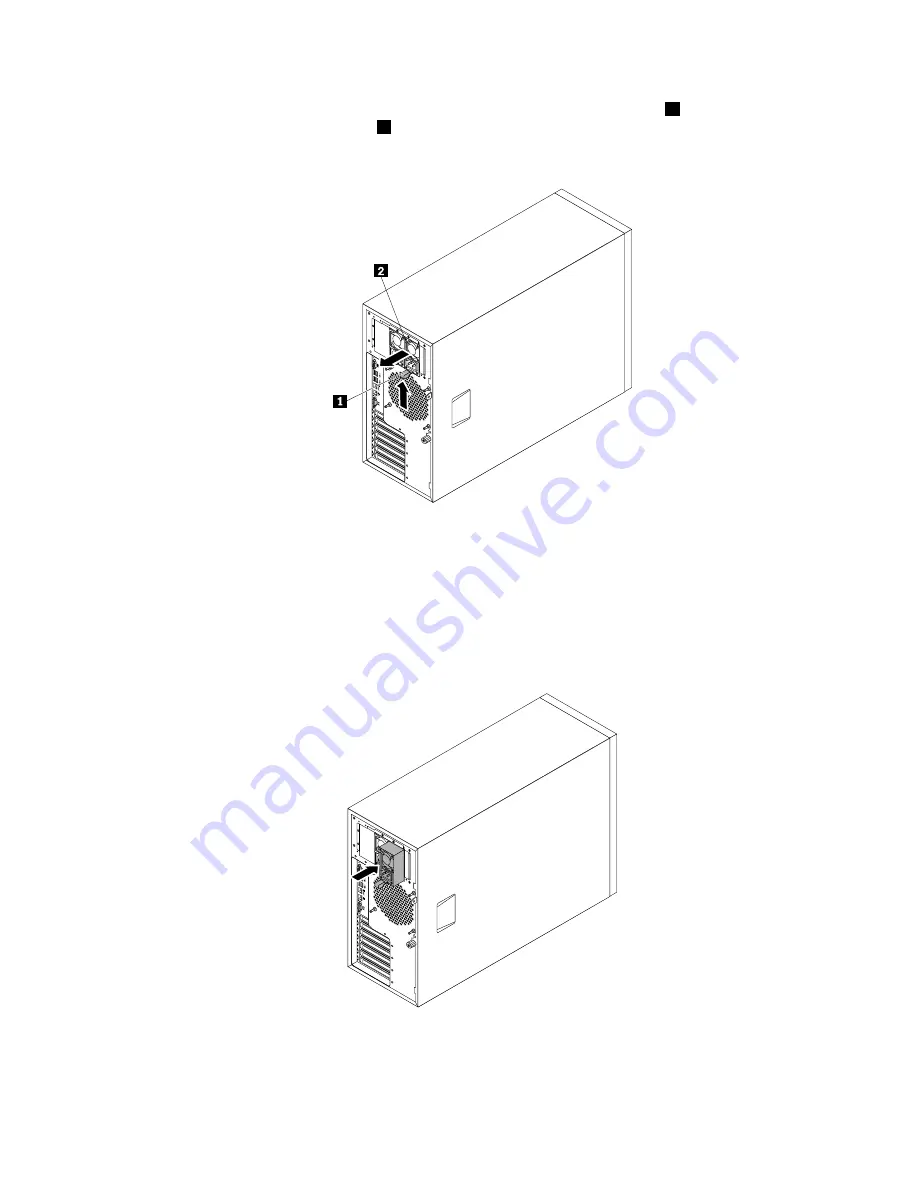
4. Note the orientation of the new hot-swap redundant power supply, and then slide it into the chassis until
it snaps into position.
Figure 117. Installing a hot-swap redundant power supply
Chapter 6
.
Installing, removing, or replacing hardware
173
Summary of Contents for 70B4
Page 16: ...4 ThinkServer TD340 User Guide and Hardware Maintenance Manual ...
Page 18: ...6 ThinkServer TD340 User Guide and Hardware Maintenance Manual ...
Page 94: ...82 ThinkServer TD340 User Guide and Hardware Maintenance Manual ...
Page 220: ...208 ThinkServer TD340 User Guide and Hardware Maintenance Manual ...
Page 230: ...218 ThinkServer TD340 User Guide and Hardware Maintenance Manual ...
Page 244: ...232 ThinkServer TD340 User Guide and Hardware Maintenance Manual ...
Page 245: ......
Page 246: ......

