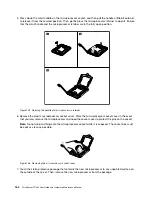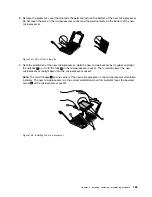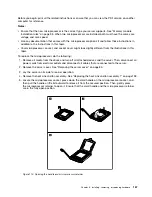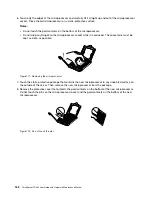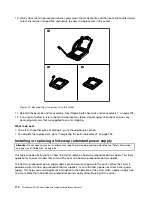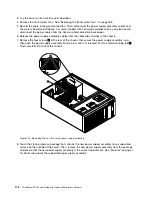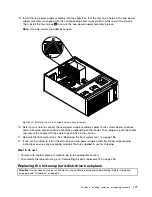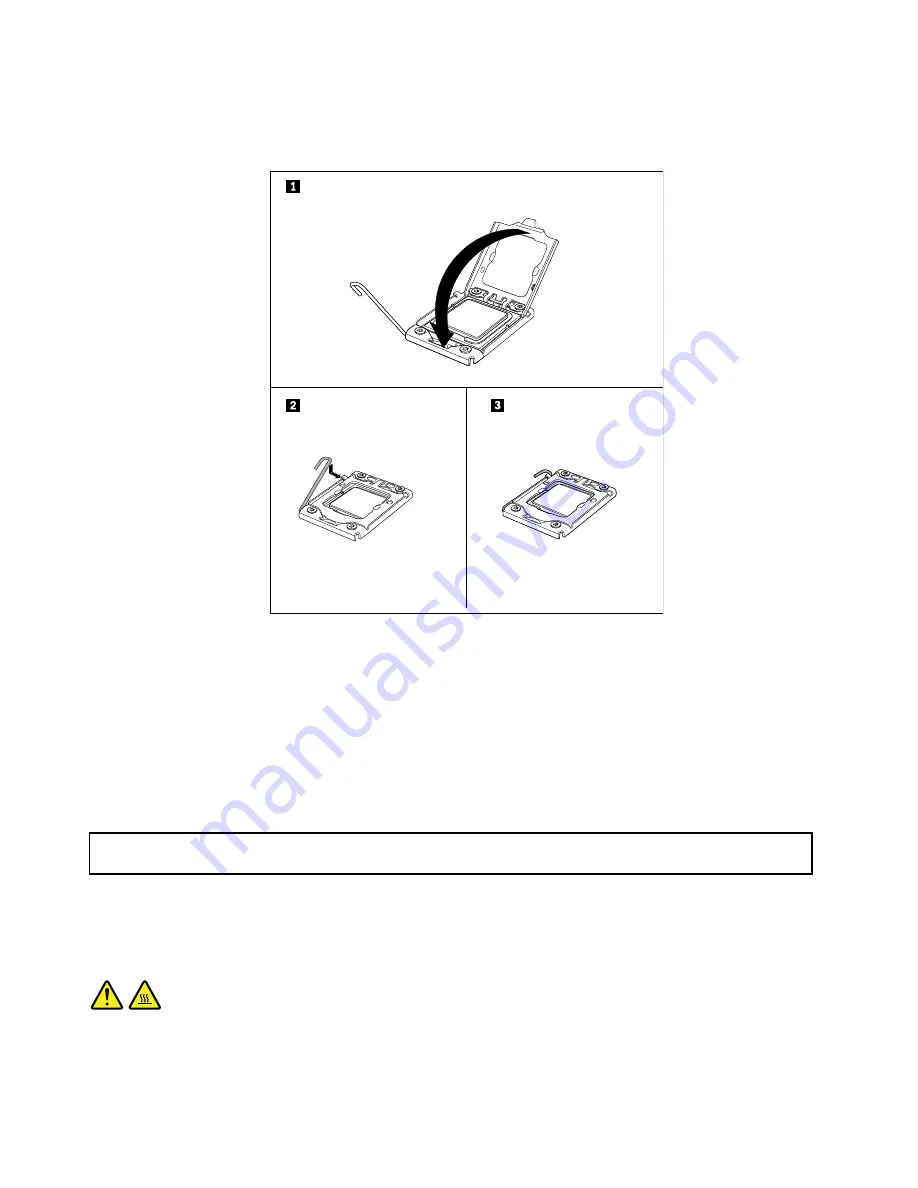
10. Gently close the microprocessor retainer, press down the small handle, and then push the handle inward
to lock the retainer into position and secure the new microprocessor in the socket.
Figure 109. Securing the microprocessor in the socket
11. Install the new heat sink and fan assembly that comes with the microprocessor option kit. See
“Replacing the heat sink and fan assembly 1” on page 193.
What to do next:
• To work with another piece of hardware, go to the appropriate section.
• To complete the installation, go to “Completing the parts replacement” on page 205.
Replacing the microprocessor
Attention:
Do not open your server or attempt any repair before reading and understanding “Safety information”
on page iii and “Guidelines” on page 83.
This topic provides instructions on how to replace the microprocessor.
CAUTION:
The heat sink and fan assembly and the microprocessor might be very hot. Turn off the server and
wait three to five minutes to let the server cool before removing the server cover.
166
ThinkServer TD340 User Guide and Hardware Maintenance Manual
Summary of Contents for 70B4
Page 16: ...4 ThinkServer TD340 User Guide and Hardware Maintenance Manual ...
Page 18: ...6 ThinkServer TD340 User Guide and Hardware Maintenance Manual ...
Page 94: ...82 ThinkServer TD340 User Guide and Hardware Maintenance Manual ...
Page 220: ...208 ThinkServer TD340 User Guide and Hardware Maintenance Manual ...
Page 230: ...218 ThinkServer TD340 User Guide and Hardware Maintenance Manual ...
Page 244: ...232 ThinkServer TD340 User Guide and Hardware Maintenance Manual ...
Page 245: ......
Page 246: ......

