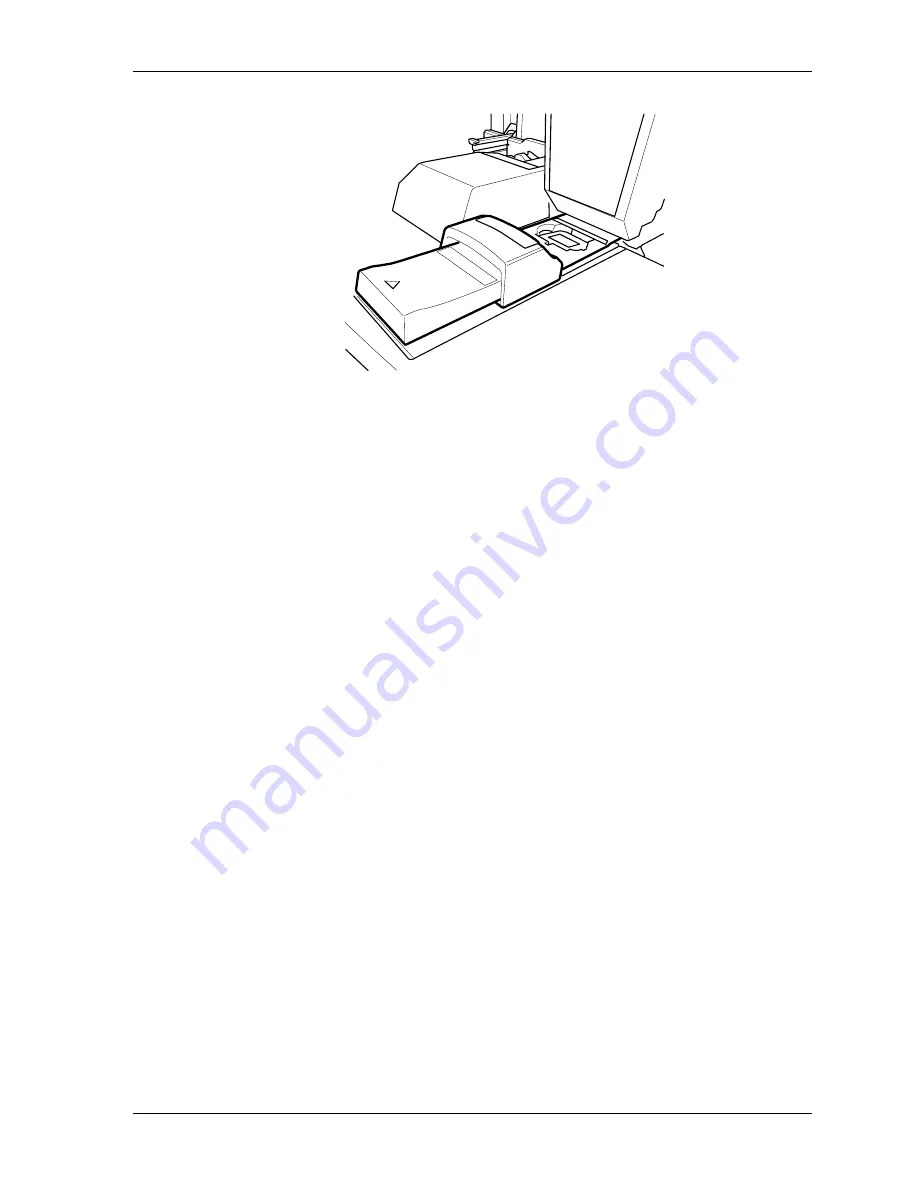
Production
5. Insert the slide, emulsion side down, and push in the top section of the carrier.
•
The system scans the slide (prescan and main scan) and displays it on the
screen.
•
The top part of the carrier moves out again.
6. If you inserted the slide the wrong way, the image might be reversed. Touch the
icon next to the Preview image to flip the image.
7. Make any necessary corrections to the image. (See Using Preview on Page 6-42
for more information.)
8. Touch
Print.
The slide is printed with all entered modifications.
9. Continue inserting slides, making any necessary corrections until the order is
complete.
10. Touch Order end.
Order end is always initiated manually for slide prints.
NOTE:
Finishing the Order
1. If required, touch End of order.
The end of order must be initiated manually in the Manual Positioning and Slide
Print modes. In the other print modes, the end of order has to be initiated
manually only if the Automatic end of order function has been disabled. (See
Other Settings in Chapter 4.)
2. After printing, remove the finished prints of an order from the sorter and put them
in the order bag, along with the corresponding film.
KODAK PROFESSIONAL SRP 30 Laser Printer
6-41
Summary of Contents for SRP 30
Page 1: ...SRP30 LASERPRINTER OPERATOR S GUIDE ...
Page 2: ...Operator s Guide KODAK PROFESSIONAL SRP 30 Laser Printer P N 6B7503 December 2002 ...
Page 19: ...Operator s Guide 1 4 KODAK PROFESSIONAL SRP 30 Laser Printer ...
Page 54: ...Overview Test Menu Piko KODAK PROFESSIONAL SRP 30 Laser Printer 2 35 ...
Page 56: ...Overview End of Work Menu Login Timer KODAK PROFESSIONAL SRP 30 Laser Printer 2 37 ...
Page 69: ...Operator s Guide 3 2 KODAK PROFESSIONAL SRP 30 Laser Printer ...
Page 159: ...Operator s Guide 5 2 KODAK PROFESSIONAL SRP 30 Laser Printer ...
Page 171: ...Operator s Guide 5 14 KODAK PROFESSIONAL SRP 30 Laser Printer ...
Page 307: ...Operator s Guide 8 54 KODAK PROFESSIONAL SRP 30 Laser Printer ...
Page 308: ......


