Operator’s Guide
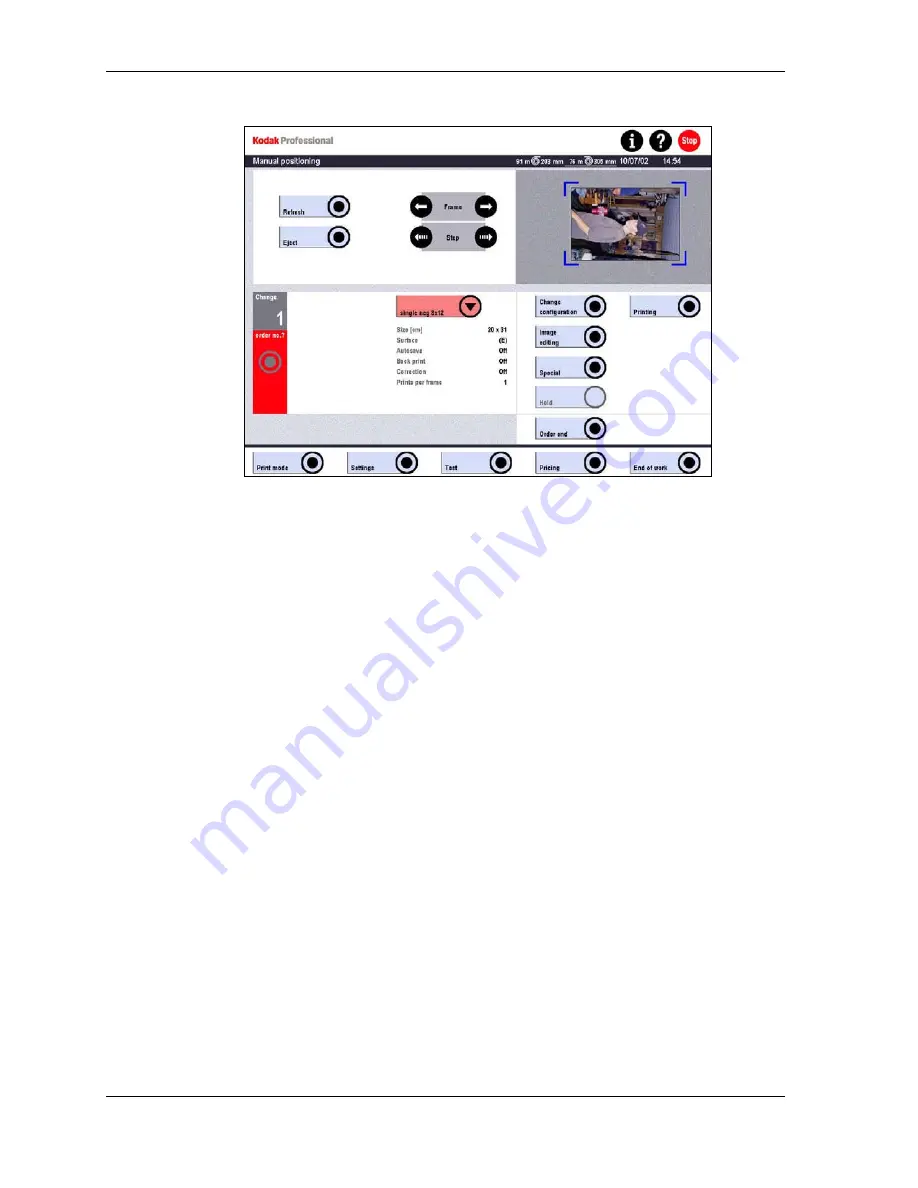
4. If the displayed frame is not the one you want, or is not in the exact position you
want, you must position it manually.
•
For film strips, touch Frame to move the film strip one frame at a time.
•
For film pieces, touch Step to move the frame in small steps. Preview moves
the outline of the frame accordingly to let you see the exact position.
5. Touch
Refresh.
The frame is scanned again and the Preview is refreshed.
6. Repeat the positioning and refreshing operation until you obtain the result you
want.
7. If necessary, change the configuration for the current frame with Change config.
If several configurations are mixed in an order, the data of the first configuration
used applies for Autosave and Back Print for the whole order.
8. Make any necessary corrections to the image. (See Using Preview on Page 6-42
for more information.)
9. Touch
Print.
The frame is printed with all entered modifications.
10. Touch Eject to remove the film strip or film piece.
•
Film strips are ejected into the film box below the scanner.
•
Film pieces are moved to a position in which you can remove the film mask
without damaging the film piece.
6-28
KODAK PROFESSIONAL SRP 30 Laser Printer
Summary of Contents for SRP 30
Page 1: ...SRP30 LASERPRINTER OPERATOR S GUIDE ...
Page 2: ...Operator s Guide KODAK PROFESSIONAL SRP 30 Laser Printer P N 6B7503 December 2002 ...
Page 19: ...Operator s Guide 1 4 KODAK PROFESSIONAL SRP 30 Laser Printer ...
Page 54: ...Overview Test Menu Piko KODAK PROFESSIONAL SRP 30 Laser Printer 2 35 ...
Page 56: ...Overview End of Work Menu Login Timer KODAK PROFESSIONAL SRP 30 Laser Printer 2 37 ...
Page 69: ...Operator s Guide 3 2 KODAK PROFESSIONAL SRP 30 Laser Printer ...
Page 159: ...Operator s Guide 5 2 KODAK PROFESSIONAL SRP 30 Laser Printer ...
Page 171: ...Operator s Guide 5 14 KODAK PROFESSIONAL SRP 30 Laser Printer ...
Page 307: ...Operator s Guide 8 54 KODAK PROFESSIONAL SRP 30 Laser Printer ...
Page 308: ......


