JANOME Embroidery Software Instruction Book
Chapter 10 Embroidery Stamps and Motifs
80
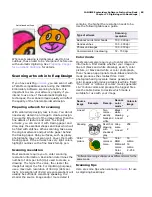
Try this! You can also change the position, size
and orientation of Motif Fill objects by moving,
scaling and transforming them as you do any other
embroidery object. See
Arranging and
Transforming Objects
for details.
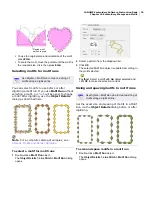
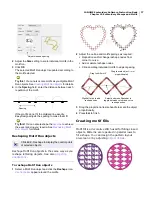
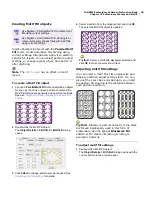
To lay out motif fills on-screen
1
Digitize a Motif Fill object from scratch or double-click
an existing one. See
Creating Motif Fill objects
for
details.
The
Object Details > Fill Stitch > Motif Fill
dialog
opens.
2
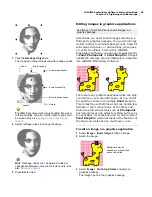
Click
Layout
.
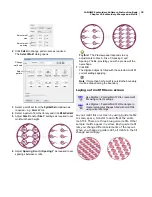
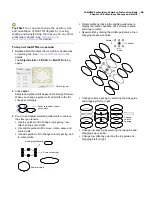
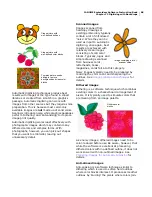
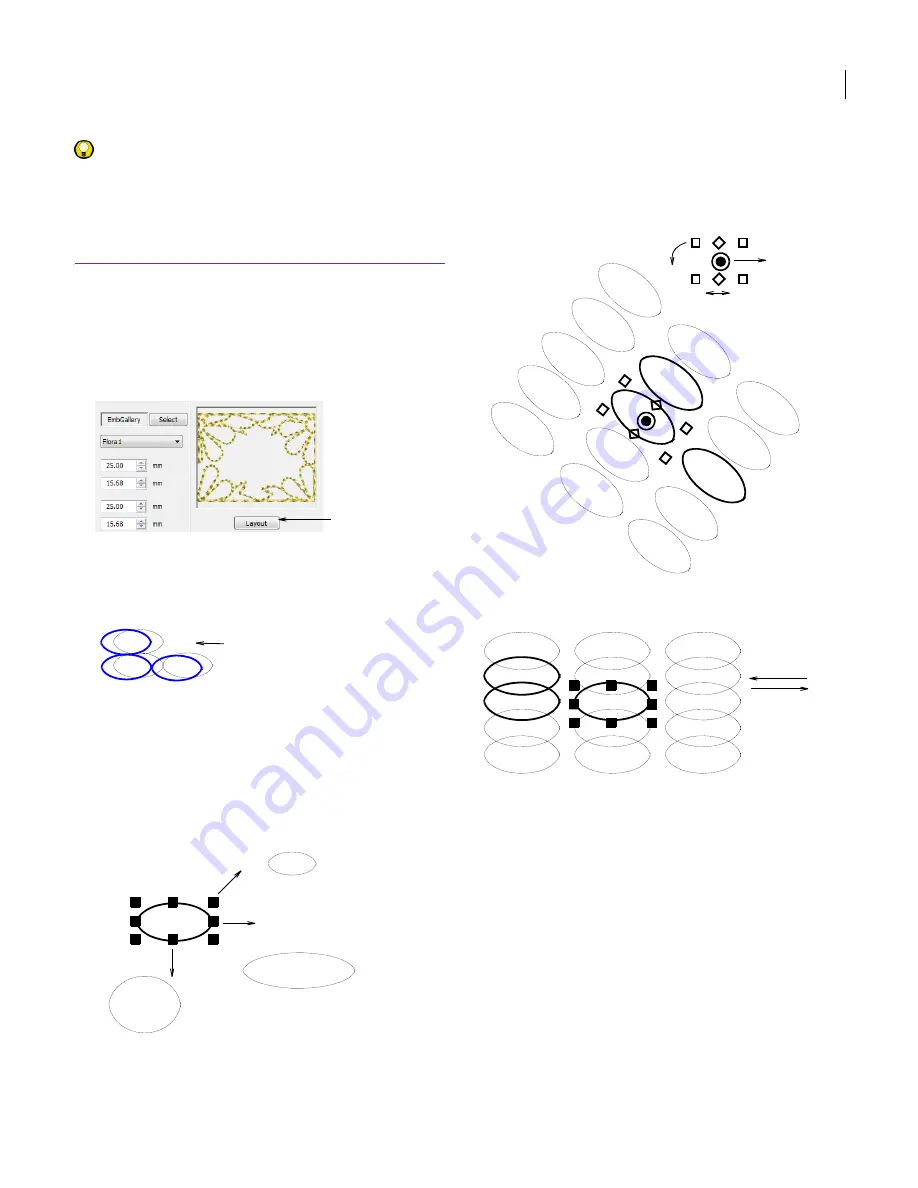
Sample and guide motifs appear in the Design Window.
When you change a guide motif, all motifs in the fill
change accordingly.
3
Zoom in and adjust selected guide motifs to achieve
the effect you require.
Use top guide motif to change row spacing, row
offset, and to scale motifs.
Use middle guide motif to move, rotate, skew, and
scale motifs.
Use side guide motif to change column spacing, and
to scale motifs.
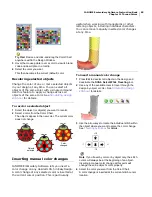
Rotate motifs by clicking the middle guide twice to
display the rotation handles. Click a corner handle
and drag to rotate.
Skew motifs by clicking the middle guide twice, then
dragging the skew handles.
Change column spacing by selecting the side guide
and dragging it left or right.
Change row spacing by selecting the top guide and
dragging it up or down.
Change row offset by selecting the top guide and
dragging it left or right.
Click to lay out
Zoom in to select correct
guide motif
Scale proportionally
Scale horizontally
Scale vertically
Rotate
Skew
Anchor
Change
column
spacing
Summary of Contents for Digitizer MB
Page 236: ...234 Part IX Software Feature Table...


