JANOME Embroidery Software Instruction Book
Chapter 22 Editing Embroidery Lettering
170
Editing lettering
When you have created a lettering object, you can
select it and make changes to it directly on-screen
or by adjusting
object details
.
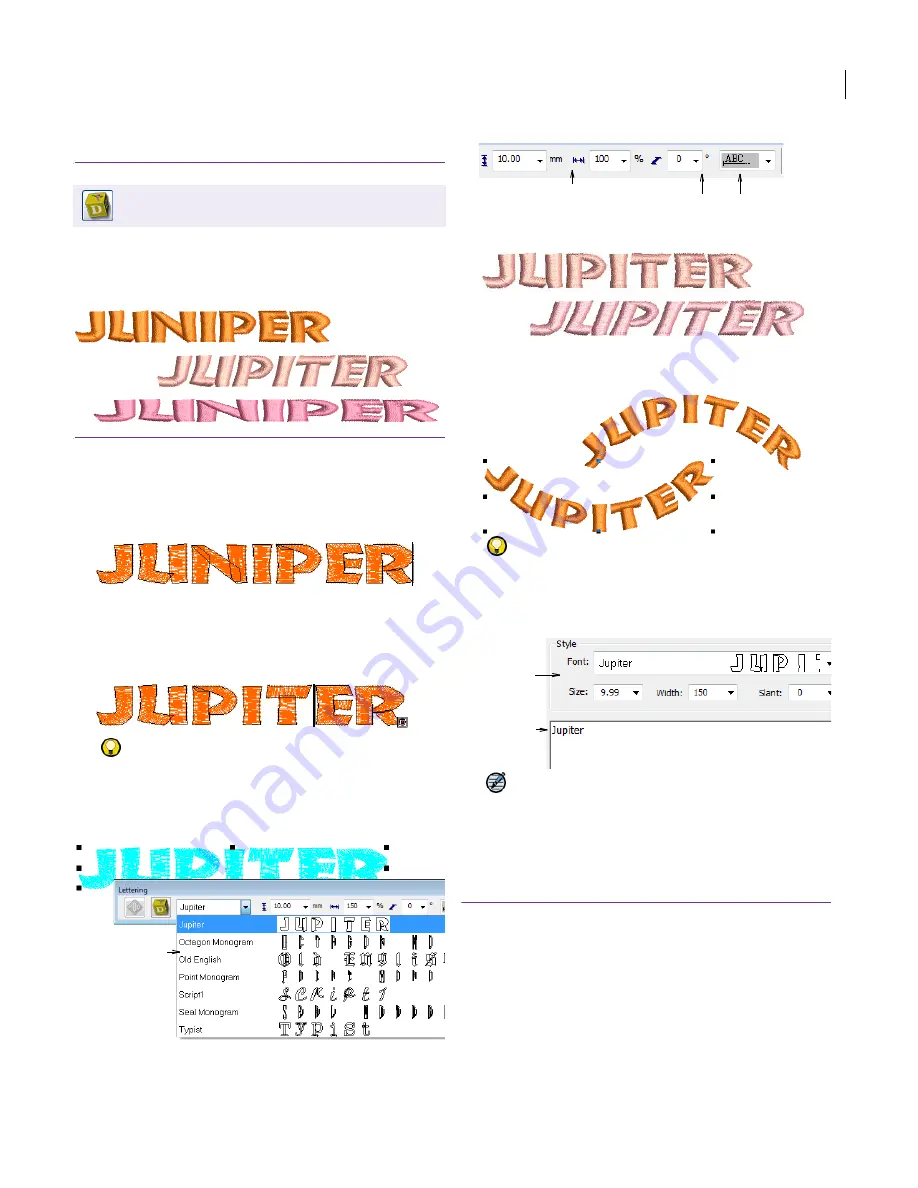
To edit lettering
Select a lettering object, and click the
Lettering
icon.
An I-beam appears after the last letter of the object.
You can move it using arrow keys.
Edit the text as required:
Use the arrow keys to move between letters.
Use
Backspace
and
Delete
keys to remove letters.
Press
Enter
to complete.
Try this!
Press
Shift + Enter
to start a new line.
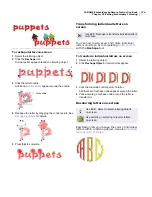
With the lettering object selected, change fonts by
selecting another font from the
Font
list on the
Lettering
toolbar.
Adjust lettering
Size
and
Width
settings as required.
See also
Scaling lettering
.
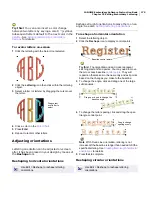
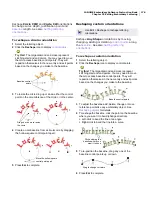
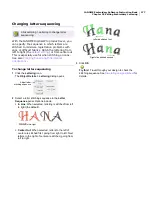
Change slant settings as required.
Change orientation settings as required. See
Setting
lettering orientations
for details.
Try this!
Alternatively, double-click a selected lettering
object or objects. The
Object Details > Fill Stitch
dialog opens. Select the
Lettering
tab and edit settings
as required.
Note
Letters are filled with stitches according to
current details in the
Object Details > Fill Stitch
tab.
See also
Changing lettering stitch types
.
Scaling lettering
When you first create lettering, it may be too big
or too small. Size can be adjusted in three ways:
By scaling on-screen with the Select
or
Reshape
tools.
By adjusting size and height settings in the
Object Details > Lettering dialog.
By adjusting width and height settings in the
Object Details > Dimensions dialog.
Click Lettering > Lettering to edit lettering
on-screen.
Select font
Adjust Size and Width
settings
Change
orientation
Change
slant
Edit text
Adjust
details
Summary of Contents for Digitizer MB
Page 236: ...234 Part IX Software Feature Table...


