JANOME Embroidery Software Instruction Book
Chapter 4 Basic Procedures
29
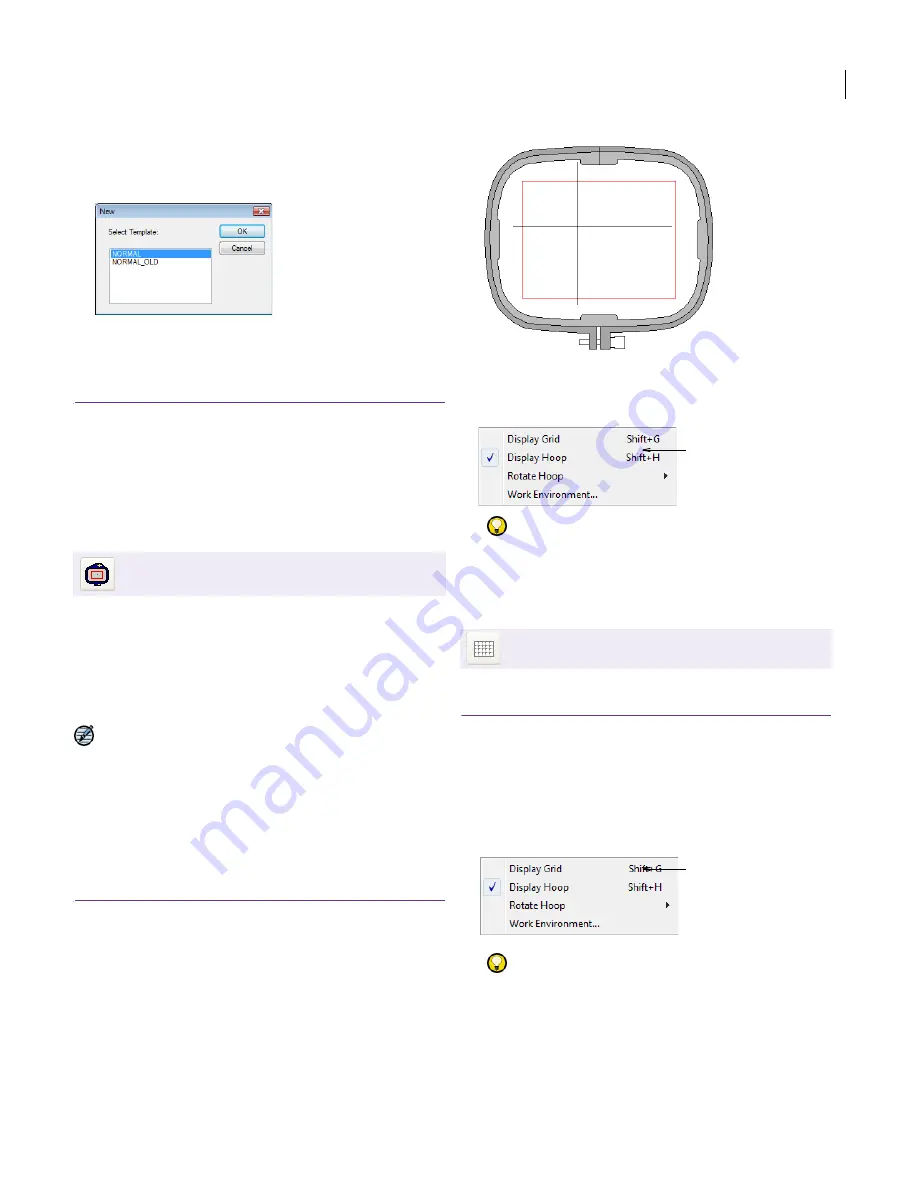
To create new designs with a custom template, select
File > New
.
The
New
dialog opens.
Select a template from the list and click
OK
.
Displaying hoops and grids
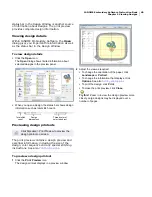
A representation of the selected hoop is displayed
in the Design Window. This provides a guideline for
sizing and positioning designs. Use grid lines to
help accurately align or size embroidery objects.
Displaying the hoop
Hoops are required to hold the fabric tight while
stitching on your machine. They are available in
different sizes. A representation of the selected
hoop providing a guideline for sizing and
positioning your
design
is displayed in the Design
Window. See also
Grids and Hoops
.
Note The boundary of the working area within the
hoop is displayed as a thin red line. If any part of
the design lies outside the stitching area for the
selected hoop, a warning appears when saving.
This prevents you from accidently stitching outside
this area and damaging your machine by hitting
the hoop with the needle. You can show or hide the
hoop at any time.
To display the hoop
Click the
Display Hoop
icon to toggle hoop display on
or off.
Alternatively select
View > Hoop
.
Alternatively, right-click a blank part of the Design
Window. This brings up a popup menu:
Try this!
You can change the grid spacing, drag the
slider. See
Setting grid spacings
for details.
Displaying the grid
You can show or hide the grid at any time.
To display the grid
Click the
Display Grid
icon to toggle grid display on or
off.
Alternatively select
View > Grid
.
Alternatively, right-click a blank part of the Design
Window. This brings up a popup menu:
Try this!
You can change the grid spacing by dragging
the slider. See
Setting grid spacings
for details.
Click View > Display Hoop to hide or show the
hoop.
Click View > Display Grid to hide or show the grid.
Toggle hoop display on/off
Toggle grid display on/off
Summary of Contents for Digitizer MB
Page 236: ...234 Part IX Software Feature Table...


