56
Chapter 8
Manual Digitizing
In JANOME Embroidery Software, you
build designs from
basic shapes or ‘embroidery objects’.
Embroidery objects have certain defining
properties or ‘details’ such as color, size,
position, and so on. They also have
properties unique to embroidery such as
stitch type and density.
Properties for the objects you create are
defined as you digitize, but they can be
modified at any stage. The most important
property for an embroidery object is its
stitch type. Different stitch types are
suited to different shapes. See
Selecting
fill stitches
for details.
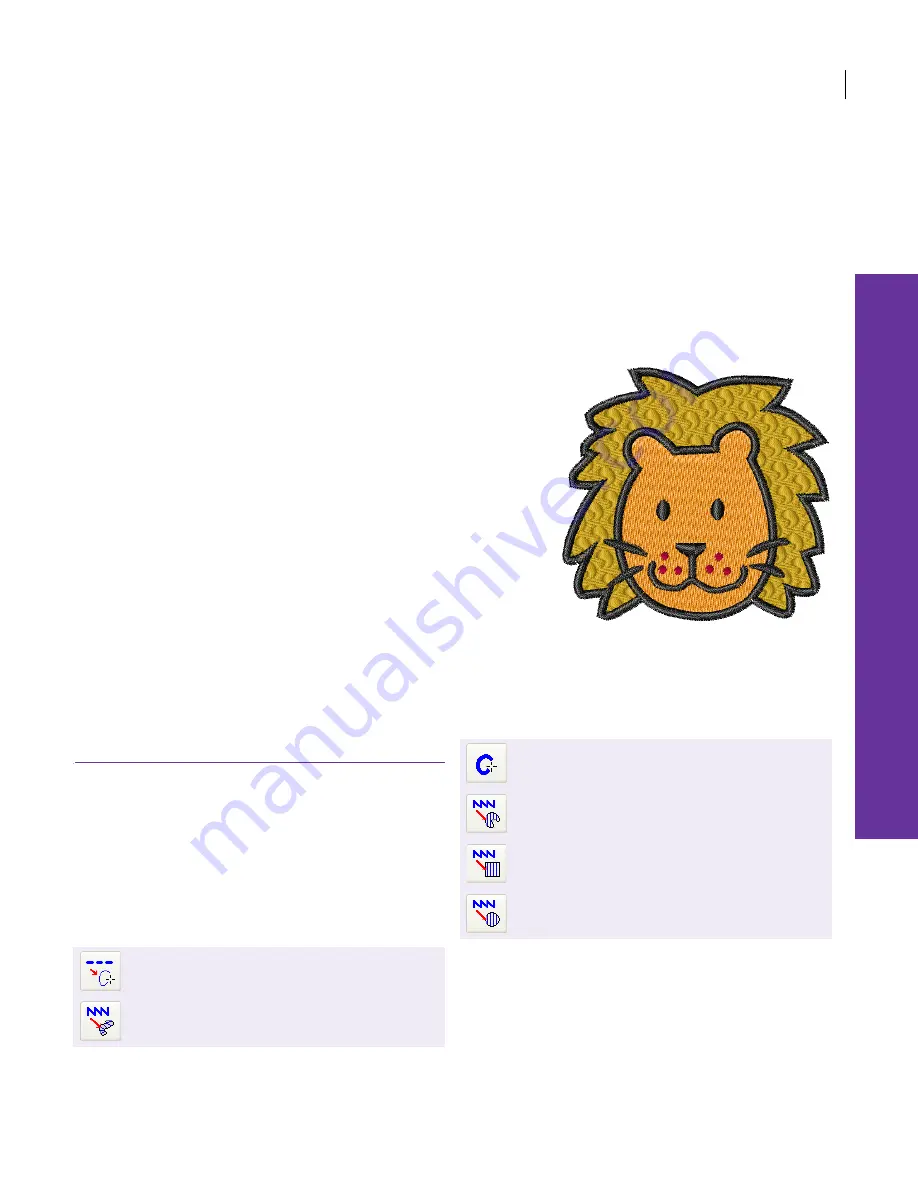
This section describes how to digitize shapes with the main digitizing methods.
It also explains how to adjust digitizing settings to obtain the best results.
Using digitizing methods
The process of creating embroidery objects on
screen is called ‘digitizing’. Like design creation in
graphics applications, this involves the use of
certain ‘input’ or ‘digitizing’ tools. These are similar
to drawing tools except that the end result are
embroidery objects rather than
vector graphics
.
Selecting digitizing methods
Different digitizing methods or ‘tools’ are suited to
creating different shapes or design elements.
Digitizing methods divide broadly into two
categories – outline and fill. Run Line digitizing
methods are used to digitize outlines. Turning
Angle Fill and Border are used to create
columnar shapes with differing characteristics.
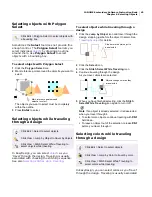
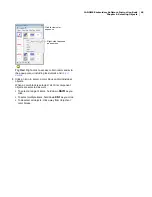
Use Digitize > Run Line to place a row of single
line stitches along a digitized line.
Use Digitize > Turning Angle Fill to create
columns of varying width and stitch angle.
Use Digitize > Border to digitize columns or
borders of fixed width.
Use Digitize > Parallel Fill to digitize closed
shapes with fill stitches.
Use Digitize > Parallel Fill Rectangle to digitize
rectangles with fill stitches.
Use Digitize > Parallel Fill Circle to digitize circles
with fill stitches.
Summary of Contents for Digitizer MB
Page 236: ...234 Part IX Software Feature Table...


