JANOME Embroidery Software Instruction Book
Chapter 22 Editing Embroidery Lettering
175
Try this! You can also insert a color change
between two letters by keying a caret (^) symbol.
Subsequent letters default to the next color in the
palette
. See
Adding lettering to embroidery
designs
for details.
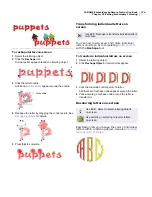
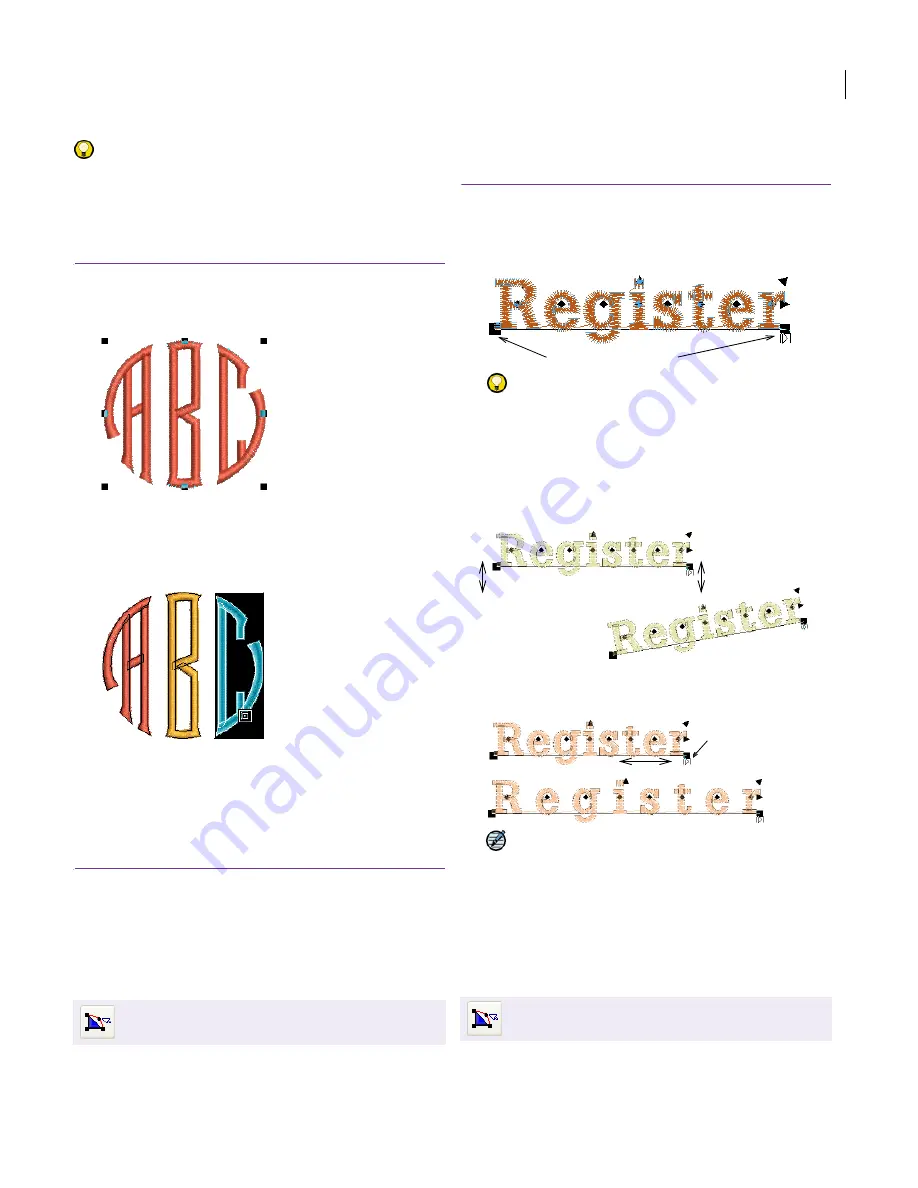
To recolor letters on-screen
1
Click the lettering with the Select tool selected.
2
Click the
Lettering
icon then click within the lettering
object.
3
Select a letter (or letters) by dragging the cursor over
the letter.
4
Click a color on the
Color Chart
.
5
Press
Enter
.
6
Repeat to recolor other letters.
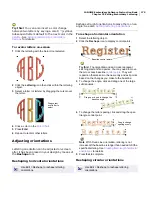
Adjusting orientations
Lettering orientation can be adjusted on-screen
after it has been placed in your design by means of
the Reshape
tool.
Reshaping horizontal orientations
Reshape straight orientations to place them on an
angle. See also
Setting lettering orientations
.
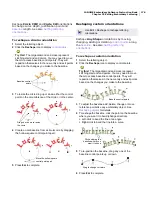
To reshape a horizontal orientation
1
Select the lettering object.
2
Click the
Reshape
icon to display control points.
Try this!
The large diamond and cross represent
stitching start and end points. You may need to move
them to access baseline
control points
. They will
reposition themselves in the new entry and exit points
based on the changes you make to the baseline.
3
To change the angle, click and drag one of the large
solid squares.
4
To change the letter spacing click and drag the open
triangle control point.
Note
With Fixed Line orientation, lettering is not
increased if the baseline is longer than needed to fit the
specified lettering. See
Creating fixed-length horizontal
orientations
for details.
5
Press
Esc
to complete.
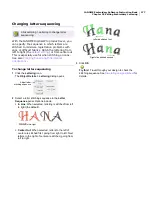
Reshaping circular orientations
Use Edit > Reshape to reshape lettering
orientations.
Drag cursor
over letter to
select
Use Edit > Reshape to reshape lettering
orientations.
Baseline control points
Drag up or down to change the
baseline angle
Drag to change
spacing evenly
Summary of Contents for Digitizer MB
Page 236: ...234 Part IX Software Feature Table...


