JANOME Embroidery Software Instruction Book
Chapter 17 Reshaping and Editing Objects
130
2
Click the
Reshape
icon.
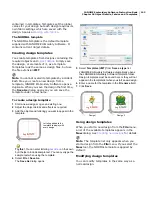
Control points appear together with a stitch angle line.
3
Click and drag the line as required.
Note
Notice that the mouse pointer changes to a ‘stitch
angle mouse pointer’.
4
Press
Esc
to finish.
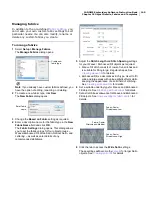
Try this!
To minimize gaps in your embroidery, place
the entry and exit points opposite each other on the
outside boundary. Then define the stitch angle so it is
perpendicular to the line between the entry and exit
points.
Editing stitch angles in Reshape mode
You can adjust the
stitch angles
of Lettering and
Turning Angle Fill objects interactively using the
Reshape tool. You can also add and delete stitch
angles while in Reshape mode.
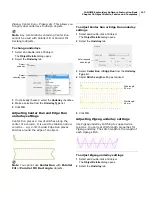
To edit stitch angles in Reshape mode
1
Select the lettering object.
2
Click the
Reshape
icon and click the letter outline.
3
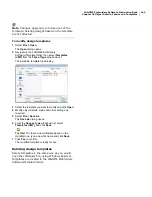
Click-and-drag stitch angle points to their required
positions.
The stitch angles change accordingly.
Note
Notice that the mouse pointer changes to a ‘stitch
angle mouse pointer’.
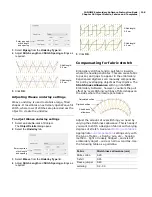
4
Select and delete stitch angles by pressing the
Delete
button.
5
Holding down the
Ctrl
key, click the outline wherever
you want to place a stitch angle line.
6
Press
Esc
to finish.
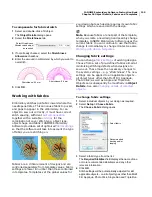
Changing entry and exit points
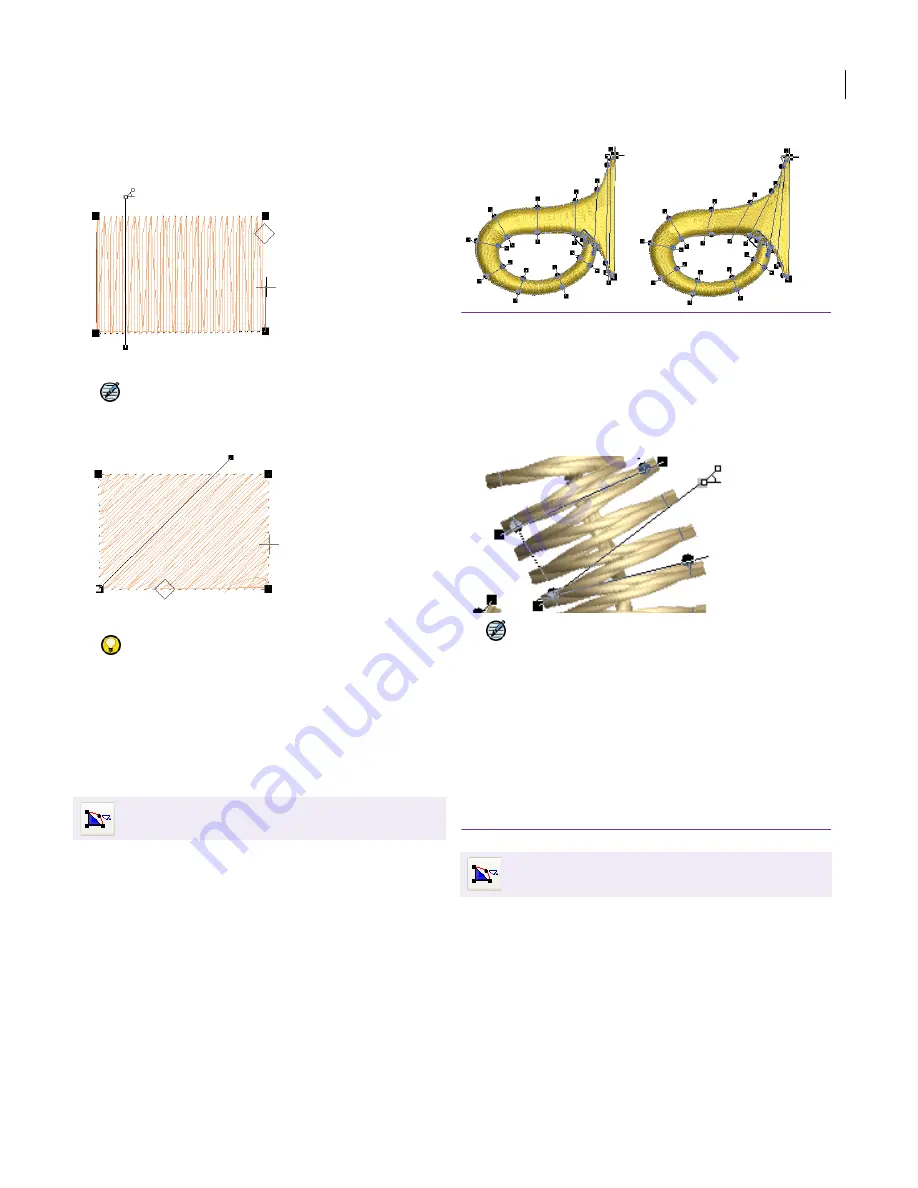
You can change the stitch entry and exit points of
individual objects. Do this to place the exit point
next to adjoining objects for smaller connecting
stitches, or to reduce the number of travel runs.
Click Edit > Reshape to display control points and
stitch angle lines in selected objects.
Use Edit > Reshape to adjust the entry and exit
points of selected objects.
Summary of Contents for Digitizer MB
Page 236: ...234 Part IX Software Feature Table...


