JANOME Embroidery Software Instruction Book
Chapter 19 Advanced Digitizing Techniques
147
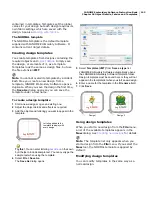
To cover holes exactly, accept the
default value
of
0.00
.
To overlap the filled holes and the original object,
enter a positive offset – e.g.
1.00
. Overlapping the
objects prevents gaps appearing.
To leave a gap between the filled holes and the
original object, enter a negative offset – e.g. -
1.00
.
6
Click
OK
.
All holes are converted to Parallel Fill objects with the
same fill stitch settings,
stitch angle
, stitch effects and
thread color as the source object.
Creating offset objects
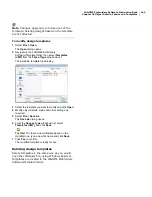
Use the Offset Object tool to quickly create new
outlines from selected objects. Any closed object
can be used. The generated outline is an
independent object that can be reshaped or
modified as required. Use offset objects to
highlight details – e.g. small Satin objects – or
create seamless borders. You can center generated
objects over the original outline or offset them.
To create offset objects
1
Select the source object.
2
Click the
Offset Object
icon.
3
The
Offset Object
dialog opens.
4
Enter the required offset in millimeters.
5
In the
Offset Count
field, enter the required number of
offset objects.
6
Click
OK
.
Creating feathered edges
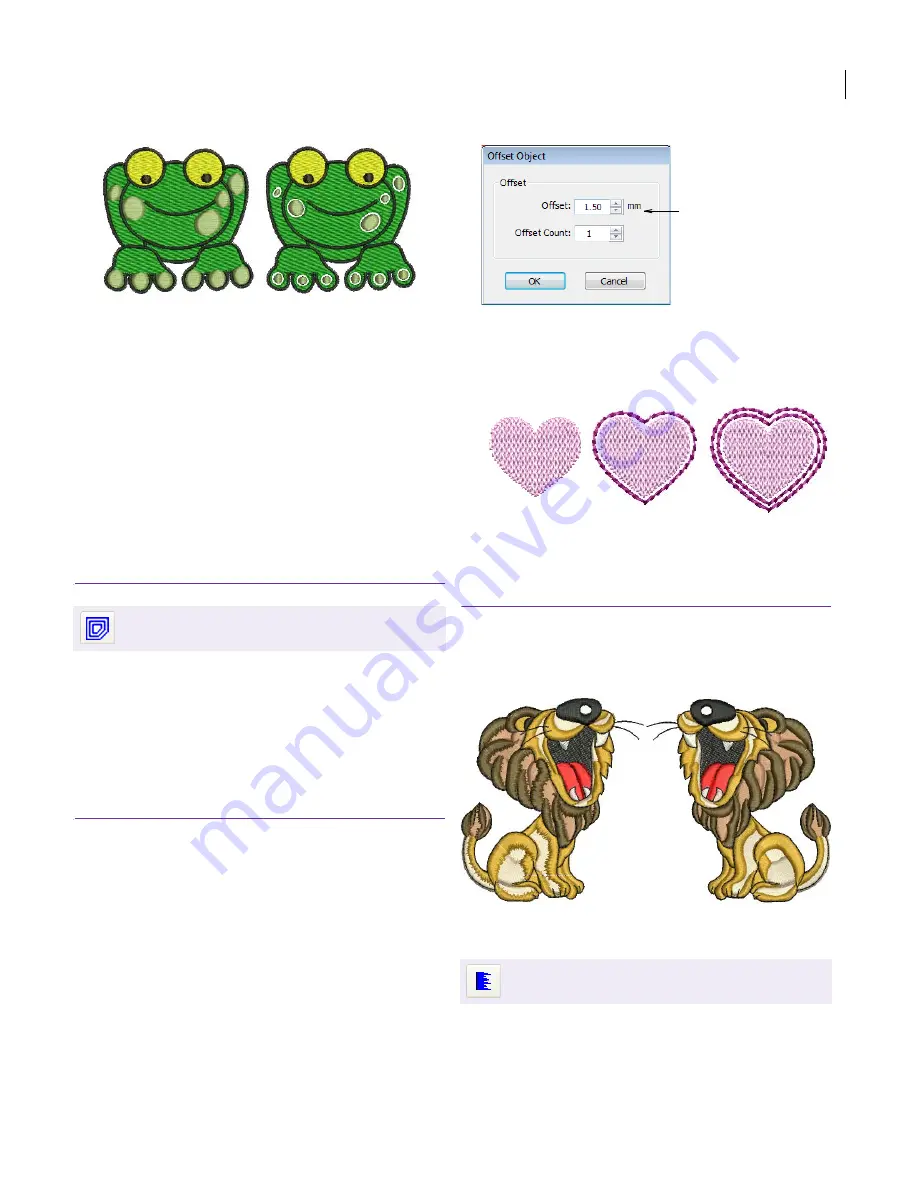
Use Feather Edge to create rough edges, to
create shading effects, or to imitate fur or other
fluffy textures in your design.
Applying Feather Edge
Apply Feather Edge to create a rough edge along
one or more sides of an object. Feather Edge is
applied using the current Feather Edge settings in
Use Edit > Offset Object to create accurate
outlines for any filled embroidery object.
Underlap: 1.00
Underlap: -1.00
Click Edit > Feather Edge to apply the effect to
new or selected objects.
Enter required
offset
Source object
Offset Count:1
Offset Count 2
Summary of Contents for Digitizer MB
Page 236: ...234 Part IX Software Feature Table...


