JANOME Embroidery Software Instruction Book
Chapter 9 Outline & Fill Stitches
66
3
Click
OK
.
Adjusting Weave Fill stitch length
Specify the stitch length generated for Weave Fill
objects. The stitch length varies slightly in Weave
Fill fills to ensure that small stitches are not
generated at the edges of the shape.
To adjust Weave Fill stitch length
1
Select and double-click the
Weave Fill
object.
The
Object Details > Fill Stitch
dialog opens.
2
In the
Stitch Length
field, enter the stitch length you
require.
3
Click
OK
.
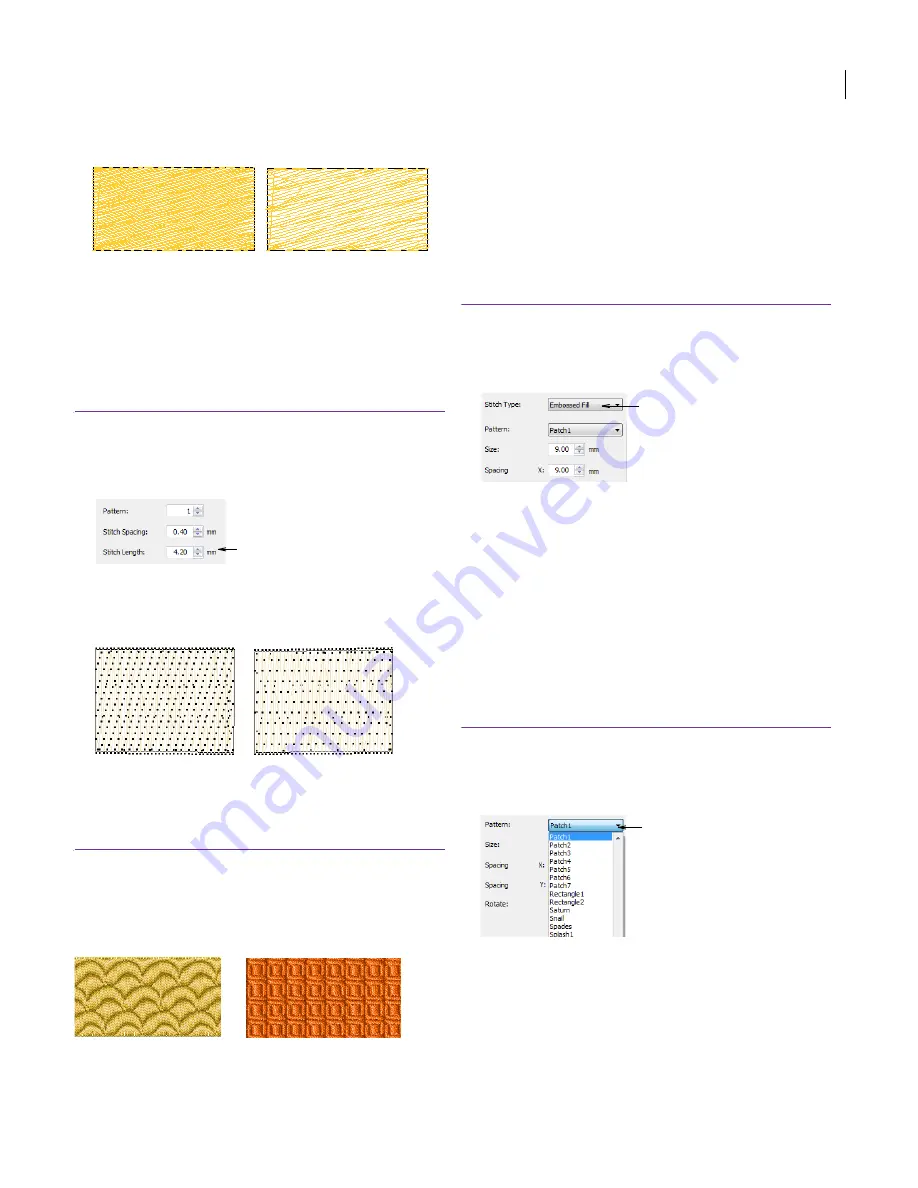
Creating embossed fills
Embossed Fill is a decorative stitch type used to
fill wide and large areas with decorative patterns
while keeping the appearance of a solid field of
stitching.
Embossed Fill needle penetrations form a tile
pattern. The pattern is repeated along a grid. You
can change stitch values to give an even greater
variation.
Creating fills with Embossed Fill
Create Embossed Fill objects with the following
procedure.
To create fills with Embossed Fill
1
With no objects selected, click the
Object Details
icon.
The
Object Details > Fill Stitch
dialog opens.
2
Select
Embossed Fill
.
3
Create an object with the
Parallel Fill
or
Turning
Angle Fill
tool.
Turn on
Visualizer
or view
Display Needle Points
to
see the effect of
Embossed Fill
.
Selecting an Embossed Fill pattern
You can select from many Embossed Fill patterns.
Generally the
default
size and spacing will produce
the best results, but you may like to change the
stitch angle
.
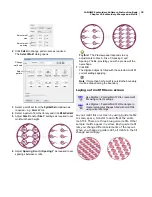
To select an Embossed Fill pattern
1
Select and double-click the Embossed Fill object.
The
Object Details > Fill Stitch
dialog opens.
2
From the
Pattern
dropdown list, select the required
pattern.
A preview of the pattern appears.
3
Click
OK
.
Stitch Spacing: 0.4 mm
Stitch Spacing: 0.8 mm
Adjust stitch length
Length: 4.5 mm
Minimum Stitch: 0.4 mm
Length: 2.5 mm
Minimum Stitch: 0.4 mm
Select Embossed Fill
Select pattern
Summary of Contents for Digitizer MB
Page 236: ...234 Part IX Software Feature Table...


