


JANOME Embroidery Software Instruction Book
Chapter 26 Outputting to Machine
218
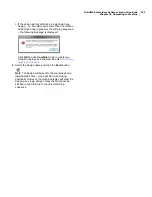
Note
If you want to delete any designs from the source
location, click
Delete
.
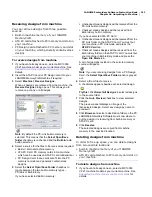
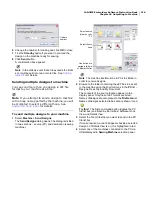
4
Browse to the PC folder to receive the designs using
the shortcut icons in the
PC
list – Designs, Desk Top
and My Document – and/or use the dropdown list.
The contents of the destination location appear in the
display panel. Only files of JEF format are listed.
5
Click
Receive
.
The selected designs are copied from machine
memory to the specified location.
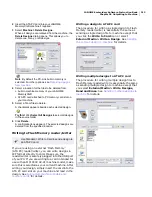
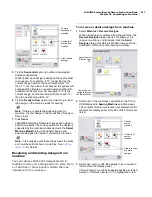
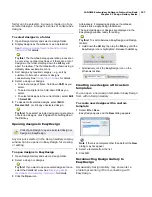
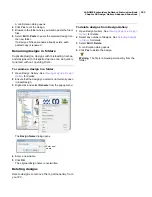
Viewing machine status
Machine feedback is available for MB-4 machine.
You must have a JANOME DigitizerPro dongle
attached to the PC via USB connection. Up to three
machines can be simultaneously attached.
To view machine status
1
Select
Machine > Status
.
The
Machine Status
toolbar appears displaying
machine status for up to three connected machines.
Non-connected machines display as a grayed icon.
Try this!
Optionally, dock the toolbar either at the top
or the bottom of the Design Window.
While the toolbar is displayed, machine status is
updated every 5 seconds. The toolbar remains active
until the
Machine > Status
command is toggled off.
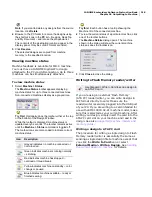
The toolbar icons are color-coded to indicate current
machine status:
Try this!
Each button has a tooltip showing the
Machine ID of the connected machine.
2
To view the current status of a particular machine, click
one of the toolbar buttons.
The
Machine Details
dialog opens. The machine
shown in the dialog will show the current machine
status as does the toolbar icon.
3
Click
Close
to close the dialog.
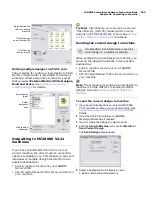
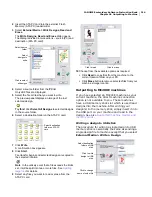
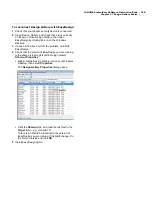
Writing to Flash Memory reader/writer
If you are using an external ‘Flash Memory’
(ATA PC) reader/writer, you can write designs in
JEF format directly to card. Make sure the
reader/writer is securely plugged into the USB port
of your PC. If you are writing to a card intended for
use with an MC10000 V2.21 machine model, make
sure this is selected as your current machine. After
writing your design, simply insert the card into the
ATA PC card slot on your machine and read in the
design. See also
Supported machine models and
memory cards
.
Writing a design to ATA PC card
The procedure for writing a single design to Flash
Memory reader/writer is essentially the same as
sending a single design file to machine except that
you click the Write to Card icon or select
External Media > Write a Design. See
Sending
the current design to machine
for details.
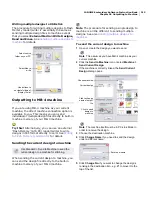
Icon
Description
Grayed indicates no machine connected or
not turned on.
Green indicates machine is running normally
– stitching.
Red indicates machine has stopped –
overload or thread break.
Yellow indicates machine on standby – color
change or paused.
Blue indicates machine available – ready or
finished sewing.
Use Standard > Write to Card to send a design to
an ATA PC card.
Summary of Contents for Digitizer MB
Page 236: ...234 Part IX Software Feature Table...