10. SOFTWARE RAID1
10-20
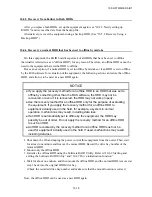
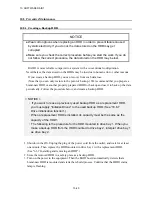
10.5 Preventive Maintenance
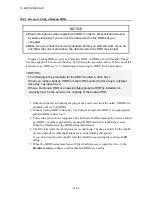
10.5.1 Creating a Backup HDD
NOTICE
●
Wear cotton gloves when replacing an HDD in order to prevent failure caused
by static electricity. If you do not, the data stored on the HDD may get
corrupted.
●
Make sure you check the correct procedure before you start the work. If you do
not follow the correct procedure, the data stored on the HDD may be lost.
RAID1 is more reliable compared to a system with a conventional configuration.
Nevertheless, the data stored on the HDDs may be lost due to human error or other reasons.
If you create a backup HDD, you can recover from such data loss.
(Note that you can only restore to the point of backup.) We recommend that you prepare a
brand-new HDD or another properly prepared HDD for backup and use it to back up the data
periodically. Follow the procedure below, and create a backup HDD.
1. Shut down the OS. Unplug the plug of the power cord from the outlet, and wait for at least
one minute. Then replace the HDD mounted in drive bay 1 with a replacement HDD.
(See "6.3.7 Installing and removing an HDD".)
2. Store the removed HDD in a safety place as a backup HDD.
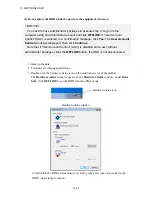
3. Turn on the power to the equipment. Then the RAID board automatically detects that a
brand-new HDD is mounted and starts the rebuild process. Confirm that the HDD1 status
lamp is flashing.
< NOTICE >
・
If you want to reuse a previously used backup HDD as a replacement HDD,
you must apply "Initialize Drives" to the used backup HDD. (See “10.6.7
Drive initialization function”.)
・
When a replacement HDD is installed, its capacity must be the same as the
capacity of the HDD1.
・
The following is the procedure for the HDD mounted in drive bay 1. When you
make a backup HDD from the HDD mounted to drive bay 2, interpret drive bay 1
as drive bay 2.
Summary of Contents for HF-W2000
Page 44: ...This Page Intentionally Left Blank ...
Page 72: ...This Page Intentionally Left Blank ...
Page 102: ...This Page Intentionally Left Blank ...
Page 133: ......
Page 134: ...This Page Intentionally Left Blank ...
Page 176: ...This Page Intentionally Left Blank ...
Page 204: ...This Page Intentionally Left Blank ...
Page 245: ...This Page Intentionally Left Blank ...
Page 279: ...This Page Intentionally Left Blank ...

