S-14
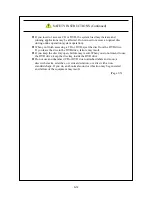
SAFETY INSTRUCTIONS (Continued)
Make sure you disconnect all external cables connected to the equipment
before you install or remove main memory. Otherwise, failure of the
equipment may result.
(Page 6-15)
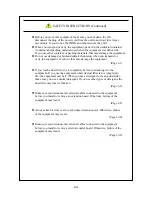
The orientation of a main memory module on a connector is fixed. When you
install a main memory module, make sure the orientation is correct.
Otherwise, failure of the equipment may result.
Do not install main memory modules with different capacities on slot A1 and
slot B1. If you do, the modules may not be recognized.
(Page 6-16)
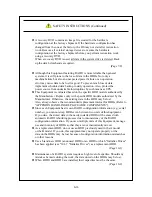
Put the HDD or SSD on a shock-absorbing material such as an antistatic
cushion even for a temporary task. If you put an HDD or SSD directly on a
hard surface such as a desktop, a failure or a shorter life span of the unit or
loss of data may result due to possible jarring or shock.
Never remove the screws on an HDD or SSD while the power to the unit is
on. Never hot-swap HDDs or SSDs. If you do either of these, failure of the
equipment or the drive may result.
Before you replace an HDD or SSD, make sure you shut down the OS, unplug
the power cord from the outlet, and wait for at least one minute.
Install or remove an HDD or SSD only if necessary, for example, when you need to
replace an HDD or SSD due to failure. If you do it frequently, failure of
the equipment may result.
Fully insert an HDD or SSD. Loose contact and missing screws may result in
failure.
Do not give a shock to an installing HDD or SSD and the already mounted
HDD or SSD during installing. If you give a shock to an HDD or SSD,
failure of the drive may result.
(Page 6-18)
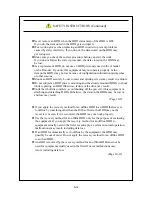
In the case of the B model, when you install or remove an HDD, make sure
the drive bay number is correct. If you remove an HDD and install it in
a different bay, a configuration information mismatch occurs and
the equipment may not start or the data stored on the HDD may be lost.
(Page 6-19)
Make sure you do not apply too much force to the connector of the DVD
drive and the top of the DVD drive. If you do so, failure of the DVD drive
may result.
(Page 6-21)
Summary of Contents for HF-W2000
Page 44: ...This Page Intentionally Left Blank ...
Page 72: ...This Page Intentionally Left Blank ...
Page 102: ...This Page Intentionally Left Blank ...
Page 133: ......
Page 134: ...This Page Intentionally Left Blank ...
Page 176: ...This Page Intentionally Left Blank ...
Page 204: ...This Page Intentionally Left Blank ...
Page 245: ...This Page Intentionally Left Blank ...
Page 279: ...This Page Intentionally Left Blank ...

