Chapter 7 Advanced Copy Management
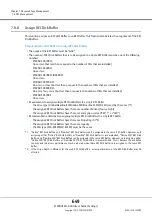
7.8 REC Management
ETERNUS Web GUI User’s Guide (Settings)
Copyright 2015 FUJITSU LIMITED
P2X0-1270-13ENZ0
651
3
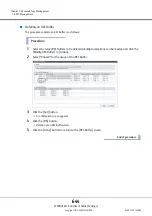
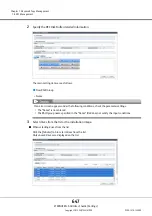
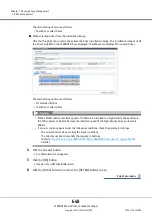
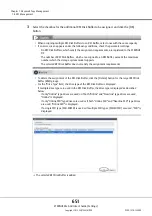
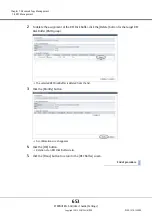
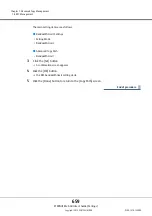
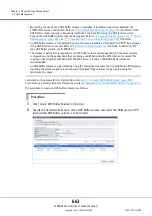
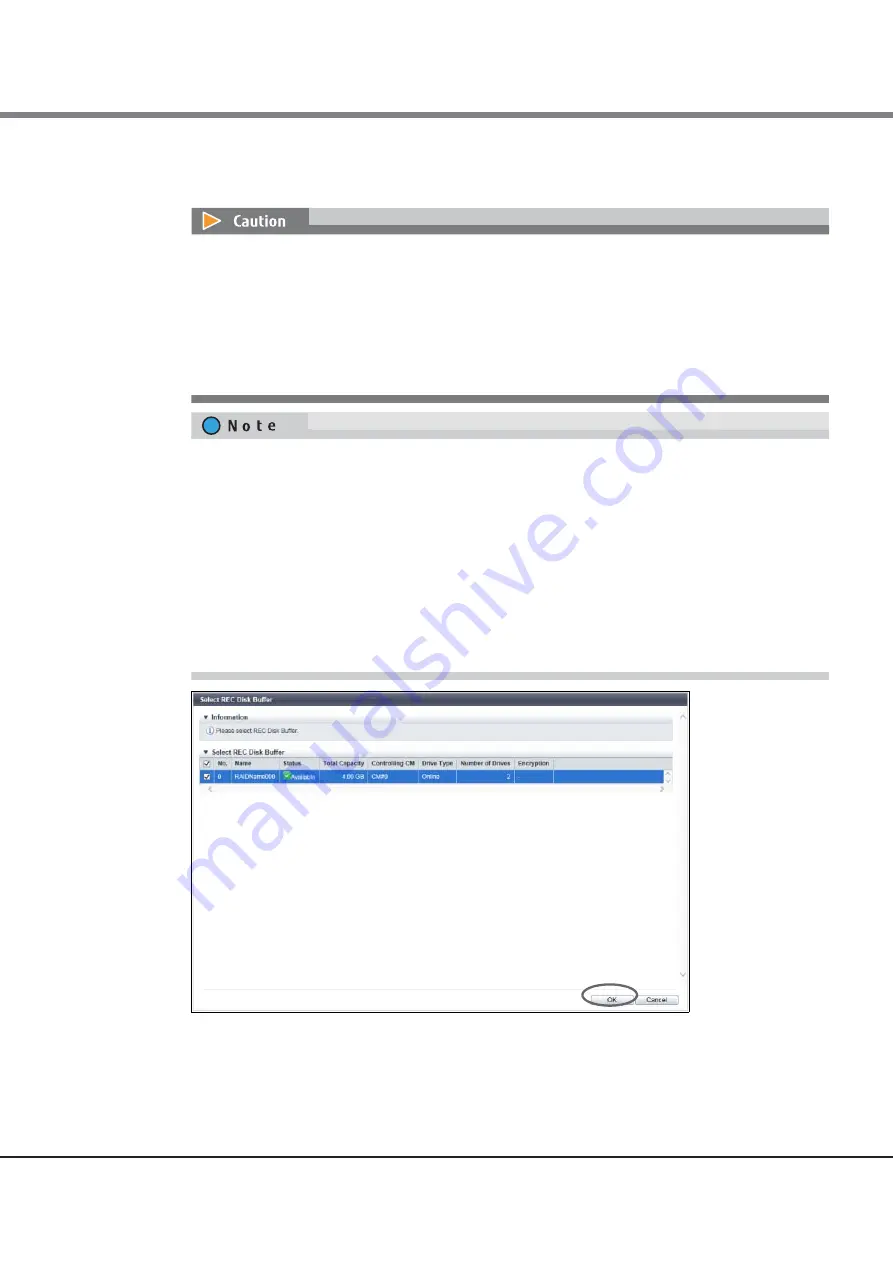
Select the checkbox for the additional REC Disk Buffer to be assigned, and click the [OK]
button.
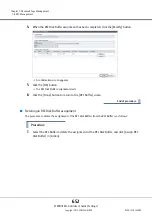
The selected REC Disk Buffer is added.
•
When assigning multiple REC Disk Buffers to an REC Buffer, select ones with the same capacity.
•
If an error screen appears under the following conditions, check the parameter settings.
-
No REC Disk Buffers, which satisfy the assignment requirements, are registered to the ETERNUS
DX
-
The number of REC Disk Buffers, which are assigned to an REC Buffer, exceeds the maximum
number which the storage system model supports
-
The selected REC Disk Buffer does not satisfy the assignment requirements
•
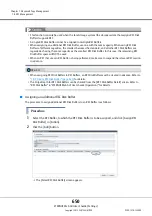
To delete the assignment of the REC Disk Buffer, click the [Delete] button for the target REC Disk
Buffer (RAID group).
•
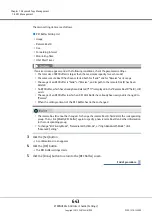
For the "Drive Type" field, the drive type of the REC Disk Buffer is displayed.
If multiple drive types are used in the REC Disk Buffer, the drive type is displayed as described
below:
-
If only "Online" type drives are used or if both "Online" and "Nearline" type drives are used,
"Online" is displayed.
-
If only "Online SED" type drives are used or if both "Online SED" and "Nearline SED" type drives
are used, "Online SED" is displayed.
-
If a single SSD type (SSD-M/SSD) is used or if multiple SSD types (SSD-M/SSD) are used, "SSD" is
displayed.
Summary of Contents for Eternus DX200F
Page 2: ...This page is intentionally left blank ...
Page 1082: ......

