Chapter 7 Advanced Copy Management
7.9 ODX Management
ETERNUS Web GUI User’s Guide (Settings)
Copyright 2015 FUJITSU LIMITED
P2X0-1270-13ENZ0
664
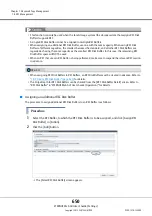
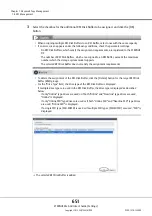
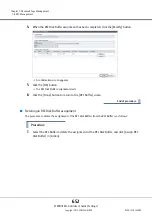
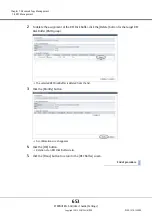
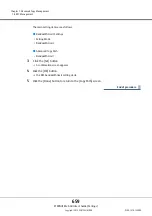
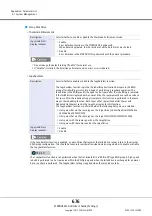
The main setting items are as follows.
●
ODX Buffer Volume
•
Name
•
Capacity
•
Type
•
Use all Largest Free Space
•
Allocation (not displayed for the ETERNUS DX60 S3)
●
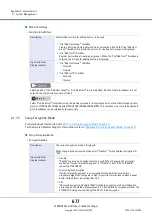
Target RAID Group/Thin Provisioning Pool
•
Radio button to select a RAID group (when "Type" is "Standard")
•
Radio button to select a TPP (when "Type" is "Thin Provisioning")
3
Click the [Create] button.
A confirmation screen appears.
4
Click the [OK] button.
ODX Buffer volume creation starts.
5
Click the [Done] button to return to the [Setting] screen.
End of procedure
When using the maximum free space in the RAID group to create an ODX Buffer volume without
specifying the capacity, select the "Enable" checkbox for "Use all Largest Free Space". A "Standard" type
volume can be created using the maximum free space.
If an error screen appears under the following conditions, check the parameter settings.
•
The "Name" is not entered
•
The "Name" does not satisfy the input conditions
•
The "Enable" checkbox for "Use all Largest Free Space" is cleared and "Capacity" is not entered
•
The "Enable" checkbox for "Use all Largest Free Space" is selected and the capacity of the created
ODX Buffer volume is less than 1GB
•
The "Enable" checkbox for "Use all Largest Free Space" is selected and the capacity of the created
ODX Buffer volume is larger than the maximum capacity
•
The "Capacity" does not satisfy the input conditions
•
The maximum number of volumes that can be created is exceeded
•
Free space in the RAID group is insufficient
•
LDE is being performed in the RAID group to which the ODX Buffer volume belongs
•
When the allocation mode is "Thick" and the free space in the TPP is insufficient
Summary of Contents for Eternus DX200F
Page 2: ...This page is intentionally left blank ...
Page 1082: ......

