Chapter 1 System Management
1.8 Network Management
ETERNUS Web GUI User’s Guide (Settings)
Copyright 2015 FUJITSU LIMITED
P2X0-1270-13ENZ0
106
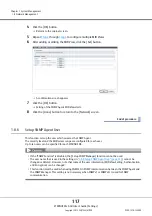
6
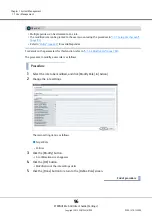
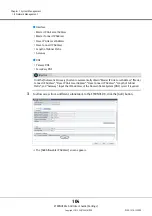
when registering several allowable IP addresses.
7
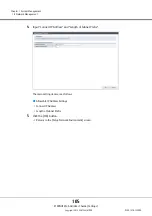
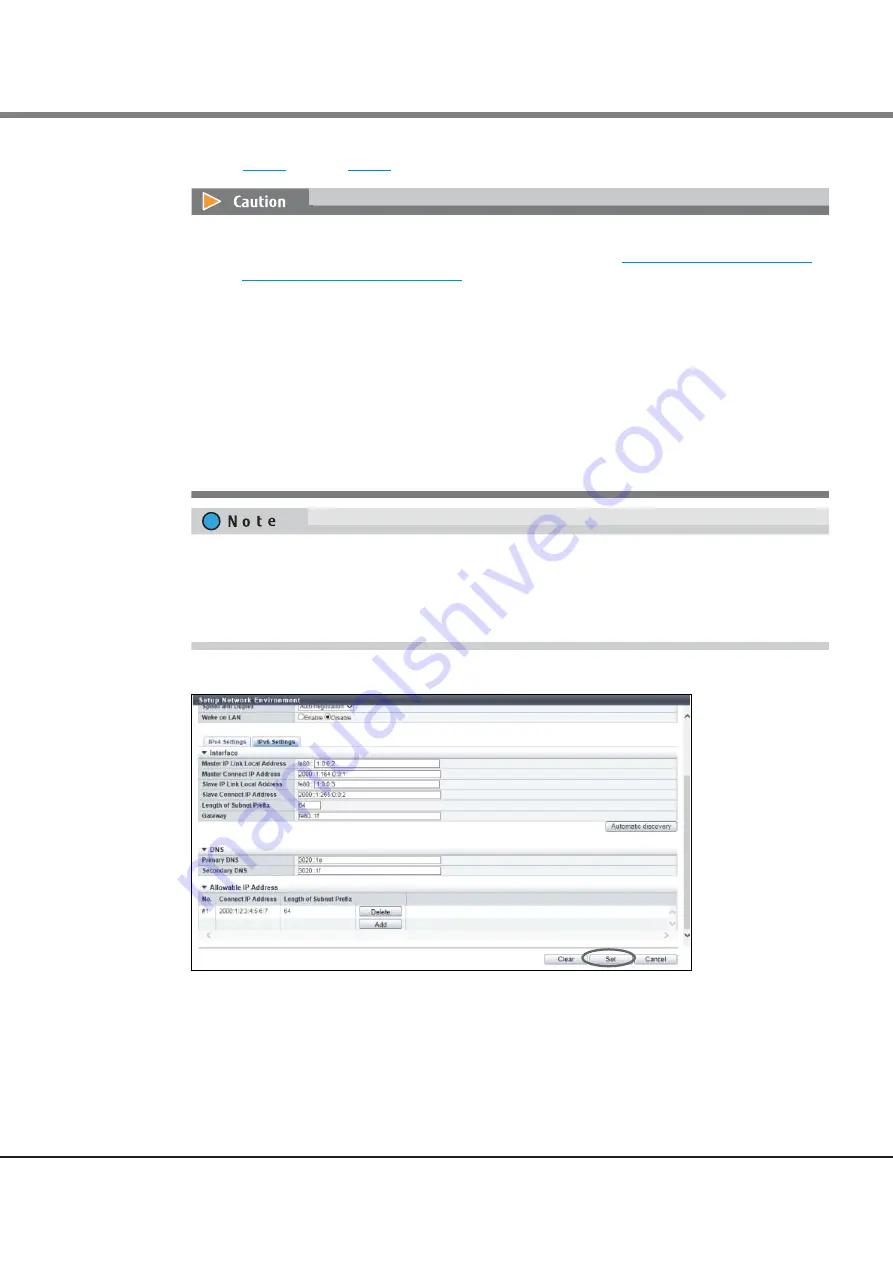
After registering the allowable IP addresses is complete, click the [Set] button.
A confirmation screen appears.
8
Click the [OK] button.
The network environment setting starts.
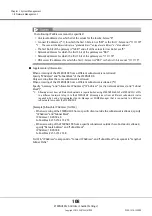
•
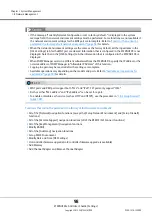
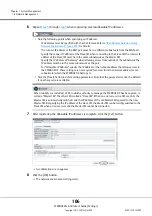
Note the following points when specifying an IP address:
-
IP addresses must be specified with the IPv6 format. Refer to
Network Environment)" (page 107)
for details
-
The connect IP address of the RMT port must be in a different subnetwork from the MNT port
-
Specify the connect IP address of the Slave CM when connecting to the Slave CM The connect IP
address of the Slave CM must be in the same subnetwork as the Master CM
-
Specify the IP address of "Gateway" when allowing access from outside of the subnetwork The
IP address must be in the same subnetwork as the port
-
For "Allowable IP Address", specify the IP address or the network address that allows access to
the ETERNUS DX. These settings are not required for access from the network address (same
subnetwork) which the ETERNUS DX belongs to
•
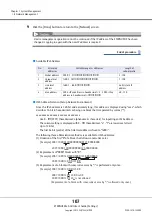
Click the [Clear] button to delete setting parameters. Note that the parameters cannot be deleted
if no other ports are available.
When two CMs are installed, a CM, to which authority to manage the ETERNUS DX has been given, is
called a "Master CM". The other CM is called a "Slave CM". When an error occurs in a CM or a LAN, the
Master CM is automatically switched, and the IP address of the old Master CM is passed to the new
Master CM. By specifying the IP address of the Slave CM, the Master CM can be forcibly switched to the
Slave CM when an error occurs and the Master CM cannot be connected.
Summary of Contents for Eternus DX200F
Page 2: ...This page is intentionally left blank ...
Page 1082: ......

