background image

P/N: 3828RCD015A

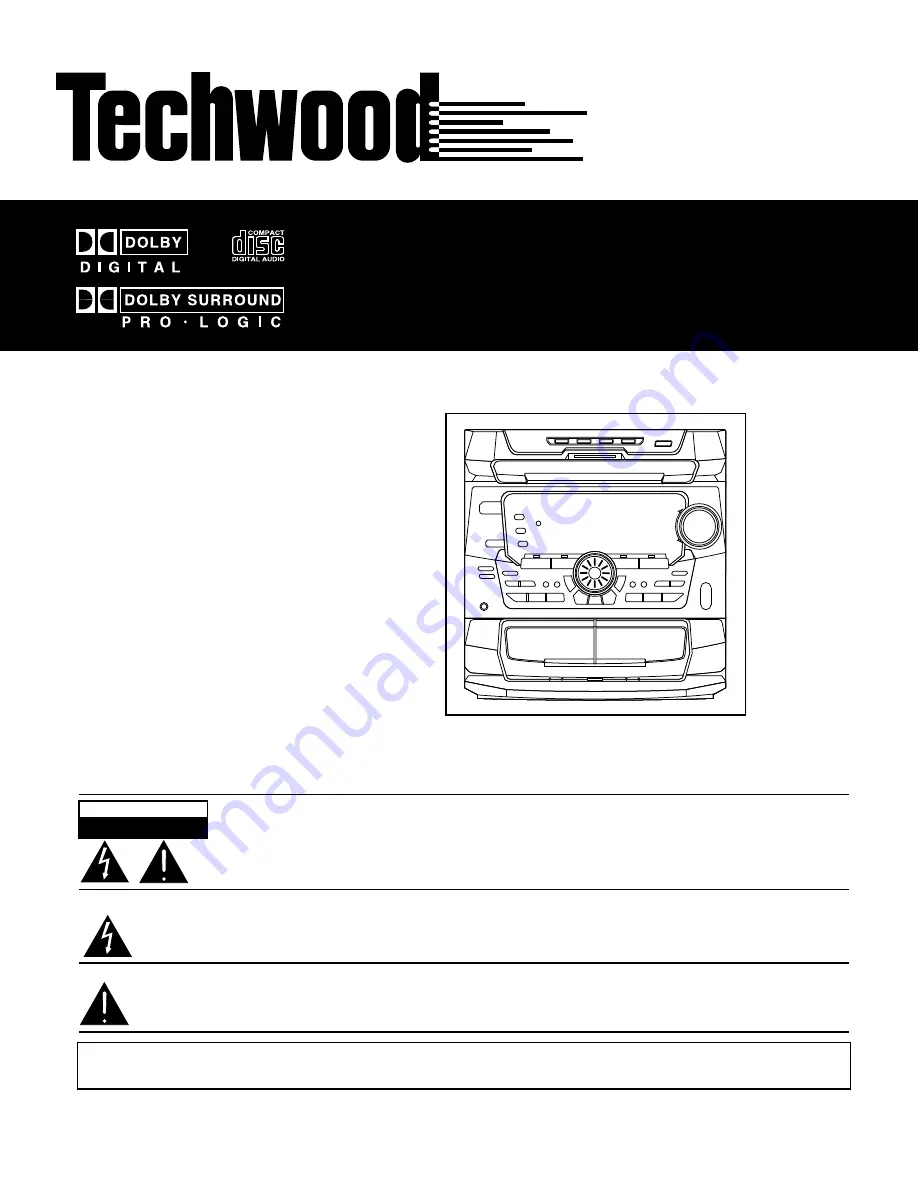
COMPACT DISC MUSIC SYSTEM

OWNER’S MANUAL

DD81

DD81


                                           CAUTION: TO REDUCE THE RISK OF ELECTRIC SHOCK, DO NOT REMOVE COVER (OR
                                           BACK). NO USER-SERVICEABLE PARTS INSIDE. REFER SERVICING TO QUALIFIED
                                           SERVICE PERSONNEL.

                   
                         The lightning flash with arrowhead symbol, within an equilateral triangle, is intended to alert the user to the
                         presence of uninsulated “dangerous voltage” within the product’s enclosure that may be of sufficient
                         magnitude to constitute a risk of electric shock to persons.
                        
                        The exclamation point within an equilateral triangle is intended to alert the user to the presence of
                        important operating and maintenance (servicing) instructions in the literature accompanying the
                        Appliance.


WARNING: TO PREVENT FIRE OR SHOCK HAZARD, DO NOT EXPOSE

                                THIS APPLIANCE TO RAIN OR MOISTURE.  


CAUTION

RISK OF ELECTRIC SHOCK

DO NOT OPEN

Summary of Contents for DD81

Page 1: ...t the user to the presence of uninsulated dangerous voltage within the product s enclosure that may be of sufficient magnitude to constitute a risk of electric shock to persons The exclamation point within an equilateral triangle is intended to alert the user to the presence of important operating and maintenance servicing instructions in the literature accompanying the Appliance WARNING TO PREVEN...

Page 2: ...roper ventilation is provided or the opening or removing covers may expose you to dangerous voltage manufacturer s instructions have been adhered to or other hazards Refer all servicing to qualified service personnel 11 Power Sources This product should be operated only from 20 Damage Requiring Service Unplug this product from the the type of power source indicated on the marking label If you are ...

Page 3: ...LITE CD RECORDER CONNECTION 9 SOUND ADJUSTMENT 10 11 SURROUND EFFECTS 12 14 ADJUSTING CENTER AND REAR CHANNELS 14 VIDEO OPERATIONS 15 RADIO FUNCTIONS 16 CD PLAYBACK 17 18 TAPE PLAYBACK 19 TAPE RECORDING 19 20 SLEEP TIMER 21 FUNCTION DISPLAY 22 FRONT VIEW CONTROLS 23 BACK VIEW INPUTS AND OUTPUTS 24 REMOTE CONTROL 25 WARRANTY INFORMATION 26 CLOCK SETTING 21 2 ...

Page 4: ...ng played the type of audio connection analog or digital made to the rear of the DD81 jack panel and the source material being played To enjoy true Dolby Surround Sound the source material must be recorded or broadcast in either Dolby Pro Logic or Dolby Digital Surround Sound Source material recorded or broadcast in stereo such as radio broadcasts CD s cassette tapes or TV programs can be played u...

Page 5: ...put marked TV AUX on the rear of the DD81 Note some digital cable and satellite boxes do not have digital audio outputs In this case you should connect the box to the DD81 using a standard analog audio cable with dual RCA type jacks on each end Connect one end to the two analog audio output jacks on the rear of the box and the other end to the TV AUX analog audio input jacks on the rear of the DD8...

Page 6: ...and rear speakers as described below CENTER SPEAKER Mode LARGE Use this mode with a large center speaker The center channel s output is full range SMALL Use this mode with a small center speaker NONE Use this mode if there is no center speaker The center channel signal will be divided between the front L and R Speakers FRONT SPEAKER Mode LARGE Choose if full range floor standing or bookshelf front...

Page 7: ... with the controls on the stereo lf your television is equipped with a hand held remote control you can use the remote control to operate the television including adjustment of volume 6 When you have finished watching TV be certain to turn off both the television and stereo Remember to read the television operating manual so you can enjoy all of the features of your television lf you have followed...

Page 8: ...yellow VIDEO OUT NOTE All VIDEO IN OUT jacks are yellow in color NOTE When connecting more than one video component to the DD81 ie VCR and DVD player it is easier to use the yellow VIDEO MONITOR OUT jack This allows all video signals VCR and DVD to be sent through the DD81 to the TV using just one RCA video input on the TV 7 TELEVISION TELEVISION yellow VIDEO IN ANT IN AUDIO OUT ...

Page 9: ...lid lines suggested method of connection Dotted lines alternate method of connection NOTE All VIDEO IN OUT jacks are yellow in color NOTE All COAXIAL AUDIO IN jacks are orange in color DIGITAL NOTE When connecting more than one video component to the DD81 ie VCR and DVD player it is easier to use the yellow VIDEO MONITOR OUT jack This allows all video signals VCR and DVD to be sent through the DD8...

Page 10: ...O IN or NOTE You may record audio to a CD by connecting an optical audio cable from the CD out on the DD81 to an optical audio in of a CD recorder NOTE Solid lines suggested method of connection Dotted lines alternate method of connection or or NOTE All VIDEO IN OUT jacks are yellow in color NOTE All COAXIAL AUDIO IN jacks are orange in color DIGITAL yellow COMPOSITE VIDEO OUT orange COAXIAL AUDIO...

Page 11: ...creases To confirm the balance adjustment press the CLEAR SET button NOTE The balance function will not work when the stereo direct button is on Headphone Listening Connect a stereo headphone not supplied plug into the headphone jack The speakers are automatically disconnected when using headphones Volume Mute Press the Mute button on the remote control to mute your unit The indicator appears on t...

Page 12: ...o sources like AM radio stations will not play in surround sound Surround sound requires a stereo audio source When operating the DD81 in DIGITAL mode with an optional DVD player or Digital cable satellite box connected and when the audio program source is in Dolby Digital Surround Sound you may select DIGITAL surround sound using the surround mode button This surround option is only available whe...

Page 13: ...nel digital audio video components 4 Rear channel 2 speakers Dolby Digital recordings and broadcasts have 6 The DD81 Dolby Pro Logic surround sound channels of sound for the most authentic theater function operates when experience These six channels are sometimes referred to as 5 1 channels five full range and An optional stereo television Hi Fi VCR or one low frequency effects LFE channel The LFE...

Page 14: ...g to FM radio stations sound experience without connecting rear cassette tapes CD s or television broadcasts channel speakers you can select the Hall or Theater functions to create a surround sound effect 3 Stereo can be used with both Dolby Digital or Note the broadcast or recording must be in Dolby Pro Logic audio sources stereo to use these surround functions mono audio sources cannot be used T...

Page 15: ...re adjusted When your system is in the Dolby Pro Logic Dolby 3 by using the master volume control and balance stereo Dolby Digital HALL or THEATER surround control You can adjust the individual levels of the sound mode the TEST TONE can be used to adjust center rear left rear right and subwoofer by using the the volume levels for the center and rear channels following procedure According to the po...

Page 16: ...ASS BASS TREBLE TREBLE BALANCE BALANCE PROGRAM PROGRAM MEMO MEMO REPEAT REPEAT RANDOM RANDOM PRESET PRESET DOWN DOWN TUNING TUNING DOWN DOWN TUNING TUNING UP UP PRESET PRESET UP UP CLEAR SET CLEAR SET DIGITAL INPUT DIGITAL INPUT SURROUND MODE SURROUND MODE COUNTER RESET COUNTER RESET HIGH DUBBING NORMAL HIGH DUBBING NORMAL MODE RIF MODE RIF REC PAUSE REC PAUSE CD PAUSE CD PAUSE CD SYNC CD SYNC TIM...

Page 17: ...ND button repeatedly until the desired band appears AM or FM 3 To replace or add a memorized station A Select a desired station 3 Press TUNING DOWN UP or button briefly and repeatedly until the desired station B Press the PROGRAM MEMO button appears While the preset number is flashing select a desired channel number by using the Storing Stations PRESET DOWN UP button or MULTI JOG 1 To clear any pr...

Page 18: ...time Disc drawer If during CD play the video image of a nearby 5 Press the CD PLAY or on remote television is distorted or if static is heard from a control button to start play nearby radio move this unit further away from the Play begins with the disc on left side tray when affected television or radio the disc drawer is closed All the discs are played once only Searching for a Particular Point ...

Page 19: ...sed the next track is Each time the PROGRAM button is pressed in the selected at random The button functions only stop mode a disc number a track number and a to return to the beginning of the current track during program number will be displayed random play To clear the programmed contents Repeat Play Press the PROGRAM button during stop and then press the CLEAR SET button or Turn off the power o...

Page 20: ...on on the unit or on the remote control for fast forward and to rewind TAPE RECORDING 5 To interrupt recording Recording from a CD Radio or from To interrupt the recording for a short period Connected Equipment press the REC PAUSE button again To continue with the recording press the Preparation REC PAUSE button one more time Rewind the tape to the point you want the 6 To end the recording recordi...

Page 21: ...to the front Press the CD SYNC button The recording begins Open cassette deck B and stops automatically at the end of the CD Insert a blank cassette in the cassette compartment and the cassette side that you wish to record to the front NOTES 1 If you only want to record certain titles program 3 To dub auto dubbing these before commencing CD synchro recording Rewind both cassettes to the beginning ...

Page 22: ...OWN TUNING UP PRESET UP CLEAR SET AM PRESET DOWN TUNING DOWN TUNING UP PRESET UP CLEAR SET 21 SLEEP TIMER 2 To check the remaining time until the power is Setting the Sleep Timer turned off Set with the remote control While the sleep function is active press the SLEEP button briefly The time remaining until it turns off is When the sleep timer is used the power is displayed for about 5 seconds aut...

Page 23: ...icator 27 STEREO DIRECT indicator 8 HIGH SPEED DUBBING indicator 28 CD MUSIC CALENDAR OVER indicator 9 TEST TONE indicator 29 FREQUENCY LEVEL indicator of 10 NORMAL SPEED DUBBING indicator right channel 11 SURROUND REAR LEFT SPEAKER 30 RIF indicator Radio Interference Filter indicator 31 MEMORY indicator 12 LFE Low Frequency Effect indicator 32 FM STEREO indicator 13 CENTER SPEAKER indicator 33 FM...

Page 24: ...ORD PAUSE button TAPE STOP button 37 MODE RIF Radio Interference Filter button SET button 38 CD OPEN CLOSE button 39 DISC SKIP button 40 DISC DIRECT PLAY buttons DISC 1 2 3 DISC 1 DISC 1 ON STANDBY ON STANDBY POWER SAVING POWER SAVING UP UP VOLUME VOLUME CONTROL CONTROL DOWN DOWN SPEAKER SETUP SPEAKER SETUP LEVEL SELECT LEVEL SELECT DEMO DEMO CLOCK CLOCK PHONES PHONES TEST TONE TEST TONE OPEN OPEN...

Page 25: ...AL OUT jack 5 SUBWOOFER PRE OUTPUT jack 15 DVD VIDEO IN jack 6 ANALOG AUDIO OUTjacks 16 AUX TV VIDEO IN jack 7 VCR ANALOG AUDIO IN jacks 17 VCR VIDEO IN jack 8 AUX TV ANALOGAUDIO IN jacks 18 VIDEO RECORD OUT jack 9 DVD ANALOG AUDIO IN jacks 19 VIDEO MONITOR OUT jack RECORD OUT OUT IN VCR IN AUX TV IN DVD IN OPTICAL AUDIO COAXIAL AUDIO MONITOR OUT 15 16 17 18 19 1 2 4 5 6 7 8 9 10 11 3 12 13 14 NOT...

Page 26: ...battery polarity and Reversed battery polarity might damage the unit Do not use different types of batteries together or an old one with a new one When you are not going to use the unit for a long time remove the batteries to prevent possible electrolyte leakage 30 30 Approx 25Ft M M U U L L T T I I J J O O G G D D I I A A L L C C O O N N T T R R O O L L DISC 1 DISC 1 ON STANDBY ON STANDBY POWER S...

Page 27: ...f model or serial number was removed altered replaced or rendered illegible Warranty does not apply if equipment was modified or serviced by anyone other than an authorized Welton Sound Systems Service Center The manufacturer is not responsible for trip or transportation charges during warranty WHAT WELTON SOUND SYSTEMS WILL DO Welton Sound Systems will supply at no charge to the owner for one yea...

Page 28: ...WELTON SOUND SYSTEMS U S A 11625 Columbia Center Drive Suite 100 Dallas Texas 75229 972 243 5602 FAX 972 243 5958 weltonusa com ...

Reviews: