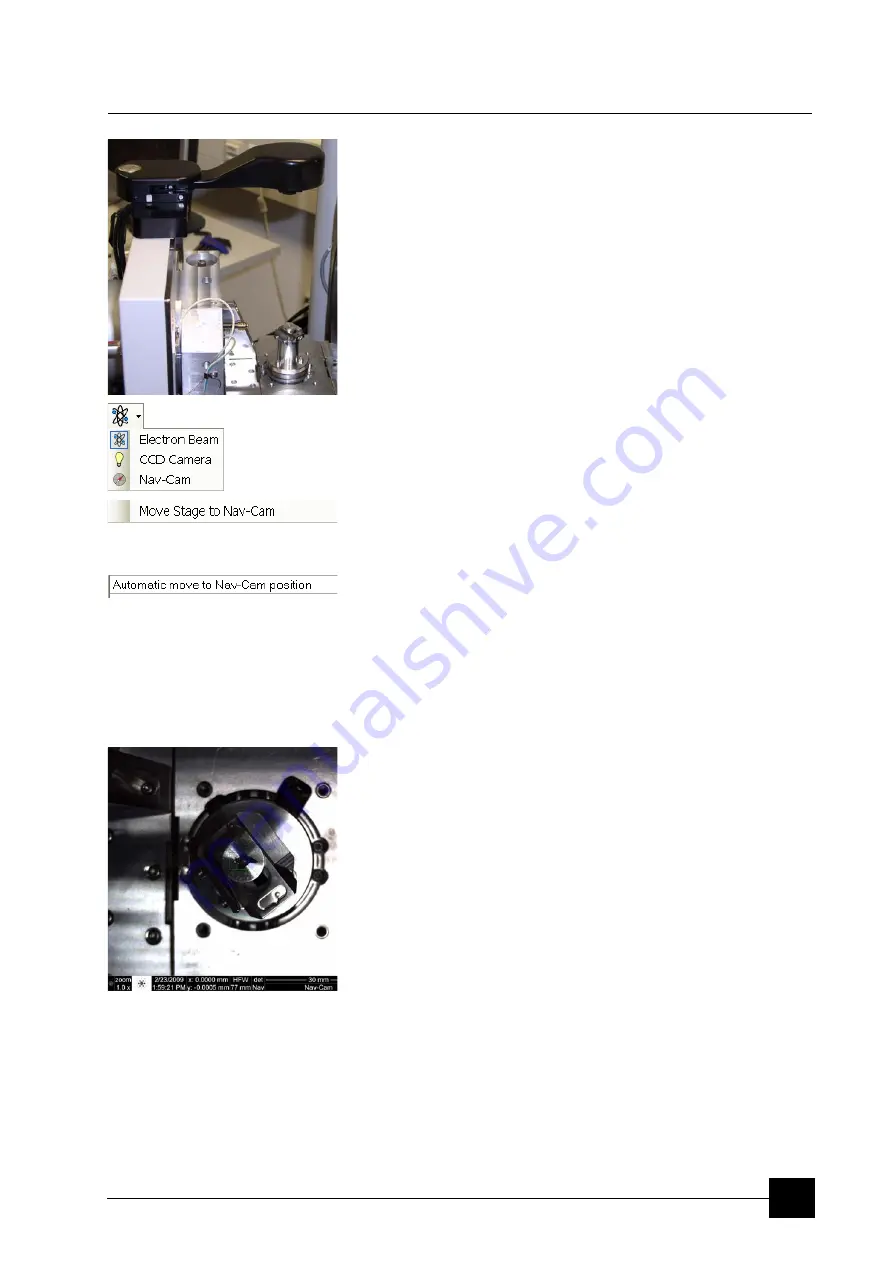
System Options:
Nav-Cam
9-5
Nav-Cam
On contrary to Navigation Montage feature, which navigates across
the sample surface, this functionality represents a possibility to
navigate across the range of the stage movement area. This is
convenient when investigating large area samples or several samples
with the use of any multi sample holder.
CAPTURING NAVIGATION IMAGE PROCEDURE
1.
Vent the chamber, open the chamber door and insert a sample.
2.
Close the chamber door and set the WD to 10 mm (top sample
surface) with the use of the
CCD 10 mm Marker
. Do not pump the
system!
At this position only the Nav-Cam functionality is correct!
3.
Open the chamber door and rotate the navigation camera to point
to the stage.
At this moment the beam and the detector changes to Nav-Cam
and a live imaging of navigation camera is obtained in the last time
active quad (with the resolution of 512x442 pixels only).
4.
Select the
Stage
menu /
Move Stage to Nav-Cam
function to
move the stage to Nav-Cam position. Use this function also when
one moves the stage to a different position to return it back under
the camera.
In case the
Preferences…
/
General
tab /
Automatic move to
Nav-Cam position
item is set to Yes, the stage moves to the
Nav-Cam position automatically.
CAUTION!
When the stage is moving to the Nav-Cam position, do not rotate
the camera until the stage reaches the final position! The
alignment setting (see below) could be lost.
DANGER!
Be aware of a stage movement, do not put fingers to the trajectory!
5.
Capture an image (with the high resolution of 2048x1768 pixels) by
pressing the silver camera button on the top of its body or by
Snapshot or Photo function (see Chapter 4). A green rexctangle (or
just a cross) represents a place, where electron beam will aim. The
image could be saved or adjusted like any other image taken from
the microscope (image enhancement, process etc.).
If the sharpness of the captured image is not sufficient, try to find a
Z-coordinate (about ±1 mm from WD 10 mm) at which the image is
sharp enough and repeat steps 3 and 4.
6.
Rotate the navigation camera back to its home position (the stage
moves to its last time position before venting the chamber), close
the chamber door and pump the system.
To navigate the stage use the
Stage
module /
Navigation
tab (see
Chapter 4).
Summary of Contents for Quanta FEG 250
Page 8: ...C vi...
Page 28: ...System Operation Quanta FEG System States 3 10...
Page 108: ...Alignments 1 Gun Alignment 6 6...
Page 114: ...Alignments 154 Water Bottle Venting 6 12 154 Water Bottle Venting...
Page 152: ...System Options Automatic Aperture System 9 4...
Page 154: ...System Options Nav Cam 9 6 401 NAV CAM AUTOBRIGHTNESS...
Page 177: ...System Options Cooling Stage Waterless Cooling Stage 9 29...


