Chapter XVIOscilloscope Probe (Option)
223
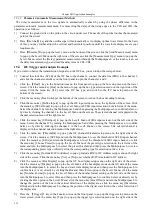
When the AP622D current probe is used, the input impedance of the oscilloscope is set to 1M
Ω
, the probe type is
set to current, and the probe attenuation is set to the same as that of the AP622D.
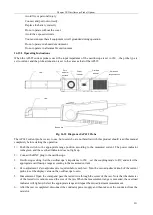
Jaw switch
Battery cavity
BNC output end
connected to
BP250
Power adapter input
end
Range selection and
switch
Zero adjustment knob
Jaw
BP250: BNC cable
MT-246N
Digital meter adapter
Power adapter
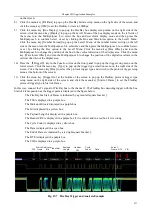
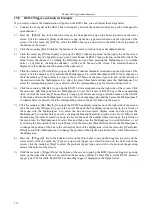
Fig. 16.33 Diagram of AP622D Probe
The AP622D current probe is easy to use, but users who are not familiar with this product should read this manual
completely before starting the operation:
1
)
Connect the BNC of the current test clamp to the BP250 cable and then connect it to the input end of the
oscilloscope.
2
)
Push the switch to the appropriate range position according to the measured current. The power indicator
turns green.
3
)
Oscilloscope setting: Set the oscilloscope
’
s impedance to 1M
Ω
, set the coupling mode to DC, and select the
appropriate oscilloscope range according to the measured current.
4
)
Zero adjustment: Zero adjustment is required before each test. Turn the zero adjustment knob of the current
probe to set the display value on the oscilloscope to zero.
5
)
Measurement: Open the clamp and pass the tested wire through the center of the jaw. Note that the diameter
of the tested wire cannot exceed the size of the jaw.
6
)
After the test is completed, disconnect the conductor power supply and then take out the conductor from the
card slot.
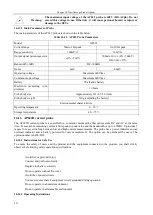
Warning:
The maximum input voltage of the AP622D probe is 40V (DC+ACpk). Do not
exceed this voltage in use. Otherwise, it will cause personal hazard or injury or
damage to the DUTs.
16.16.3 Main Parameters of Probe
The main parameters of the AP622D probe are shown in the table below.
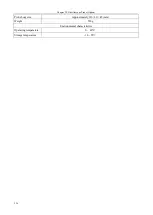
Table 16.16 AP622D Probe Parameters
Model
AP622D
Range sensitivity
100mV/A, 1V/A
Measurement accuracy
±(3%+10mA) 10mA-4Apk @1V/A
±(4%+100mA) 0.1A-40Apk @0.1V/A
Bandwidth (-3dB)
1.5MHz
Summary of Contents for 4456 Series
Page 10: ...VIII...
Page 55: ...Chapter V Trigger System 45 Fig 5 51 RF Test Signal Example...
Page 69: ...Chapter VII Mathematical Operation 59 Fig 7 10 Advanced Math Example...
Page 71: ...Chapter VIII Display System 61 Fig 8 3 Wfm Palette Menu Fig 8 4 Normal Palette...
Page 72: ...Chapter VIII Display System 62 Fig 8 5 Inverted Palette Fig 8 6 Temperature Palette...
Page 75: ...Chapter VIII Display System 65 Fig 8 12 XY Display Example...
Page 165: ...Chapter XI Protocol Analyzer Option 155 Fig 11 242 1553 Trigger and Analysis Example...


