Chapter XI Protocol Analyzer (Option)
124
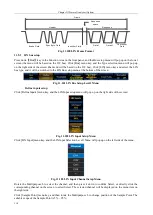
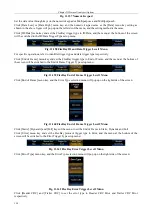
Fig. 11.144 FlexRay Indicator Bits Trigger Level1 Menu
Click [Indicator Bits] menu key at the bottom of the screen, and the FlexRay Indicator Bits setup menu will pop
up on the right side of the screen:
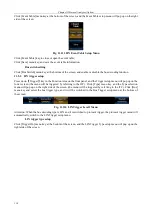
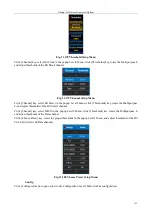
Fig. 11.145 FlexRay Indicator Bits Trigger Type Setup Menu
Click [Normal], [Payload], [Null], [Sync] and [Startup] keys of the menu to set the Indicator Bits to Normal,
Payload, Null, Sync and Startup respectively.
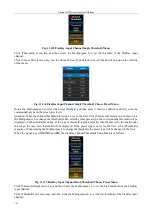
Click [Identifier] menu key and set the FlexRay trigger type to Identifier, and the menu at the bottom of the screen
will be switched to the Identifier setup menu:
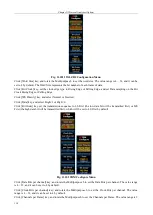
Fig. 11.146 FlexRay Identifier Trigger Level1 Menu
Click [Identifier] menu key at the bottom of the screen, and the FlexRay Identifier setup menu will pop up on the
right side of the screen:
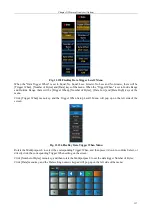
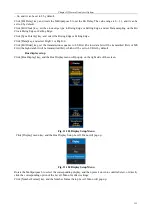
Fig. 11.147 FlexRay Identifier Trigger Level2 Menu
When the "Identifier Trigger When" is set to Equal, No Equal, Less, Greater, No Less and No Greater, there will
be [Trigger When] and [Identifier] keys of the menu. When the "Trigger When" is set to Inside Range and Outside
Range, there will be [Trigger When], [Identifier Low] and [Identifier High] keys of the menu.
Click [Trigger When] menu key, and the Trigger When Setup Level3 Menu will pop up on the left side of the
Summary of Contents for 4456 Series
Page 10: ...VIII...
Page 55: ...Chapter V Trigger System 45 Fig 5 51 RF Test Signal Example...
Page 69: ...Chapter VII Mathematical Operation 59 Fig 7 10 Advanced Math Example...
Page 71: ...Chapter VIII Display System 61 Fig 8 3 Wfm Palette Menu Fig 8 4 Normal Palette...
Page 72: ...Chapter VIII Display System 62 Fig 8 5 Inverted Palette Fig 8 6 Temperature Palette...
Page 75: ...Chapter VIII Display System 65 Fig 8 12 XY Display Example...
Page 165: ...Chapter XI Protocol Analyzer Option 155 Fig 11 242 1553 Trigger and Analysis Example...

