C
op
ying
4-32
Adjusting Sharpness
Adjusting Sharpness
You can set the sharpness of the copied image. The default setting is <5>.
1
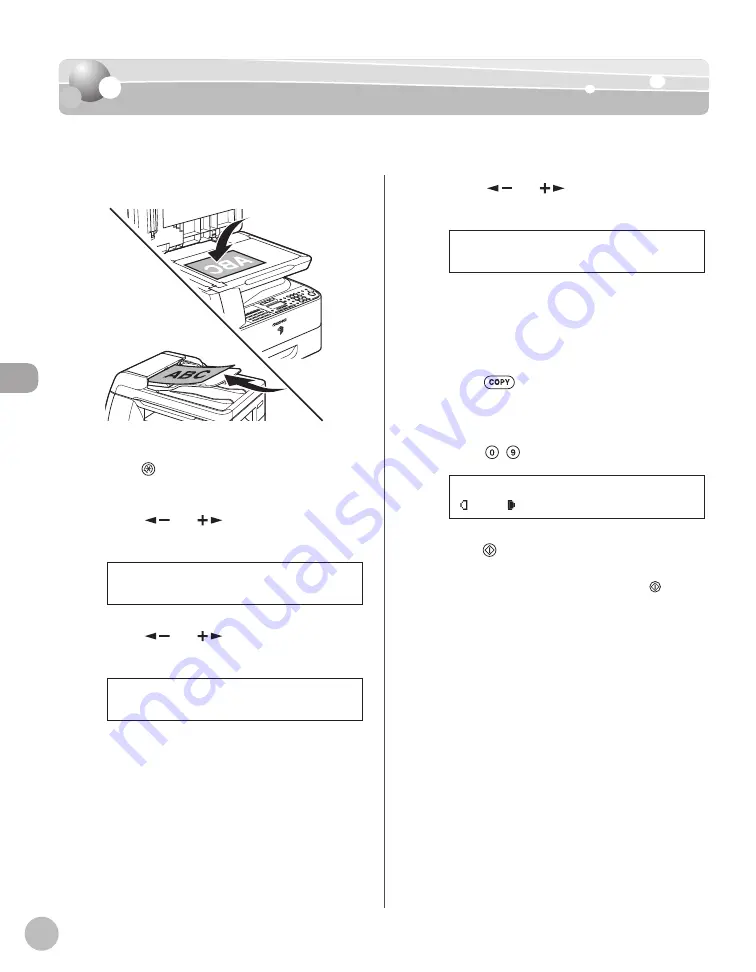
Set originals.
For details, see “Placing Originals,” on p. 2-4.
2
Press
[Additional Functions].
3
Press [
] or [
] to select <COPY
SETTINGS>, then press [OK].
2 . C O P Y S E T T I N G S
A D D . F U N C T I O N S
4
Press [
] or [
] to select
<SHARPNESS>, then press [OK].
3 . S H A R P N E S S
C O P Y S E T T I N G S
3
5
Press [
] or [
] to select to adjust the
sharpness (1 to 9), then press [OK].
5
S H A R P N E S S
The highest sharpness level is 9 and the lowest
is 1. To copy text or lines clearly, select a high
sharpness level. To copy originals containing
printed images or other halftones, select a low
sharpness level.
6
Press
[COPY].
7
Enter the desired copy quantity (1 to 99)
using – [numeric keys].
A T E X T
1 0 0 % L T R
0 1
8
Press [Start].
If you want to copy multiple originals using the
platen glass, set an original and press [Start]
for each original, once for each page.
Summary of Contents for imageRUNNER 1025
Page 90: ...Copying 4 3 Overview of Copy Functions p 4 17 p 4 19 p 4 25 ...
Page 93: ...Copying 4 6 Canceling Copy Jobs 5 Press Stop to return to the standby mode ...
Page 118: ...Copying 4 31 Erasing Shadows Lines Platen Glass C D A B A LEFT B RIGHT C TOP D BOTTOM ...
Page 123: ...Copying 4 36 ...
Page 193: ...Fax imageRUNNER 1025iF Only 5 70 ...
Page 196: ...E Mail imageRUNNER 1025iF Only 6 3 Overview of E Mail Functions ...
Page 201: ...E Mail imageRUNNER 1025iF Only 6 8 ...
Page 204: ...Printing 7 3 Overview of the Print Functions p 7 7 p 7 10 p 7 9 ...
Page 216: ...Scanning 8 3 Overview of the Scanner Functions ...
Page 231: ...Settings from a PC 10 6 ...
Page 265: ...12 16 Maintenance ...
Page 315: ...14 32 Machine Settings ...


