C
op
ying
4-30
Erasing Shadows/Lines
Binding Hole Erase
Binding Hole Erase
This mode erases the shadows that appear on copies from binding holes on originals.
The Binding Hole Erase mode cannot be used with the 2 on 1 mode.
1
Set originals.
For details, see “Placing Originals,” on p. 2-4.
2
Press
[COPY].
3
Press
[Frame Erase].
4
Press [
] or [
] to select <BINDING
HOLE>, then press [OK].
B I N D I N G H O L E
F R A M E E R A S E
5
Press [
] or [
] to specify the
location of the binding holes (<LEFT>,
<RIGHT>, <TOP>, or <BOTTOM>), then
press [OK].
L E F T
B I N D I N G H O L E
6
Press [
] or [
] to set the binding
hole erase width, then press [OK].
3 / 4 "
E R A S E W I D T H L E F T
The width ranges 3/16" to 13/16" (3 to 20 mm).
7
Enter the desired copy quantity (1 to 99)
using – [numeric keys].
A T E X T
1 0 0 % * L T R
0 1
8
Press [Start].
If you want to copy multiple originals using the
platen glass, set an original and press [Start]
for each original, once for each page.
To cancel all settings, press
[Reset].
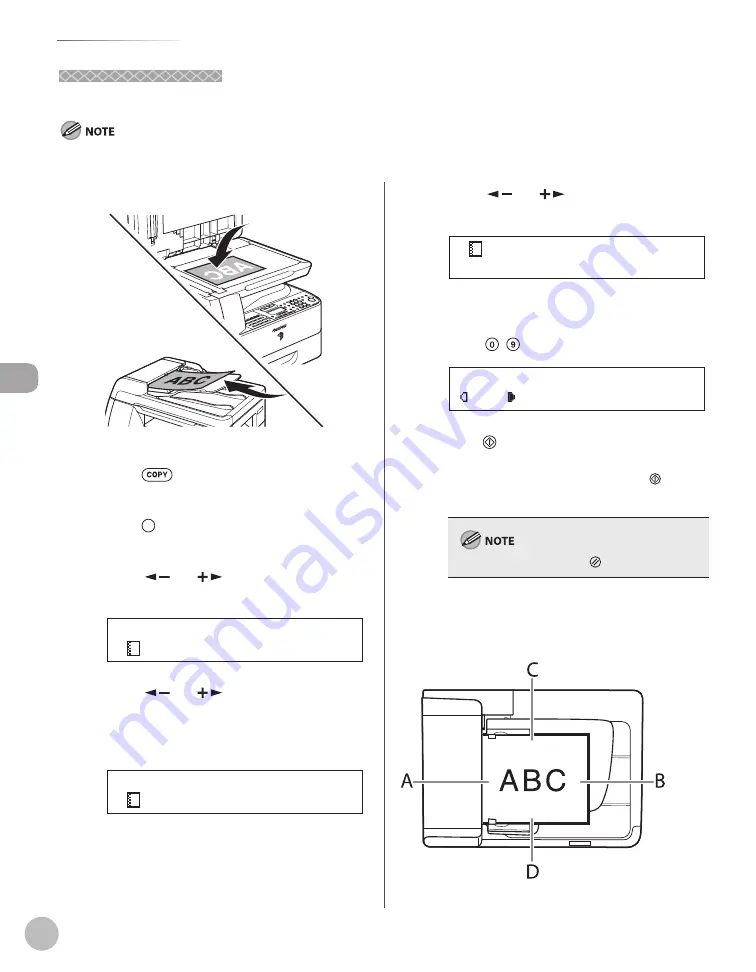
The locations of the binding holes to be erased are
shown in the illustration below.
ADF
●
Summary of Contents for imageRUNNER 1025
Page 90: ...Copying 4 3 Overview of Copy Functions p 4 17 p 4 19 p 4 25 ...
Page 93: ...Copying 4 6 Canceling Copy Jobs 5 Press Stop to return to the standby mode ...
Page 118: ...Copying 4 31 Erasing Shadows Lines Platen Glass C D A B A LEFT B RIGHT C TOP D BOTTOM ...
Page 123: ...Copying 4 36 ...
Page 193: ...Fax imageRUNNER 1025iF Only 5 70 ...
Page 196: ...E Mail imageRUNNER 1025iF Only 6 3 Overview of E Mail Functions ...
Page 201: ...E Mail imageRUNNER 1025iF Only 6 8 ...
Page 204: ...Printing 7 3 Overview of the Print Functions p 7 7 p 7 10 p 7 9 ...
Page 216: ...Scanning 8 3 Overview of the Scanner Functions ...
Page 231: ...Settings from a PC 10 6 ...
Page 265: ...12 16 Maintenance ...
Page 315: ...14 32 Machine Settings ...


