61
Contents
Before Using
Getting Started
Design Center
Layout & Editing
Programmable
Stitch Creator
Quick Reference
Alphabetic Index
Design Center is used to create individual patterns from image files created with other applications. You
can also apply stitch patterns created with Programmable Stitch Creator to regions of images displayed
in Design Center. The resulting embroidery pattern can then be imported into the Layout & Editing
Design Page and combined with other patterns.
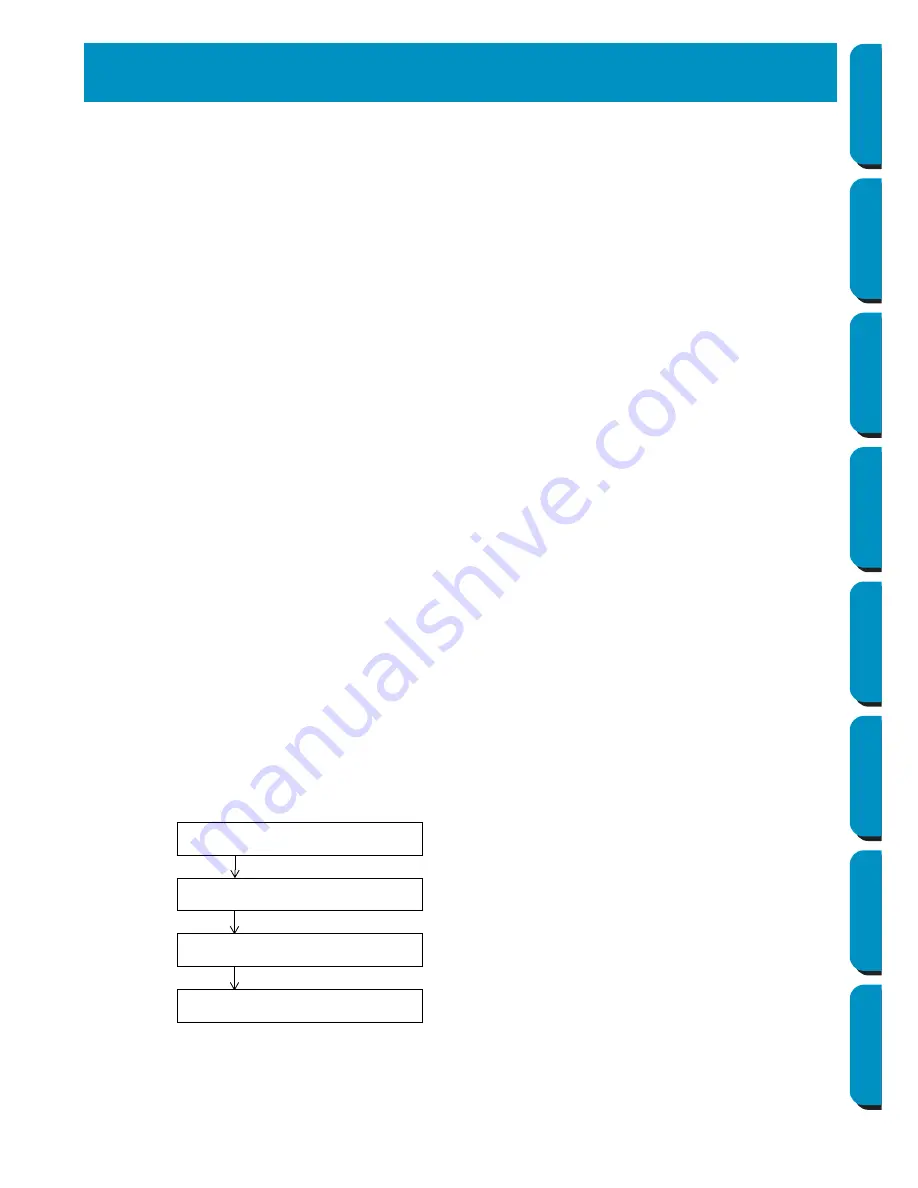
The embroidery pattern is created in four stages:
◆
STAGE 1
: Original image
You can open an image that you purchased from a commercial source, created using an application such
as Paintbrush or scanned from a printed source using a scanner and the appropriate software.
The image file must be in the uncompressed format, its file name extension must be
bmp
,
tif
,
jpg
,
j2k
,
pcx
,
wmf
,
png
,
eps
,
pcd
, or
fpx
.
Note that graphic files in other formats can be converted into the specified format if you have the proper
conversion software.
In Stage 1, the image is displayed with its original colors and you cannot modify it.
◆
STAGE 2
: Line image
To move from Stage 1 to Stage 2, you select maximum 5 colors of the image data that will be converted
into black outlines. Unselected colors will be converted into white. You can then correct the black and
white image using pens and erasers of different thicknesses.
If you save the file in Stage 2, its file name extension will be PEL.
◆
STAGE 3
: Figure handle image
When you move to Stage 3, the application automatically detects the outline of the black areas and
replaces it with a set of broken lines. The broken lines can be edited (you can move and delete points or
insert new points).
If you save the file in Stage 3, its file name extension will be PEM.
◆
STAGE 4
: Sewing settings
You can set the stitch, thread color, etc. for the outlines and regions to complete the embroidery data
If you save the file in Stage 4, its file name extension will be PEM.
If you have to interrupt your work at stage 2, 3 and 4, save the file and retrieve it later to resume working.
Design Center
STAGE 1
: Original image
STAGE 2
: Line image
STAGE 3
: Sewing settings
STAGE 4
: Figure handle image


