14
Contents
Before Using
Getting Started
Design Center
Layout & Editing
Programmable
Stitch Creator
Quick Reference
Alphabetic Index
Step 4
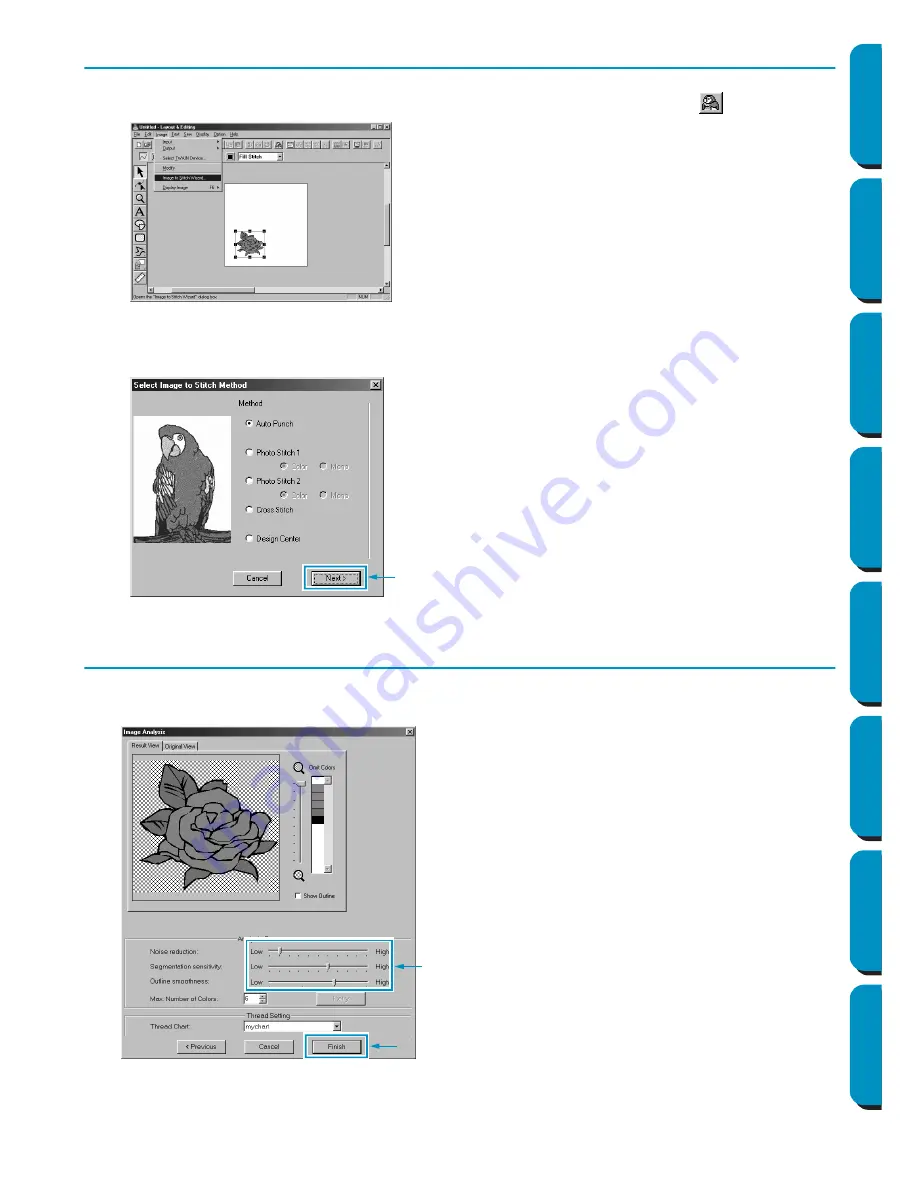
Using the Wizard and Selecting the Auto Punch Function
1
Click
Image
on the menu bar, then click
Image to Stitch Wizard
. Otherwise, click
on the Toolbar.
2
On the
Select Image to Stitch Method
dialog that appears, click the
Auto Punch
check box to select
it, and then click
Next
.
Step 5
Automatically Extracting Pattern Outlines
1
Outlines are automatically extracted from the image and the
Image Analysis
dialog appears.
2
After the necessary settings are selected, click
Finish
.
•
The following stitch methods are also avail-
able.
- Photo Stitch 1 (Color and Mono)
See the function details on page 183.
- Photo Stitch 2 (Color and Mono)
See the function details on page 190.
- Cross Stitch
See the function details on page 195.
- Design Center, Starting Design Center
See “Using Design Center” on page 16 or the
function details on page 61.
◆
Detailed settings for the imported image can
be adjusted and, if
Retry
is clicked, the new
settings can be applied.
◆
Areas that are not to be sewn appear with a
crosshatch pattern. Click each area to set
whether it should be sewn or not.


