164
Contents
Before Using
Getting Started
Design Center
Layout & Editing
Programmable
Stitch Creator
Quick Reference
Alphabetic Index
See also:
“Print Setup” on page 161, “Print” below and “Design Property” on page 223
■
Purpose:
Prints your Design Page and some sewing information.
Shortcut key:
+
Toolbar:
No button for this function
Operation:
1
Click
File
, then
.
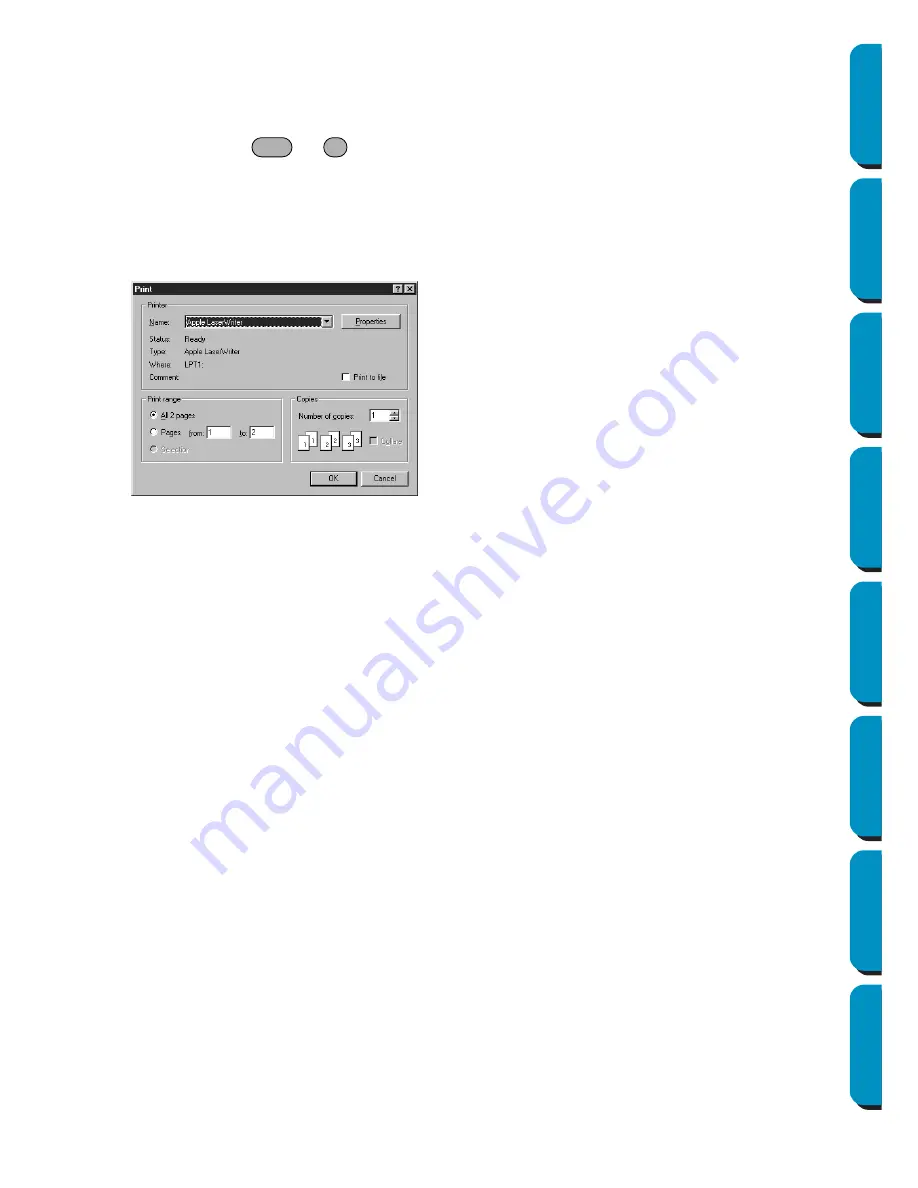
A
dialog similar to this will display.
2
Follow the instructions in the Windows manuals and in the manuals of your printer for the next
operations.
Depending on the
Print Type
setting, one or two pages will be printed for one pattern or one hoop
position.
Printing a Design Page for a multi-position embroidery frame (130
×
300 mm, 300
×
130 mm, 100
×
172 mm, or 172
×
100 mm)
If a Design Page for a multi-position embroidery frame is selected, each section of the design is printed
on a separate page.
•
If a 130
×
300 mm or 300
×
130 mm Design Page is selected, the design is divided into sections of
130
×
180 mm or 180
×
130 mm and each section is printed on a separate page.
•
If a 100
×
172 mm or 172
×
100 mm Design Page is selected, the design is divided into sections of
100
×
100 mm and each section is printed on a separate page.
Printing a Design Page for a multi-position embroidery frame
When
Actual Size
is selected:
1
Prints the entire Design Page at actual size
(However, for a 130
×
300 mm or 300
×
130 mm Design Page, a reduced image of the Design
Page is printed.)
2
Prints the pattern in the section of the Design Page that would be sewn with the first embroidery
frame installation position
3
Prints the color order for the pattern in the section of the Design Page that would be sewn with the
first embroidery frame installation position
4
Prints the pattern in the section of the Design Page that would be sewn with the second embroi-
dery frame installation position
◆
Make the necessary setting.
◆
Click
OK
to print.
◆
Click
Cancel
to exit.
◆
Click
Properties
to change the default
settings of the printer.
Ctrl
P


