213
Contents
Before Using
Getting Started
Design Center
Layout & Editing
Programmable
Stitch Creator
Quick Reference
Alphabetic Index
■
Cancel hole sewing
Purpose:
Cancels hole sewing setting.
Shortcut key:
No shortcut key for this function
Toolbar:
No button for this function
Operation:
1
Select a pattern that has been set for hole sewing.
2
Click
Sew
, then
Cancel Hole Sewing
.
The pair of patterns can now be moved independently.
See also:
“Set hole sewing” on page 212
■
Stitch to Block
Purpose:
Converts imported stitch patterns into blocks (manual punching data), allowing
you to set sewing attributes and to keep the stitching quality when scaling.
Shortcut key:
No shortcut key for this function
Toolbar:
No button for this function
Operation:
1
Select the imported stitch data opened in the Design Page to which you want to apply the setting to.
2
Click
Sew
, then
Stitch to Block
.
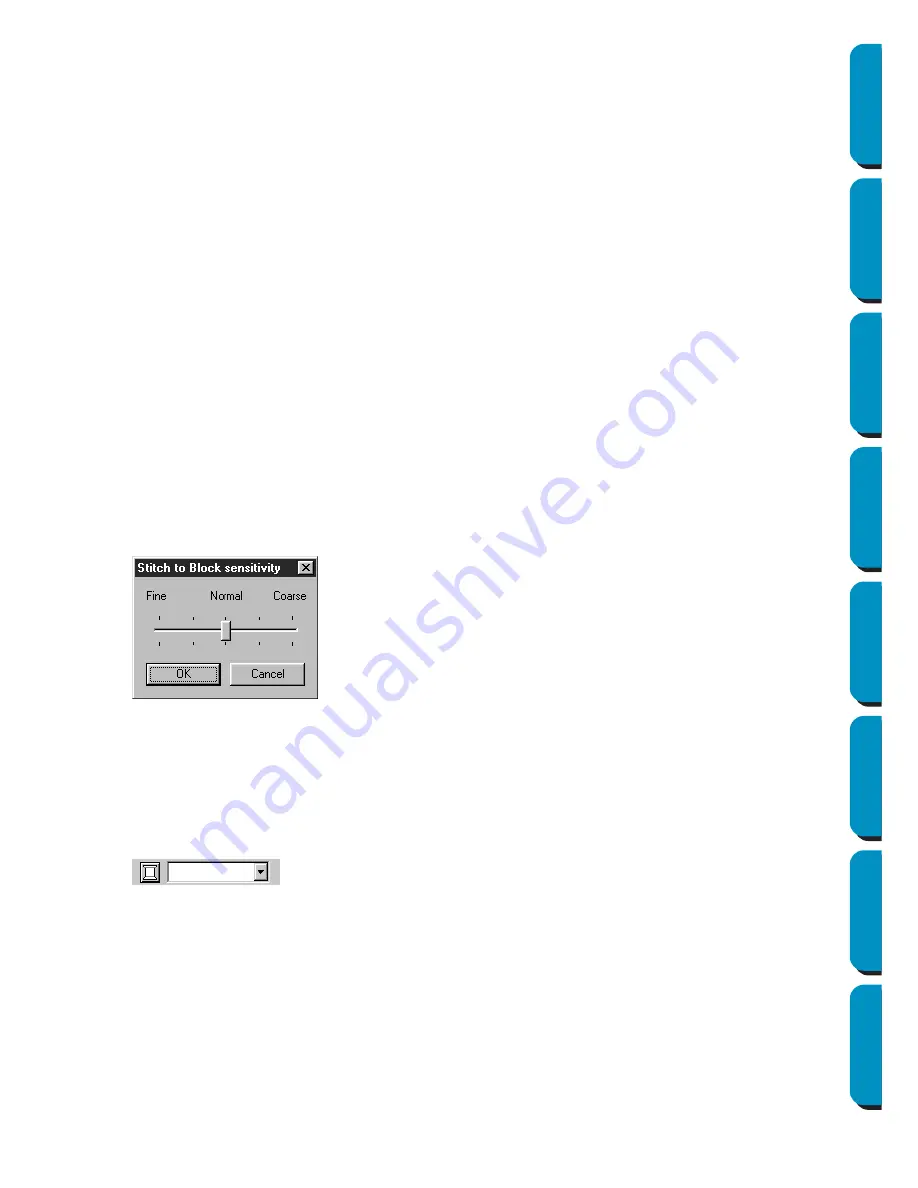
This dialog displays.
NOTE:
Applying this function may affect the content of some patterns.
You may further modify the pattern if needed with the help of the
Point Edit Mode
.
3
After applying this function, the Sewing Attributes bar displays as follows:
You can select and modify the sewing settings of the blocks of the same color.
To do this, select a block whose color or sewing settings you want to change. All the blocks of that
color are selected and the block color and stitch type display in the Sewing Attributes bar.
NOTE:
The sewing setting changes apply globally to the blocks of the same color.
Immediately after the operation, the data of the blocks is grouped, so they become one object.
◆
Select the sensitivity by dragging the
slider.
•
The normal setting should provide satis-
factory results in most cases, but depend-
ing on the complexity of a pattern, you
may need to select a coarser or a finer
stitch density.
◆
Click
OK
to confirm.
◆
Click
Cancel
to exit.


