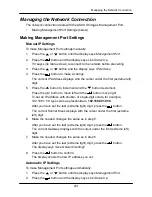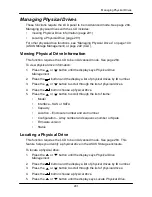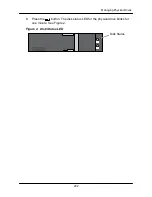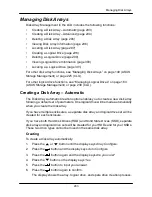
295
Managing Disk Arrays
2.
Press the
button again and the display says
000.
3.
Press the
button again and the display says
RAID Level.
4.
Press the
or
button until the display shows the RAID level you want.
Note that the available RAID levels depend on the number of physical drives
in your disk array.
5. Press the
button to choose the RAID level shown on the screen.
The display shows the maximum available capacity.
6. Press the
or
button until the display shows the capacity you want.
7. Press the
button to choose the capacity shown on the screen.
The display shows the default stripe size.
The choices are
64 KB
,
128 KB
,
256 KB
,
512 KB
, and
1 MB.
8. Press the
or
button until the display shows the stripe size you want.
9. Press the
button to choose the stripe size shown on the screen.
The display shows the default sector size.
The choices are
512 B
;
1 KB
,
2 KB
, and
4 KB
10. Press the
or
button until the display shows the sector size you want.
The display shows the default read policy.
The choices are
ReadCache
,
ReadAhead
and
None
.
11. Press the
or
button until the display shows the read policy you want.
12. Press the
button to choose the read policy shown on the screen.
The display shows the default write policy.
The choices are
WriteBack
and
WriteThru
(write though).
13. Press the
or
button until the display shows the write policy you want.
14. Press the
button to choose the write policy shown on the screen.
15. Press the
button again to confirm.
The display shows the logical drive creation process. When the creation is
finished, the LCD returns to
Logical Disk Create
.
Creating a Spare Drive
This function creates a non-revertible, global spare drive. If you want a revertible
or a dedicated sp
are drive, see ―Creating a Spare Drive‖ on page 172 or
page 236.
To create a spare drive for your new disk array:
1. Press the
button and the display says
Spare Drive Create.
Summary of Contents for DS300f
Page 1: ...ASUS Storage DS300f DS300i User Manual Version 1 0 ...
Page 10: ...x Language 178 Closing Smart NAS Console 178 ...
Page 27: ...8 Chapter 1 Introduction to ASUS Storage ...
Page 57: ...3 8 Chapter 2 ASUS Storage Installation ...
Page 73: ...54 Chapter 3 ASUS Storage Setup ...
Page 164: ...14 5 Chapter 4 Management with ASUS Storage Management ...
Page 221: ...202 Chapter 5 SmartNAVI ...
Page 235: ...216 Chapter 6 Management with the CLU Figure 4 Controller Status LED Controller Status ...
Page 337: ...318 Chapter 8 Maintenance ...
Page 425: ...406 Chapter 11 Support ...
Page 433: ...414 Appendix A Setting up NAS Network Drives ...
Page 449: ...430 Index ...


