


234
Chapter 6: Management with the CLU
To locate a disk array:
1. From the Main Menu, highlight
Disk Array Management
and press Enter.
2. Highlight the disk array you want and press Enter.
3. Highlight
Locate Disk Array
and press Enter.
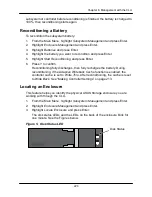
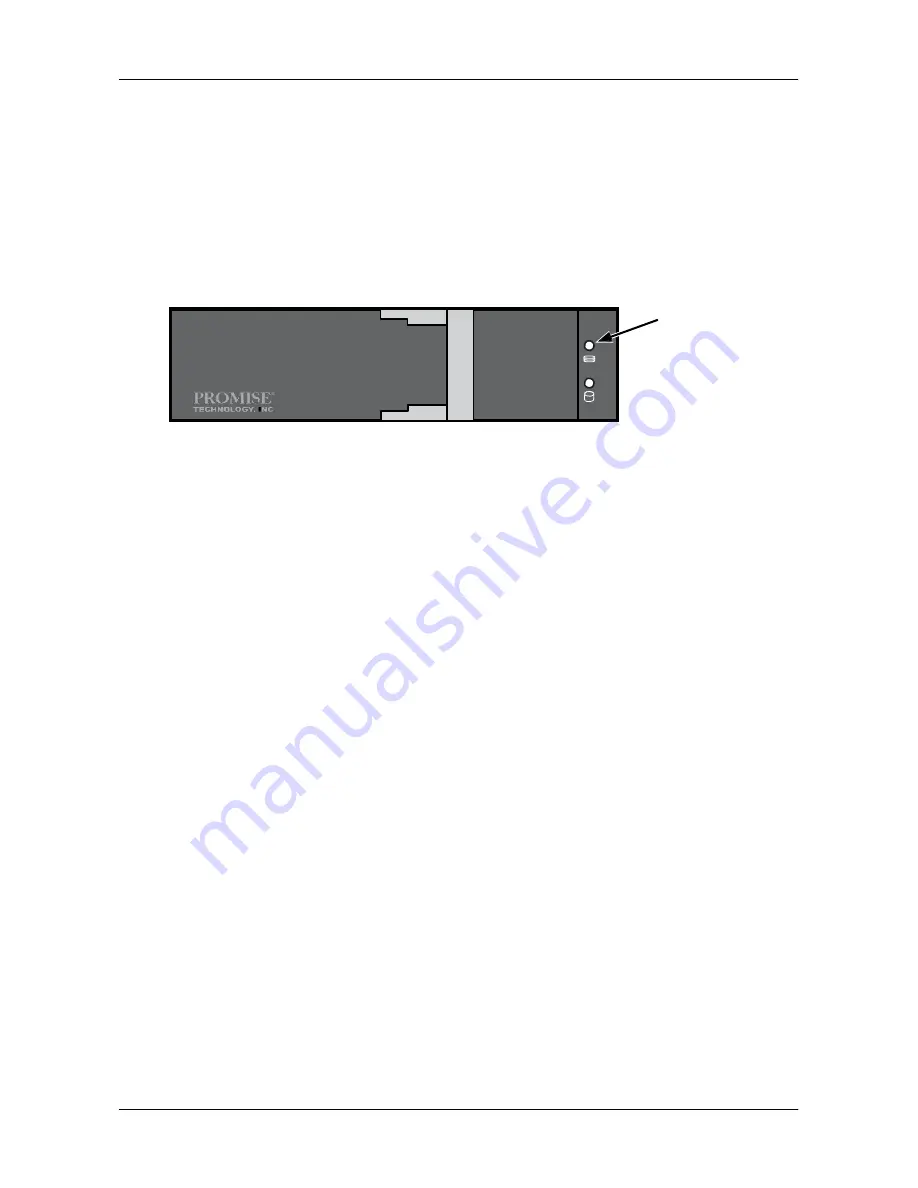
The disk status LEDs for the physical drives in the disk array blink for one
minute.
Figure 8. Disk Status LED
Disk Status
Creating a Logical Drive
You can create logical drives on existing disk arrays if there is available space in
the array. For more information on the choices below,
see ―Chapter 9:
Technology Backgro
und‖ on page 319.
To create a logical drive from an existing disk array:
1. From the Main Menu, highlight
Disk Array Management
and press Enter.
2. Highlight the disk array in which you want to create a logical drive and press
Enter.
3. Highlight
Create New Logical Drive
and press Enter.
The Disk Array ID number and Maximum capacity available for the new
logical drive are displayed.
4. Highlight the following parameters and press the backspace key to erase the
current value:
•
Alias
– Type an alias into the field, if desired. Maximum of 31
characters. Use letters, numbers, space between words and
underscore.
•
Capacity
– Maximum capacity shown. Enter a smaller capacity if
desired.
5. Highlight the following parameters and press the spacebar to toggle though
the available choices:
•
Stripe size
– Press the spacebar to choose: 64 KB, 128 KB, 256 KB,
512 KB, or 1 MB
•
Sector size
– Press the spacebar to choose: 512 B; 1 KB, 2 KB, or 4 KB
•
Write Policy
– Press spacebar to choose: Write Back or Write Through
Summary of Contents for DS300f
Page 1: ...ASUS Storage DS300f DS300i User Manual Version 1 0 ...
Page 10: ...x Language 178 Closing Smart NAS Console 178 ...
Page 27: ...8 Chapter 1 Introduction to ASUS Storage ...
Page 57: ...3 8 Chapter 2 ASUS Storage Installation ...
Page 73: ...54 Chapter 3 ASUS Storage Setup ...
Page 164: ...14 5 Chapter 4 Management with ASUS Storage Management ...
Page 221: ...202 Chapter 5 SmartNAVI ...
Page 235: ...216 Chapter 6 Management with the CLU Figure 4 Controller Status LED Controller Status ...
Page 337: ...318 Chapter 8 Maintenance ...
Page 425: ...406 Chapter 11 Support ...
Page 433: ...414 Appendix A Setting up NAS Network Drives ...
Page 449: ...430 Index ...


