9»14 Electrical
system
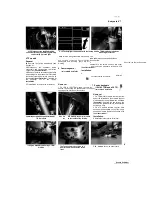
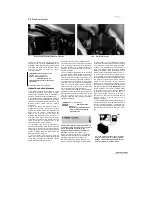
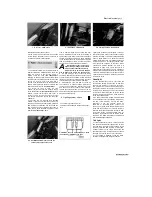
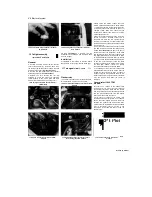
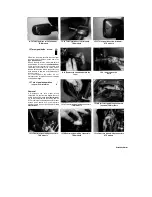
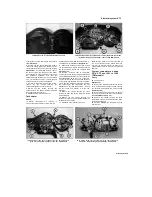
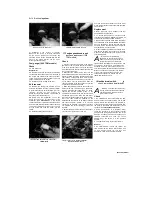
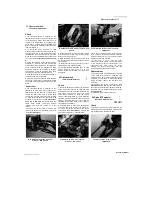
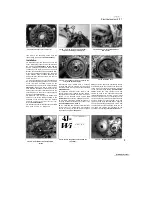
16.26a Pull out the bulbholder...
21 Installation is the reverse of removal.
Make sure the wiring is correctly connected.
As you look at the back of the cluster, the
green/red wire is for the left-hand terminal, the
black for the middle terminal, and the brown
for the right-hand terminal.
Fuel gauge (1999 TDM models)
Check
22 See Section 17.
Replacement
23
Remove the instrument cluster (see Section
15). Remove the seven screws from the base of
the cluster and separate the upper and lower
covers from the instrument assembly. The fuel
gauge is retained by three screws.
24 Installation is the reverse of removal.
Bulb renewal
25 Remove the fairing (see Chapter 8). The
bulbs are accessible with the instrument cluster
in place, but access is quite restricted. If it is too
restricted, unscrew the nuts securing the
instrument cluster and displace it as required to
improve access (see Section 15).
26
Gently pull the bulbholder out of the
instrument casing, then pull the bulb out of the
bulbholder
(see illustrations).
If the socket
contacts are dirty or corroded, scrape them clean
and spray with electrical contact cleaner before a
new bulb is installed. Carefully push the new bulb
into the holder and push the holder into the
casing.
27 Install the fairing (see Chapter 8).
16.26b ... and remove
the bulb
17 Fuel gauge and sender unit
-
check and replacement (1999
TDM models)
Check
1 If the fuel gauge fails to operate or the warning
light doesn't come on when the fuel level falls to
a low level, the fuel sender unit in the tank may
be at fault. Remove the fuel sender unit from the
tank as described below.
2 Reconnect the sender wiring, then turn the
ignition ON and manually raise its float. With the
float fully raised the gauge needle should swing
over to the F on the gauge. Now lower the float
and check that the needle swings over to the E
on the gauge. Turn the ignition OFF when the
check is complete. If the gauge does not operate
as described it should be renewed.
3 Make the following test with the sender unit
disconnected from the bike and on the bench.
Using a multimeter set to the ohms x 1 range,
connect the meter's positive probe to the
green/red wire terminal of the wire connector and
its negative probe to the black wire terminal of
the connector. With the float in the down position,
90 to 100 ohms should be indicated on the
meter. Raise the float up to its highest position
and check the meter reading - 4 to 10 ohms
should now be indicated. If the sender unit does
not produce the correct readings it must be
renewed.
4 Before renewing the fuel gauge or the sender
unit, check that the fault is not due to a
poor wire connection or break in any of the circuit
wiring. Check that the fuel level warning light bulb
has not blown.
Replacement
5 Refer to Section 16 for renewal of the fuel
gauge and warning light bulb.
6 To access the sender unit, first remove the
fuel tank as described in Chapter 4 and drain ail
fuel from the tank into a suitable container.
7 Remove the four bolts which retain the sender
unit to the base of the tank. Withdraw the sender
unit very carefully so that its float and arm and
not bent. Check that the float is not punctured
and that the arm moves smoothly.
8 When installing the sender unit, always use a
new gasket between the sender and tank and
make sure that the washers are in place on the
four retaining bolts.
Warning: Petrol is extremely
flammable, so take extra precautions
when you work on any part of the fuel
system. Don't smoke or allow open
flames or bare light bulbs near the work area, and
don't work in a garage where a natural gas-type
appliance is present. If you spill any fuel on your
skin, rinse it off immediately with soap and water.
When you perform any kind of work on the fuel
system, wear safety glasses and have a fire
extinguisher suitable for a class B type fire
(flammable liquids) on hand.
18 Ignition (main) switch
-
fe
check, removal and installation
S^
Warning: To prevent the risk of short
circuits, disconnect the battery negative
(-ve) lead before making any ignition
(main) switch checks.
Check
1 On TDM models, remove the fairing. On TRX
models remove the air filter housing, and on XTZ
models remove the fuel tank (see Chapter 4).
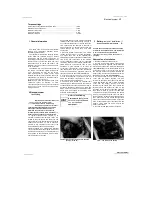
Trace the ignition (main) switch wiring back from
the base of the switch and disconnect it at the
connector (see
illustrations and 15.3b).
2 Using an ohmmeter or a continuity tester,
check the continuity of the connector terminal
pairs (see the
wiring diagrams
at the end of this
Chapter). Continuity should exist between the
terminals connected by a solid line on the
diagram when the switch is in the indicated
position.
3 If the switch fails any of the tests, renew it.
Removal
4 On TDM models, remove the fairing. On
TRX models remove the air filter housing, and
on XTZ models remove the fuel tank (see
Chapter 4). Trace the ignition (main) switch
Scaned by Stalker
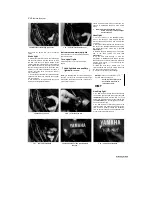
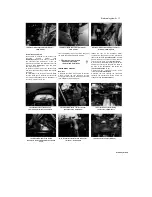
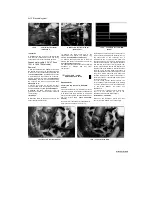
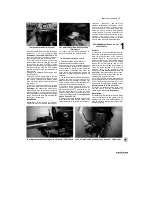
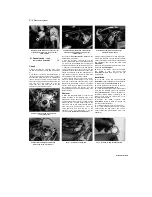
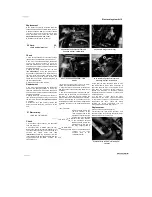
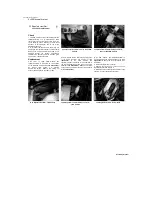
18.1a Ignition switch wiring connector-
TDM models
18.1b
Ignition switch
wiring connector
(arrowed) - XTZ models
A
A
Содержание XTZ750
Страница 174: ...UNREGISTERED VI ScanedbyStalker UNREGISTERED VI ...
Страница 207: ...Wiring diagrams 9 29 _____Scaned by Stalker 5 l 6o Cxj fi I JICM ...
Страница 208: ...UNREGISTERED VI 9 30 Wiring diagrams UNREGISTERED VERSION 01 ONREGISTEREDVI Scaned by Stalker ONREGISTERED VERSION 0 ...
Страница 209: ...I UNREGISTERED VI Wiring diagrams 9 31 ____ Scaned by Stalker UNREGISTERED VERSION OF PICTURE DESK ...
Страница 210: ...9 32 Wiring diagrams Scaned by Stalker ...
Страница 211: ...XTZ750 gauge Starter circuit Neutral Starter cut off relay switch rnotor ...

