Brakes, wheels and tyres 7»3
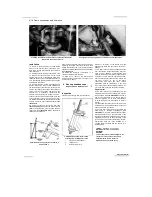
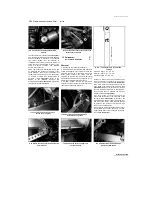
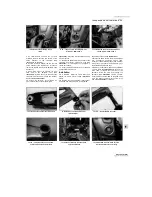
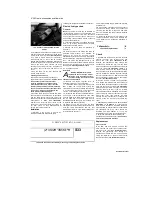
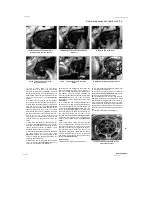
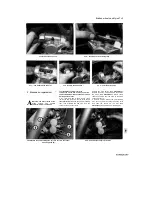
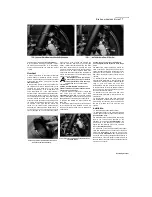
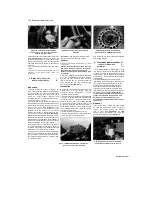
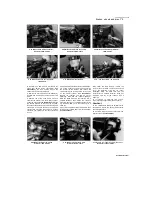
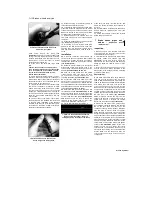
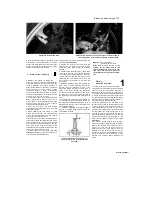
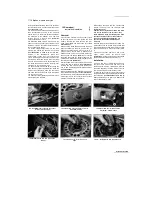
2.1a Remove the pad cover...
2.1b ... then remove the retaining clips .
2.1c ... and withdraw the pad pins
2.1 d Remove the pad spring ...
2.1 e ... and lift out the pads
2 Brake pads - replacement ^
Warning: The dust created by the
brake
system
may
contain
asbestos, which is harmful to
your health. Never blow it out with
compressed air and don't inhale any of it. An
approved filtering mask should be worn when
working on the brakes.
1
On TDM and TRX models, where fitted,
remove the pad cover from the top of the caliper
(see illustration).
Remove the pad pin retaining
clips, then withdraw the pad pins from the
caliper, noting how they locate
against the pad spring
(see illustrations).
Remove the spring, noting how it fits, then lift out
the pads
(see illustrations).
Where fitted,
remove the shims from the back of the pads,
noting how they fit.
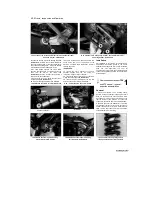
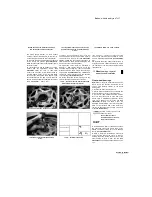
2 On XTZ models, slacken the pad retaining
pins, then unscrew the caliper mounting bolts
and slide the caliper off the disc
(see
illustrations).
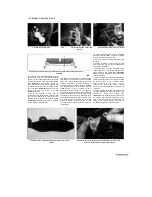
Unscrew the pad retaining pins
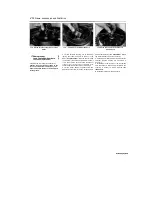
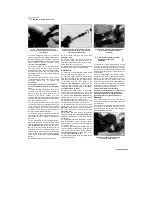
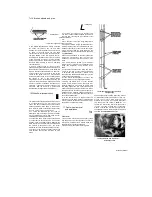
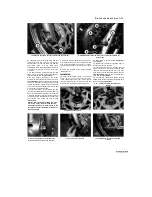
2.2a Slacken the pad retaining pins (A), then unscrew the caliper
mounting bolts (B)...
2.2b ... and slide the caliper off the disc
Scaned by Stalker
A
Содержание XTZ750
Страница 174: ...UNREGISTERED VI ScanedbyStalker UNREGISTERED VI ...
Страница 207: ...Wiring diagrams 9 29 _____Scaned by Stalker 5 l 6o Cxj fi I JICM ...
Страница 208: ...UNREGISTERED VI 9 30 Wiring diagrams UNREGISTERED VERSION 01 ONREGISTEREDVI Scaned by Stalker ONREGISTERED VERSION 0 ...
Страница 209: ...I UNREGISTERED VI Wiring diagrams 9 31 ____ Scaned by Stalker UNREGISTERED VERSION OF PICTURE DESK ...
Страница 210: ...9 32 Wiring diagrams Scaned by Stalker ...
Страница 211: ...XTZ750 gauge Starter circuit Neutral Starter cut off relay switch rnotor ...

