Electrical system y»j>
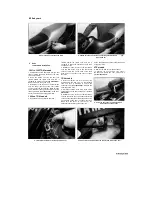
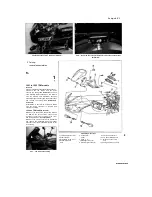
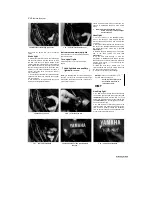
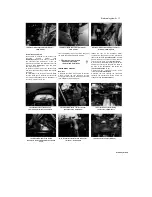
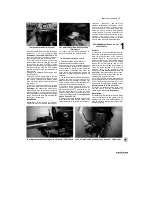
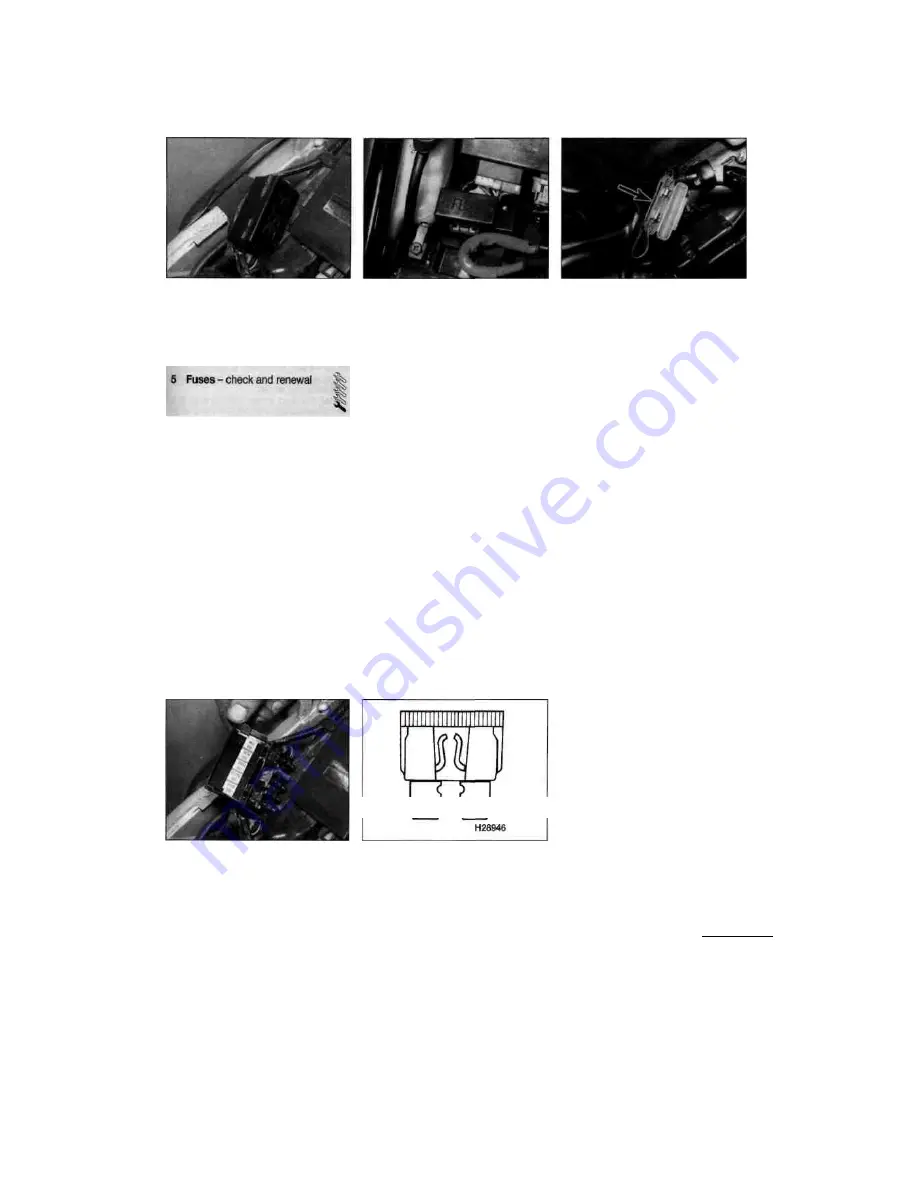
5.1a Fusebox -
TDM
models
5.1 b Fusebox - TRX models
5.1c Cooling fan fuse
-
XTZ models
4
Install the battery (see Section 3).
5 If the motorcycle sits unused for long periods
of time, charge the battery once every month to
six weeks and leave it disconnected.
1 The electrical system is protected by fuses of
different ratings. On TDM and TRX models, the
fuses are housed in the fusebox, which is
located under the seat
(see illustrations),
although on 1996-on TDM and all TRX models
the main fuse is located on the starter relay (see
Section 27). On XTZ models, the main fuse is
housed in the battery bracket on the front of the
battery, while the cooling fan fuse is fitted in line
with the wiring for the fan
(see illustration).
2
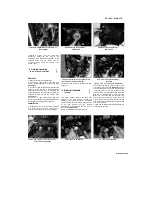
To access the fuses on TDM and TRX
models, remove the seat (see Chapter 8) and
unclip the fusebox lid
(see illustration).
On XTZ
models, remove the left-hand side cover to
access the main fuse (see Chapter 8), and the
fuel tank to access the cooling fan fuse (see
Chapter 4).
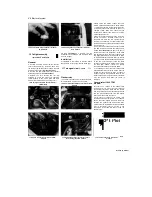
3 The fuses can be removed and checked
visually. If you can't pull the fuse out with your
fingertips, use a pair of suitable pliers. TDM and
TRX models use flat-blade type fuses and the
XTZ model uses glass cartridge type fuses. A
blown fuse is easily identified by a break in the
element
(see illustration).
Each
fuse is clearly marked with its rating and must
only be replaced by a fuse of the correct rating. A
spare fuse of each rating is housed in the fusebox
on TDM and TRX models, and a spare main fuse
in the battery bracket on XTZ models. If a spare
fuse is used, always renew it so that a spare of
each rating is carried on the bike at all times.
Warning: Never put in a fuse of a
higher rating or bridge the terminals
with any other substitute, however
temporary it may be. Serious damage
may be done to the circuit, or a fire may start.
4 If a fuse blows, be sure to check the wiring
circuit very carefully for evidence of a short-circuit.
Look for bare wires and chafed, melted or burned
insulation. If the fuse is renewed before the cause
is located, the new fuse will blow immediately.
5 Occasionally a fuse will blow or cause an
open-circuit for no obvious reason. Corrosion of
the fuse ends and fusebox terminals may occur
and cause poor fuse contact. If this happens,
remove the corrosion with a wire brush or emery
paper, then spray the fuse end and terminals with
electrical contact cleaner.
6 Lighting system - check
1
The battery provides power for
operation of the headlight, tail light, brake light,
turn
signals and instrument cluster lights. If none of
the lights operate, always check battery voltage
before proceeding. Low battery voltage indicates
either a faulty battery or a defective charging
system. Refer to Section 3 for battery checks and
Sections 30 and 31 for charging system tests.
Also, check the condition of the fuses. When
checking for a blown filament in a bulb, it is
advisable to back up a visual check with a
continuity test of the filament as it is not always
apparent that a bulb has blown. When testing for
continuity, remember that on tail light and turn
signal bulbs it is often the metal body of the bulb
which is the earth.
Headlight
2
If the headlight fails to work, first check the
fuse with the key ON (see Section 5), and then
the bulb (see Section 7). If they are both good,
use jumper wires to connect the bulb directly to
the battery terminals. If the light comes on, the
problem lies in the wiring or one of the switches
in the circuit. Refer to Section 19 for the switch
testing procedures, and also the wiring diagrams
at the end of this Chapter.
3 On 1996 to 1998 TDM models, a diode is fitted
in the headlight circuit (see
Wiring Diagrams
at
the end of the Chapter). To test the diode,
disconnect it from the harness. Using an
ohmmeter or continuity tester, connect the
positive (+ve) probe to the female terminal of the
diode and the negative (-ve) probe to the male
terminal. The diode should show continuity. Now
reverse the probes. The diode should show no
continuity. If it doesn't behave as stated, renew
the diode. The diode is located on the left-hand
side of
the
headlight assembly.
Tail light
4 If the tail light fails to work, check the bulbs
and the bulb terminals first (see Section 9), then
the fuse, then check for battery voltage at the
blue/red (TDM and XTZ models), or blue (TRX
models) terminal on the supply side of the tail
light wiring connector. If voltage is present, check
the earth circuit for an open or poor connection.
5 If no voltage is indicated, check the wiring
between the tail light and the ignition switch,
Scaned by Stalker
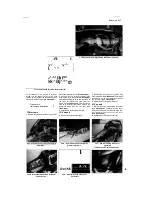
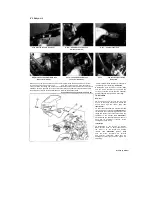
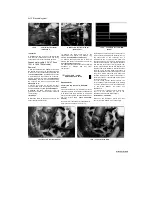
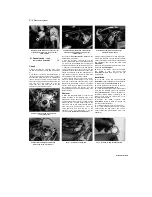
5.2 On TDM and TRX models, unclip the
fusebox lid to access the fuses
A
I
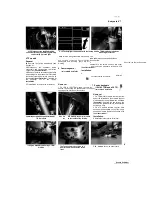
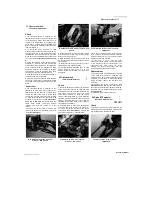
5.3 A blown fuse can be identified by a break
in its element - flat-blade type fuse
Содержание XTZ750
Страница 174: ...UNREGISTERED VI ScanedbyStalker UNREGISTERED VI ...
Страница 207: ...Wiring diagrams 9 29 _____Scaned by Stalker 5 l 6o Cxj fi I JICM ...
Страница 208: ...UNREGISTERED VI 9 30 Wiring diagrams UNREGISTERED VERSION 01 ONREGISTEREDVI Scaned by Stalker ONREGISTERED VERSION 0 ...
Страница 209: ...I UNREGISTERED VI Wiring diagrams 9 31 ____ Scaned by Stalker UNREGISTERED VERSION OF PICTURE DESK ...
Страница 210: ...9 32 Wiring diagrams Scaned by Stalker ...
Страница 211: ...XTZ750 gauge Starter circuit Neutral Starter cut off relay switch rnotor ...


