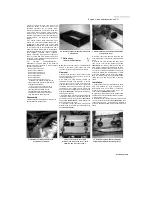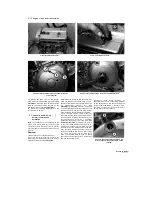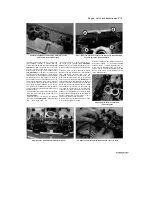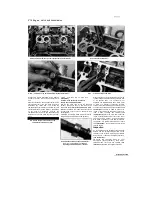
Engine, clutch and transmission 2»7
Conversely, a neglected engine, or one which
has not been run in properly, may require an
overhaul very early in its life.
3 Exhaust smoke and excessive oil consumption
are both indications that piston rings and/or valve
guides are in need of attention, although make
sure that the fault is not due to oil leakage.
4 If the engine is making obvious knocking or
rumbling noises, the connecting rods and/or main
bearings are probably at fault.
5 Loss of power, rough running, excessive valve
train noise and high fuel consumption rates may
also point to the need for an overhaul, especially
if they are all present at the same time. If a
complete tune-up does not remedy the situation,
major mechanical work is the only solution.
6 An
engine
overhaul
generally
involves
restoring the internal parts to the specifications of
a new engine. The piston rings and main and
connecting rod bearings are usually renewed and
the cylinder walls honed or, if necessary, re-
bored during a major overhaul. Generally the
valve seats are re-ground, since they are usually
in less than perfect condition at this point. The
end result should be a like new engine that will
give as many trouble-free miles as the original.
7 Before beginning the engine overhaul, read
through the related procedures to familiarise
yourself with the scope and requirements of the
job. Overhauling an engine is not all that difficult,
but it is time consuming. Plan on the motorcycle
being tied up for a minimum of two weeks. Check
on the availability of parts and make sure that
any necessary special tools, equipment and
supplies are obtained in advance.
8 Most work can be done with typical workshop
hand tools, although a number of precision
measuring tools are required for inspecting parts
to determine if they must be renewed. Often a
dealer will handle the inspection of parts and
offer advice concerning reconditioning and
renewal. As a
general rule, time is the primary cost of an
overhaul so it does not pay to Install worn or
substandard parts.
9 As a final note, to ensure maximum life and
minimum
trouble
from
a
rebuilt
engine,
everything must be assembled with care in a
spotlessly clean environment.
Caution: The engine is very heavy. Engine
removal and installation should be carried out
with the aid of at least one assistant; personal
injury or damage could occur if the engine
falls or is dropped. An hydraulic or
mechanical floor jack should be used to
support and lower or raise the engine if
possible.
Removal
1
Support the bike securely in an upright
position using an auxiliary stand. Work can be
made easier by raising the machine to a suitable
working height on an hydraulic ramp or a suitable
platform. Make sure the motorcycle is secure and
will not topple over (see
Tools and Workshop
Tips
in
the
Reference
section).
When
disconnecting any wiring, cables and hoses, it is
advisable to mark or tag them as a reminder to
where they connect.
2 If the engine is dirty, particularly around its
mountings, wash it thoroughly before starting any
major dismantling work. This will make work
much easier and rule out the possibility of caked
on lumps of dirt falling into some vital
component.
3 Remove the seat, side covers, fairing side
panels (TDM and XTZ models), fairing, and
engine bashplate (1991 to 1995 TDM models
and XTZ models) (see Chapter 8). On 1996-on
TDM models and XTZ models, the fairing can be
left in situ, though it is advisable to remove
it to avoid the possibility of damaging it while
removing the engine.
4 Remove the fuel tank (see Chapter 4).
5 Drain the engine oil and the coolant (see
Chapter 1).
6 Disconnect the negative (-ve) lead from the
battery, then disconnect the positive (+ve) lead
(see Chapter 9). On 1991 to 1995 TDM models,
remove the battery and the battery box (see
Chapter 9).
7 Remove the radiator (see Chapter 3).
8 Remove the exhaust system (see Chapter 4).
9 Remove the carburettors (see Chapter 4).
Detach the vacuum hose(s) from the inlet
manifolds. On 1991 to 1995 TDM models,
unscrew the bolts securing the choke knob to the
left-hand engine mounting bracket and position it
clear. Plug the engine inlet manifolds with clean
rag. On 1999 TDM remove the fuel pump and
fuel filter as a unit complete with their mounting
bracket (see Chapter 4).
10 On TDM and TRX models, remove the
thermostat housing (see Chapter 3). When
removing the housing, remove it along with the
pipe that bolts onto the valve cover, rather than
separating the hose from the pipe. The pipe is
secured by a bolt - make sure the pipe O-ring
does not fall into the engine when easing out the
pipe
(see illustration 7.2).
Discard the O-ring as
a new one must be used.
11
On XTZ models, unscrew the bolt securing
the coolant pipe to the valve cover and ease the
pipe out, making sure the O-ring does not fall into
the engine. Discard the O-ring as a new one
must be used.
12
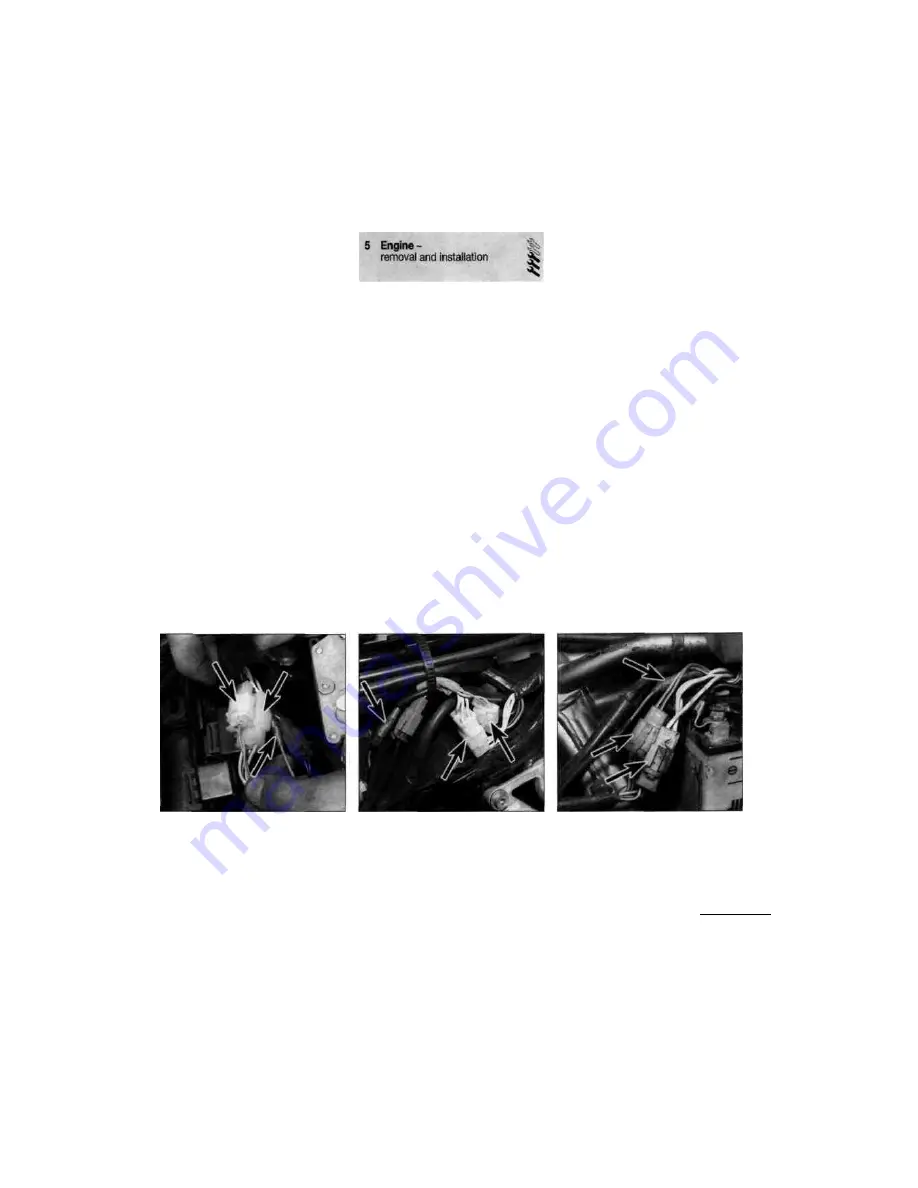
Trace the alternator, ignition pick-up coil and
neutral switch wiring from the top of the
alternator cover and disconnect it at the
connectors
(see illustrations).
Release the
wiring from any clips or ties, noting its routing,
and coil it so that it does not impede engine
removal.
13 Disconnect the spark plug caps from the
spark plugs and secure them clear of the engine.
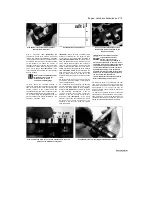
5.12a Alternator/pick-up coil/neutral
switch wiring connectors (arrowed) -
TDM models
5.12b Alternator/pick-up coil/neutral
switch wiring connectors (arrowed) -
TRX models
5.12c Alternator/pick-up coil/neutral
switch wiring connectors (arrowed) -
XTZ models
Staned by Stalker
Содержание XTZ750
Страница 174: ...UNREGISTERED VI ScanedbyStalker UNREGISTERED VI ...
Страница 207: ...Wiring diagrams 9 29 _____Scaned by Stalker 5 l 6o Cxj fi I JICM ...
Страница 208: ...UNREGISTERED VI 9 30 Wiring diagrams UNREGISTERED VERSION 01 ONREGISTEREDVI Scaned by Stalker ONREGISTERED VERSION 0 ...
Страница 209: ...I UNREGISTERED VI Wiring diagrams 9 31 ____ Scaned by Stalker UNREGISTERED VERSION OF PICTURE DESK ...
Страница 210: ...9 32 Wiring diagrams Scaned by Stalker ...
Страница 211: ...XTZ750 gauge Starter circuit Neutral Starter cut off relay switch rnotor ...

