2»36 Engine, clutch and transmission
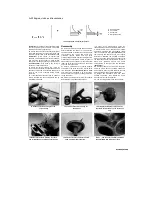
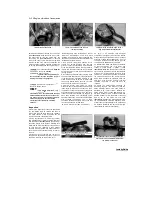
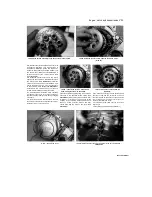
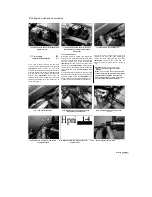
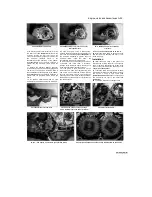
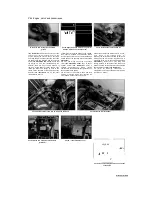
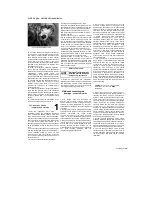
19.5 Draw the gearchange shaft and selector arm assembly off the
selector drum and out of the casing
Note how the roller locates in the neutral detent (arrow),
then unscrew the bolt and remove the stopper arm
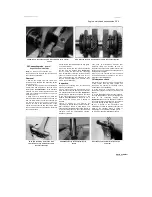
19.6b If required, unscrew the bolts (A) and remove the plate and the
spring (B)
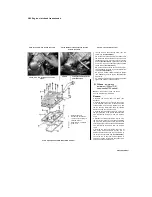
19.8 Gearchange shaft centralising spring can be removed after
releasing circlip and washer from shaft
selector arm locate onto the pins on the end of
the selector drum
(see illustration 19.12).
Grasp
the end of the shaft and withdraw the shaft/arm
assembly
(see illustration).
6
Note how the stopper arm spring ends
locate and how the roller on the arm locates in
the neutral detent on the selector drum
(gearbox in neutral), then unscrew the stopper
arm bolt and remove the arm, and on 1996-on
TDM models and all TRX models, the spacer
(see illustration).
To remove the spring,
unscrew the two remaining bolts securing the
selector drum retainer plate and remove the
plate - the spring sits behind the plate
(see
illustration).
Inspection
7
Check
the
selector
arm
for
cracks,
distortion and wear of its pawls, and check for
any corresponding wear on the selector pins
in the selector drum. Also check the stopper
arm roller and the detents in the selector drum
for any wear or damage, and make sure the
roller turns freely. Renew any components
that are worn or damaged.
8 Inspect the shaft centralising spring
(see
illustration)
and the stopper arm return spring for
fatigue, wear or damage; renew them if necessary.
The centralising spring is retained on the shaft by a
circlip and washer - a new circlip should be used if
removed. The stopper arm spring is secured by the
retainer plate (see Step 6). Also check that the
centralising spring locating pin in the crankcase is
securely tightened. If it is loose,
SpCtfJ
If*
W
J
M
#)
?
v
-
it
Tm
y
^-S^y
•*
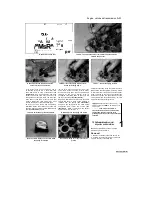
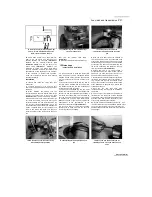
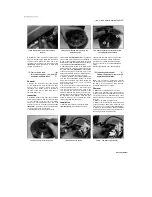
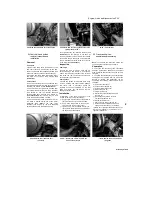
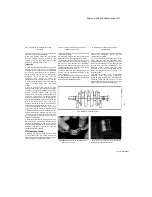
19.9a Check the shaft oil seal (arrowed)
19.9b If required, lever out the old seal...
Scaned by Stalker
remove it and apply a non-permanent thread
locking compound to its threads, then tighten it
securely.
9 Check the gearchange shaft for straightness
and damage to the splines. If the shaft is bent
you can attempt to straighten it, but if the splines
are damaged the shaft must be renewed. Also
check the condition of the shaft oil seal in the left-
hand side of the crankcase
(see illustration).
If it
is damaged,
Содержание XTZ750
Страница 174: ...UNREGISTERED VI ScanedbyStalker UNREGISTERED VI ...
Страница 207: ...Wiring diagrams 9 29 _____Scaned by Stalker 5 l 6o Cxj fi I JICM ...
Страница 208: ...UNREGISTERED VI 9 30 Wiring diagrams UNREGISTERED VERSION 01 ONREGISTEREDVI Scaned by Stalker ONREGISTERED VERSION 0 ...
Страница 209: ...I UNREGISTERED VI Wiring diagrams 9 31 ____ Scaned by Stalker UNREGISTERED VERSION OF PICTURE DESK ...
Страница 210: ...9 32 Wiring diagrams Scaned by Stalker ...
Страница 211: ...XTZ750 gauge Starter circuit Neutral Starter cut off relay switch rnotor ...

