UNREGISTERED VI
6*8 Frame, suspension and final drive
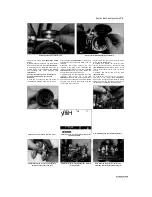
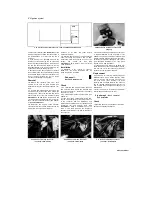
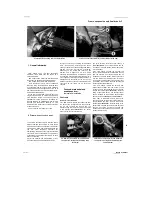
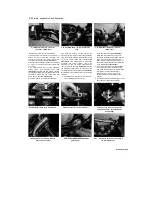
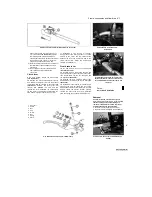
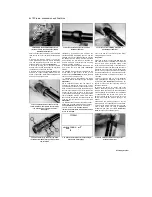
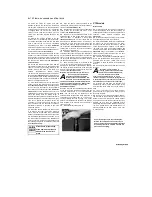
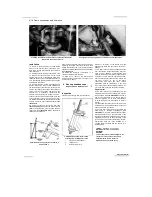
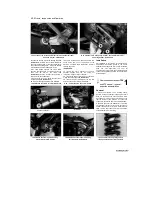
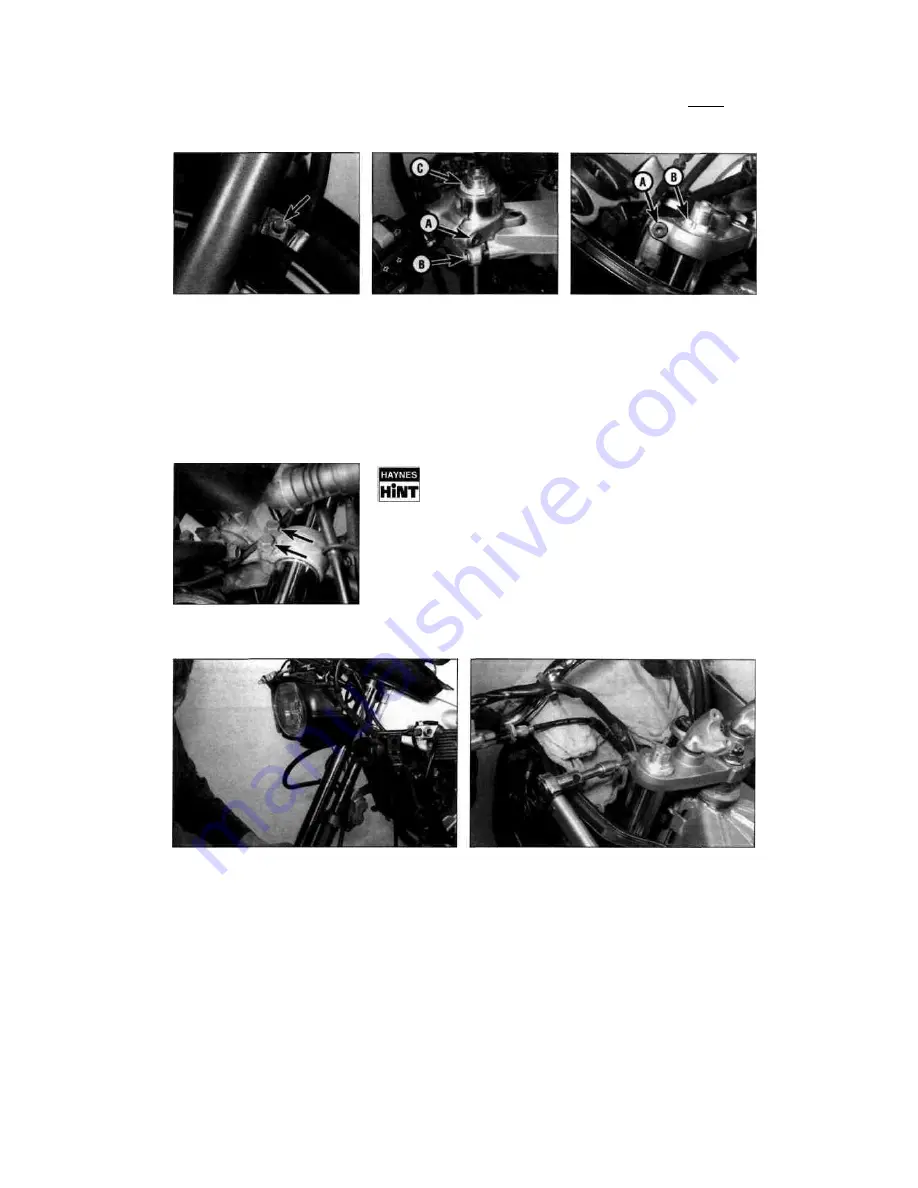
6.3 Brake hose clamp bolt (arrowed)
6.4 Handlebar holder clamp bolt (A), fork
clamp bolt (B), fork top bolt (C)
6.5 Slacken the fork clamp bolt (A), and If
required the fork top bolt (B)
3
Unscrew the brake hose clamp bolt from each
fork slider
(see illustration).
If not already done,
displace the front brake calipers (see Chapter 7).
There is no need to disconnect the hydraulic
hoses. Release the speedometer cable from any
guides, and loosen any cable ties around the top
of the fork tubes.
4 On TRX models, slacken the handlebar holder
clamp bolts
(see illustration).
5
Slacken the fork clamp bolts in the top yoke
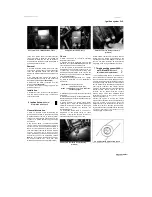
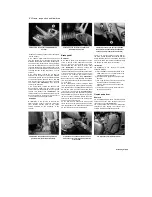
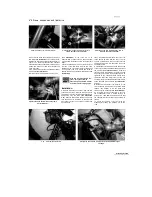
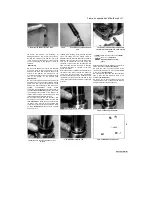
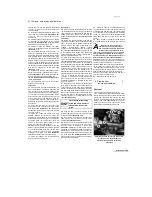
6.6a Slacken the bottom yoke fork clamp
bolts (arrowed)...
(see illustration).
If the forks are to be
disassembled, or if the fork oil is being changed,
it is advisable to slacken the fork top bolts at this
stage.
6 Note the alignment or amount of protrusion of
the tops of the fork tubes with the top yoke.
Slacken but do not remove the fork clamp bolts
in the bottom yoke, and remove the forks by
twisting them and pulling them downwards
(see
illustrations).
If the fork legs are seized in the
yokes, spray the area with
penetrating oil and allow time for
it to soak in before trying again.
Installation
7
Remove all traces of corrosion from the fork
tubes and the yokes. Slide the forks up through
the bottom yoke, then install the wiring ties where
appropriate onto the forks
(see illustration
6.6b).
Slide the forks up into the top yoke. Check
that the amount of protrusion of the fork tube
above the top yoke is as noted on removal and
equal on both
sides. On TDM and XTZ models, the tops of the
tubes should be flush with the top of the top
yoke. On TRX models, the top of the fork tube
should protrude 18.5 mm above the top of the
handlebar holder.
8 Tighten the fork clamp bolts in the bottom yoke
to the torque setting specified at the beginning of
the Chapter
(see illustration 6.6a).
If the fork
legs have been dismantled or if the fork oil has
been changed, the fork top bolts should now be
tightened to the specified torque setting. Now
tighten the fork clamp bolts in the top yoke, and
on TRX models the handlebar holder clamp bolts,
to the specified torque settings
(see illustration
and 6.4).
9
Install the front wheel (see Chapter 7), the
front mudguard (see Chapter 8), and the brake
calipers (see Chapter 7). Fit the brake hose
clamps onto the mudguard
(see illustration 6.3).
On all models except the 1999 TDM, make sure
the speedometer cable is routed through its
guide(s). On 1999 TDM models make sure that
the speedometer sensor lead is well secured by
its ties.
10 Check the operation of the front forks and
brakes before taking the machine out on the
road.
6.6b ...
and remove the forks
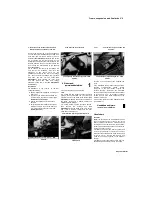
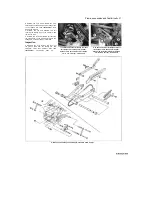
6.8 Tighten the various clamp bolts to their specified torque
settings
Staned by Stalker
UNREGISTERED VERSION OF PICTURE-DESK
Содержание XTZ750
Страница 174: ...UNREGISTERED VI ScanedbyStalker UNREGISTERED VI ...
Страница 207: ...Wiring diagrams 9 29 _____Scaned by Stalker 5 l 6o Cxj fi I JICM ...
Страница 208: ...UNREGISTERED VI 9 30 Wiring diagrams UNREGISTERED VERSION 01 ONREGISTEREDVI Scaned by Stalker ONREGISTERED VERSION 0 ...
Страница 209: ...I UNREGISTERED VI Wiring diagrams 9 31 ____ Scaned by Stalker UNREGISTERED VERSION OF PICTURE DESK ...
Страница 210: ...9 32 Wiring diagrams Scaned by Stalker ...
Страница 211: ...XTZ750 gauge Starter circuit Neutral Starter cut off relay switch rnotor ...

