Engine, clutch and transmission 2»51
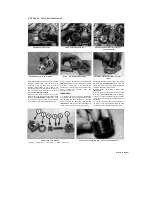
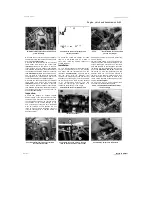
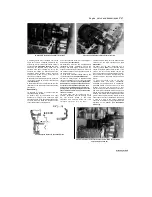
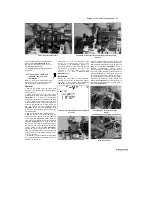
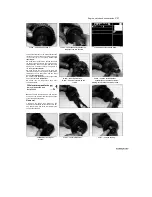
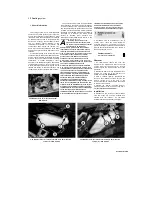
29.3 Carefully lift the crankshaft out of the
crankcase
crankcase half, taking care not to dislodge the
main bearing shells (see illustration).
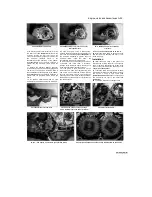
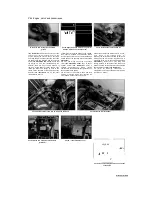
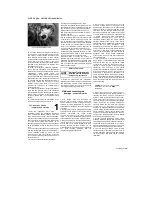
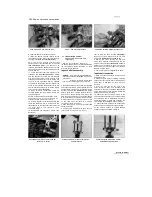
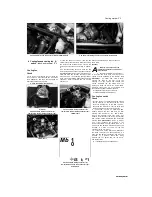
4 The main bearing shells can be removed
from the crankcase halves by pushing their
centres to the side, then lifting them out (see
illustration). Keep the shells in order.
Inspection
5 Clean the crankshaft with solvent, using a rifle-
cleaning brush to scrub out the oil passages. If
available, blow the crank dry with compressed
air, and also blow through the oil passages.
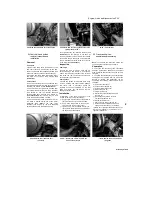
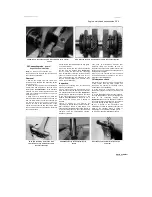
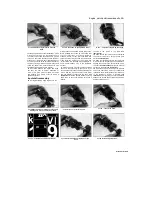
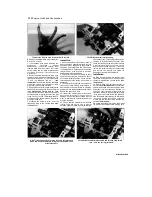
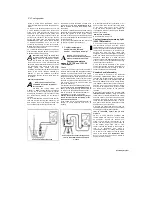
Check the drive gears for wear or damage (see
illustration). If any of the gear teeth are
excessively worn, chipped or broken, the
crankshaft must be renewed. If wear or damage
is found, check the driven gears on the balancer
shafts, oil pumps, water pump and clutch
housing.
6 Refer to Section 27 and examine the main
bearing shells. If they are scored, badly scuffed
or appear to have been seized, new bearings
must be installed. Always renew the main
bearings as a set. If they are badly damaged,
check the corresponding crankshaft journals.
Evidence of extreme heat, such as discoloration,
indicates that lubrication failure has occurred. Be
sure to thoroughly check the oil pump and
pressure relief valve as well as all oil holes and
passages before reassembling the engine.
7 Give the crankshaft journals a close visual
examination, paying particular attention where
damaged bearings have been discovered. If the
journals are scored or pitted in any way a new
crankshaft will be required. Note that undersizes
are not available, precluding the option of re-
grinding the crankshaft.
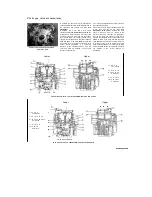
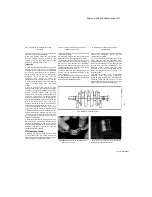
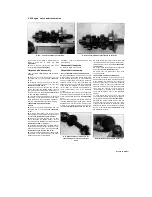
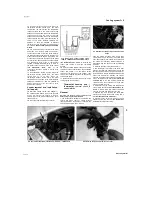
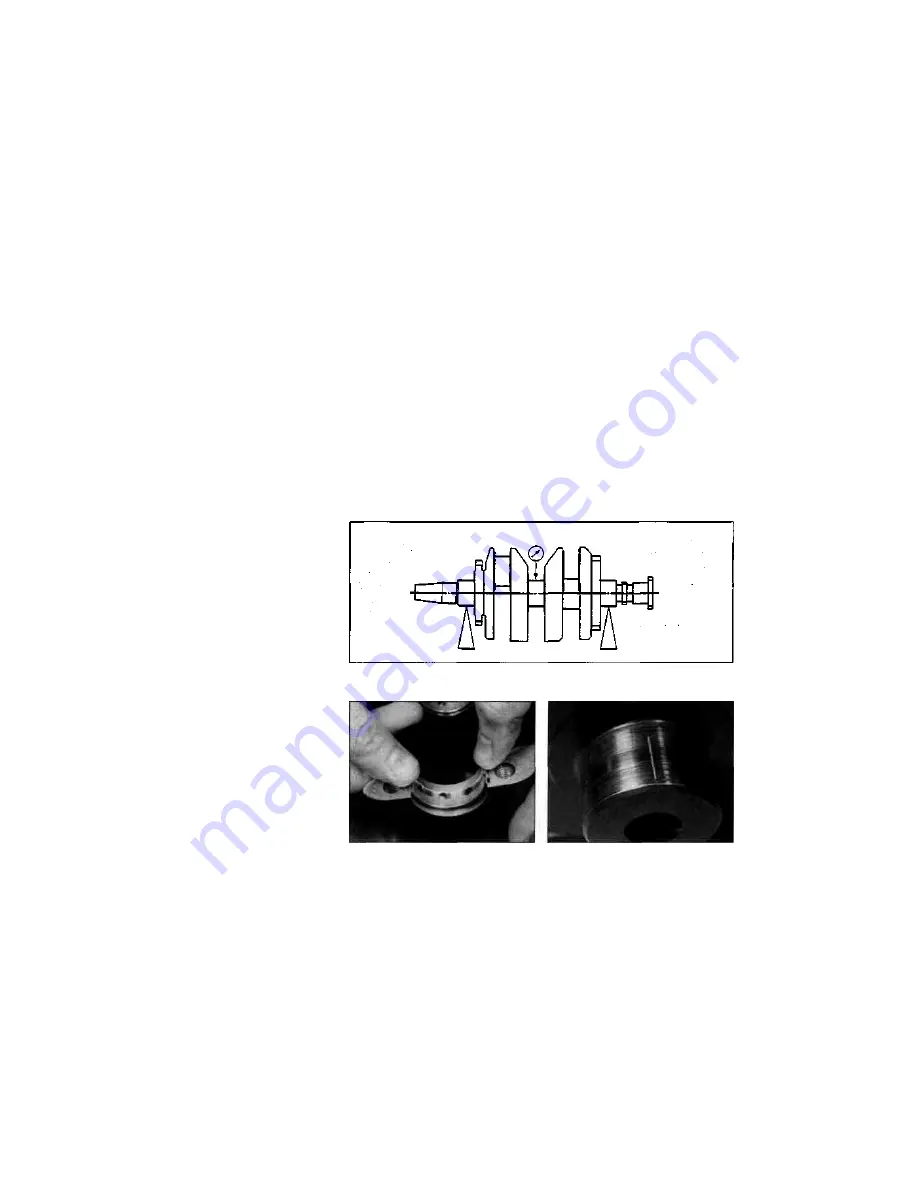
8 Place the crankshaft on V-blocks and check
the runout at the main bearing journals using a
dial gauge (see illustration). Compare the reading
to the maximum specified at the beginning of the
Chapter. If the runout exceeds the limit, the
crankshaft must be renewed.
Oil clearance check
9 Whether new bearing shells are being fitted
or the original ones are being re-used, the
main bearing oil clearance should be checked
before the engine is reassembled. Main
29.4 To remove a main bearing shell, push it
sideways and lift it out
bearing oil clearance is measured with a product
known as Plastigauge.
10 Clean the backs of the bearing shells and
the bearing housings in both crankcase halves.
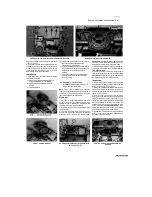
11 Press the bearing shells into their cutouts,
ensuring that the tab on each shell engages in
the notch in the crankcase (see illustration).
Make sure the bearings are fitted in the correct
locations and take care not to touch any shell's
bearing surface with your fingers.
12 Ensure the shells and crankshaft are clean
and dry. Lay the crankshaft in position in the
upper crankcase.
13 Cut several lengths of the appropriate size
Plastigauge (they should be slightly shorter than
the width of the crankshaft journals).
2
Scaned by
Stalker
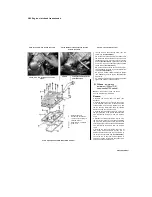
29.5 Check the condition of the gear and
sprocket teeth
Place a strand of Plastigauge on each (cleaned)
journal (see illustration). Make sure the
crankshaft is not rotated.
14 If removed, install the locating dowel in the
upper crankcase half (see illustration 25.8).
Carefully install the lower crankcase half on to
the upper half, making sure the dowel locates
correctly into the lower crankcase half (see
illustration 25.15). Check that the lower
crankcase half is correctly seated.
Note:
Do not
tighten the crankcase bolts if the casing is not
correctly seated.
15 Clean the threads of the 10 mm lower
crankcase
bolts
and
apply
molybdenum
disulphide oil (a 50/50 mixture of molybdenum
disulphide grease and new engine oil) to their
threads. Insert them with their washers in their
original locations. Clean the threads of the
29.8 Measuring crankshaft runout
29.13 Lay a strip of Plastigauge on each journal
parallel to the crankshaft centreline
29.11 Make
sure the tab on the shell locates
in the notch in the rod
Содержание XTZ750
Страница 174: ...UNREGISTERED VI ScanedbyStalker UNREGISTERED VI ...
Страница 207: ...Wiring diagrams 9 29 _____Scaned by Stalker 5 l 6o Cxj fi I JICM ...
Страница 208: ...UNREGISTERED VI 9 30 Wiring diagrams UNREGISTERED VERSION 01 ONREGISTEREDVI Scaned by Stalker ONREGISTERED VERSION 0 ...
Страница 209: ...I UNREGISTERED VI Wiring diagrams 9 31 ____ Scaned by Stalker UNREGISTERED VERSION OF PICTURE DESK ...
Страница 210: ...9 32 Wiring diagrams Scaned by Stalker ...
Страница 211: ...XTZ750 gauge Starter circuit Neutral Starter cut off relay switch rnotor ...


