Brakes, wheels and tyres 7*11
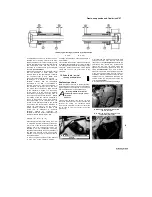
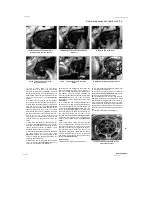
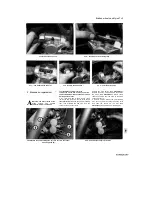
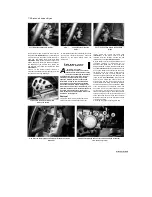
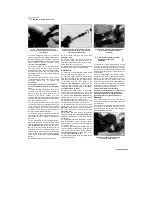
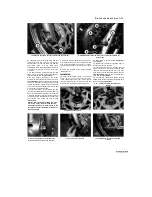
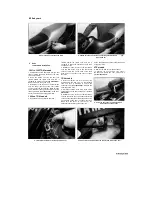
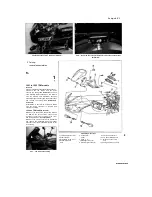
6.4b Master cylinder reservoir screw
(arrowed) - TRX models
6.4c Master cylinder reservoir boa
(arrowed) - XTZ models
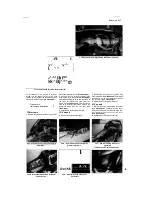
teser voir hose clamp (A),
brake banjo bolt (B) - TDM
models
6.5b Reservoir hose clamp (A), brake hose
banjo bolt (B), master cylinder mounting
bolts (C)- TRX models
■rn
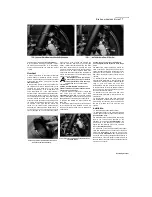
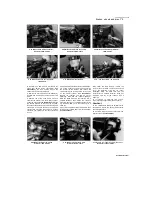
6.6 Remove the split pin (A) and withdraw
the clevis pin (B)
'
••■''..
,jj, , .4
I
]
I
f
e
,
i
r
Z * -
,. X , |
i
f
SftHBr' i;-
fv
■
_
'-""
^HLiltLj
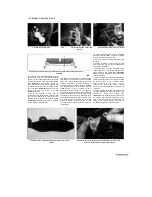
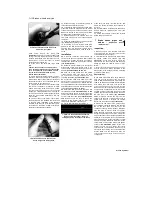
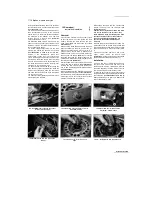
6.7 Master cylinder mounting bolts
(arrowed) - TDM shown
the clamp securing the reservoir hose to the
union on the master cylinder and detach the
hose (see illustrations 6.5a and b). 5
Unscrew the brake hose banjo bolt and
separate the brake hose from the master
cylinder,
noting
its
alignment
(see
illustrations). Discard the two sealing
washers as they must be renewed. Wrap the
;nd of the hose in a clean rag and suspend
:he hose in an upright position or bend it
town carefully and place the open end in a
;lean container. The objective is to prevent
wcessive loss of brake fluid, fluid spills and
lystem contamination.
1 Remove the split pin and washer from the
ilevis pin securing the brake pedal to the
naster cylinder pushrod (see illustration).
Vithdraw the clevis pin and separate the
ledal from the pushrod. Discard the split pin
s a new one must be used. ' Unscrew the
two bolts securing the master ylinder to the
bracket and remove the master ylindor (see
illustration and 6.5b).
Overhaul
8 If required, mark the position of the clevis
locknut on the pushrod, then slacken the
locknut and thread the clevis and its base nut
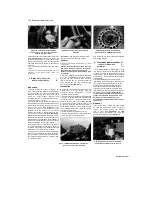
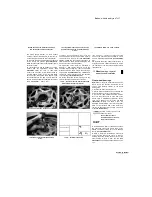
off the pushrod (see illustration).
9 Dislodge the rubber dust boot from the
base of the master cylinder to reveal the
pushrod retaining circlip (see illustrations).
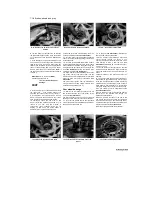
10 Depress the pushrod and, using
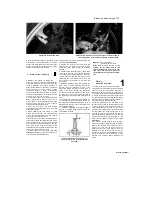
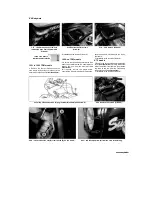
6.9a Master cylinder components
Rubber boot
Circlip
Piston/seal assembly
Spring
Master cylinder
6.8 Hold the clevis and slacken the
locknut
6.9b Remove the dust boot from (he
pushrod
Scaned by Stalker
Содержание XTZ750
Страница 174: ...UNREGISTERED VI ScanedbyStalker UNREGISTERED VI ...
Страница 207: ...Wiring diagrams 9 29 _____Scaned by Stalker 5 l 6o Cxj fi I JICM ...
Страница 208: ...UNREGISTERED VI 9 30 Wiring diagrams UNREGISTERED VERSION 01 ONREGISTEREDVI Scaned by Stalker ONREGISTERED VERSION 0 ...
Страница 209: ...I UNREGISTERED VI Wiring diagrams 9 31 ____ Scaned by Stalker UNREGISTERED VERSION OF PICTURE DESK ...
Страница 210: ...9 32 Wiring diagrams Scaned by Stalker ...
Страница 211: ...XTZ750 gauge Starter circuit Neutral Starter cut off relay switch rnotor ...

