0*14
Daily (pre-ride) checks
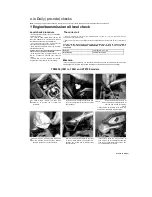
3 Coolant level check
Warning:
DO
NOT
remove the
radiator pressure cap to add coolant.
Topping up is done via the coolant
reservoir tank filler. DO NOT leave open
containers of coolant about, as it is
poisonous.
Before you start:
•
Make sure you have a supply of coolant
available - a mixture of 50% distilled water and
50% corrosion inhibited ethylene glycol anti-
freeze is needed.
Note:
Yamaha specify that soft
tap water can be used, but NOT hard
water. If in doubt, boil the water first or use only
distilled water.
• Always check the coolant level when the
engine is cold.
• Support the motorcycle in an upright position,
using an auxiliary stand if required, whilst
checking the level. Make sure the motorcycle is
on level ground.
Bike care:
• Use only the specified coolant mixture. It is
important that anti-freeze is used in the system
all year round, and not just in the
winter. Do not top the system up using only
water, as the system will become too diluted.
• Do not overfill the reservoir tank. If the coolant
is significantly above the UPPER level line at any
time, the surplus should be siphoned or drained
off to prevent the possibility of it being expelled
out of the breather hose.
• If the coolant level falls steadily, check the
system for leaks (see Chapter 1). If no leaks are
found and the level continues to fall, it is
recommended that the machine is taken to a
Yamaha dealer for a pressure test.
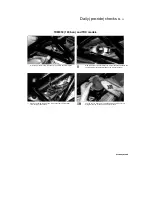
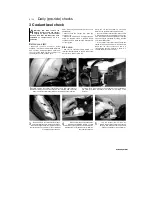
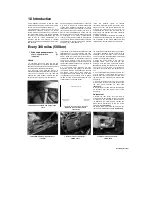
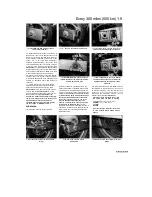
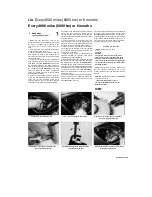
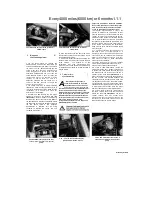
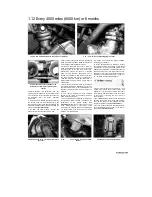
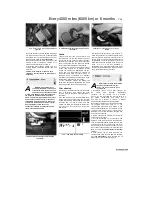
On TDM models, the coolant reservoir FULL and LOW level lines are
visible by looking up under the seat from the left-hand side of the rear
wheel. The coolant level lines (arrowed) are marked on the reservoir.
On TRX models, remove the seat (see Chapter 8). The coolant FULL
and LOW level lines (arrowed) are marked on the inside of the
reservoir.
On XTZ models, the coolant reservoir FULL
and LOW level lines are visible by looking up
under the mudguard from the right-hand side of
the rear wheel. The coolant level lines (arrowed)
are marked on the reservoir.
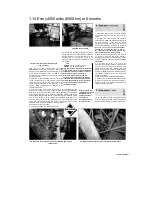
If the coolant level is not between the
UPPER and LOWER markings, on TDM
models remove the seat and on XTZ models the
left-hand side cover (see Chapter 8). Remove
the reservoir filler cap.
Top the coolant level up with the
recommended coolant mixture. Fit the cap
securely, then install the seat, and on XTZ
models the side cover (see Chapter 8).
Scaned by Stalker
A
I
3
4
5
Содержание XTZ750
Страница 174: ...UNREGISTERED VI ScanedbyStalker UNREGISTERED VI ...
Страница 207: ...Wiring diagrams 9 29 _____Scaned by Stalker 5 l 6o Cxj fi I JICM ...
Страница 208: ...UNREGISTERED VI 9 30 Wiring diagrams UNREGISTERED VERSION 01 ONREGISTEREDVI Scaned by Stalker ONREGISTERED VERSION 0 ...
Страница 209: ...I UNREGISTERED VI Wiring diagrams 9 31 ____ Scaned by Stalker UNREGISTERED VERSION OF PICTURE DESK ...
Страница 210: ...9 32 Wiring diagrams Scaned by Stalker ...
Страница 211: ...XTZ750 gauge Starter circuit Neutral Starter cut off relay switch rnotor ...


