UNREGISTERED VI
Every 4000 miles (6000 km) or 6 months 1.21
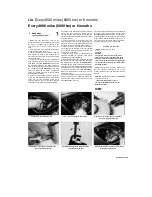
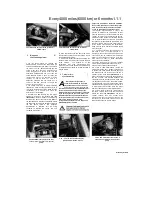
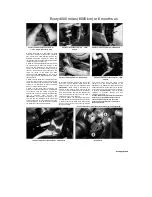
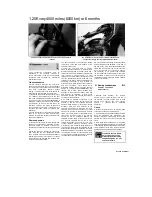
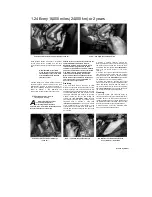
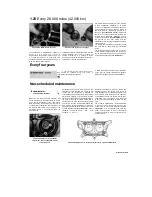
21,6a Slacken the fork clamp bolts
(arrowed)...
21.6b
. and unscrew the steering stem
nut
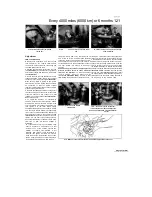
21.7 Ease the top yoke up off the steering
stem and forks
Adjustment
TDM and TRX models
5
Displace the handlebars from the top yoke
(see Chapter 6). On 1996-on TDM models,
unscrew the bolts securing the choke knob and
the cable guide to the top yoke.
6 Slacken the fork clamp bolts in the top yoke
(see illustration).
Unscrew the steering stem nut
and remove it along with its washer, where fitted
(see illustration).
7
Gently ease the top yoke upwards off the fork
tubes and position it clear, using a rag to protect
the tank or other components
(see illustration).
Make sure no strain is placed on the ignition
switch wiring. On TRX models the yoke should
be supported so that the master cylinder
reservoir remains upright and so that no strain is
placed on the hydraulic hose.
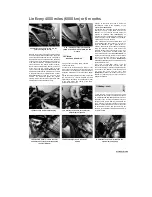
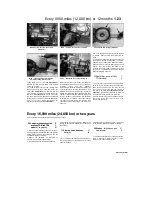
8 Remove the tabbed lockwasher, noting how it
fits, then unscrew and remove the Iocknut using
either a C-spanner, a peg spanner or a drift
located in one of the notches
(see illustrations).
Remove the washer.
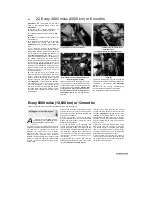
9 To adjust the bearings as specified by
Yamaha, a special service tool (part No. 90890-
01403) and a torque wrench are required. If the
tool is available, first slacken the adjuster nut,
then tighten it to the initial torque setting
specified at the beginning of the Chapter, making
sure the torque wrench handle is at right angles
(90°) to the centreline between the adjuster nut
and the wrench socket in the special tool
(see
illustration).
Now slacken the nut one turn, then
tighten it to the final torque setting specified.
Check that the steering is still able to move freely
from side to side, but that all freeplay is
eliminated.
10 If the Yamaha tool is not available, using
either a C-spanner, a peg spanner or a drift
located in one of the notches, slacken the
adjuster nut slightly until pressure is just
released, then tighten it until all freeplay is
removed, then tighten it a little more. This pre
loads the bearings. Now slacken the nut, then
tighten it again, setting it so that all freeplay is
just removed yet the steering is able to move
freely from side to side. To do this tighten the nut
only a little at a time, and after each tightening
repeat the checks outlined above (Steps 3 and 4)
until the bearings are correctly set. The object is to
set the adjuster nut so that the bearings are under a
very light loading, just enough to remove any
freeplay.
Caution: Take great care not to apply excessive
pressure because this will cause premature
failure of the bearings.
11
With the bearings
correctly adjusted, install the washer and the
Iocknut
(see illustration 22.8b).
On 1991 to 1995
TDM models the tapered side of the Iocknut must
2
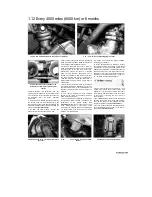
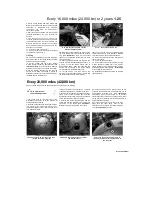
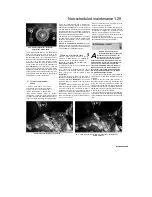
1.8b ... then unscrew the Iocknut (A),
remove the washer (B), and adjust the
bearings as described using the adjuster
nut (C)
21.9 Make sure the torque wrench arm is at right angles (90°) to the tool
Staned by Stalker
UNREGISTERED VERSION OF PICTURE-DESK
face down. Tighten the Iocknut finger-tight, then
tighten it further until its notches align with those
in the adjuster nut. If necessary, counter-hold the
adjuster nut and tighten the Iocknut using a C-
spanner or drift until the notches align, but make
sure the adjuster nut does not turn as well. Install
the tabbed lockwasher so that the tabs fit into the
notches in both the Iocknut and adjuster nut
(see
illustration 22.8a). 12
Fit the top yoke onto the
steering stem
(see illustration 22.7),
then install
the washer (where fitted) and steering stem nut;
tighten the nut to the torque setting specified at
the beginning of the Chapter
(see
21.8a Remove the tabbed
lockwasher...
Содержание XTZ750
Страница 174: ...UNREGISTERED VI ScanedbyStalker UNREGISTERED VI ...
Страница 207: ...Wiring diagrams 9 29 _____Scaned by Stalker 5 l 6o Cxj fi I JICM ...
Страница 208: ...UNREGISTERED VI 9 30 Wiring diagrams UNREGISTERED VERSION 01 ONREGISTEREDVI Scaned by Stalker ONREGISTERED VERSION 0 ...
Страница 209: ...I UNREGISTERED VI Wiring diagrams 9 31 ____ Scaned by Stalker UNREGISTERED VERSION OF PICTURE DESK ...
Страница 210: ...9 32 Wiring diagrams Scaned by Stalker ...
Страница 211: ...XTZ750 gauge Starter circuit Neutral Starter cut off relay switch rnotor ...

