1.28
Every 28,000 miles (42,000 km)
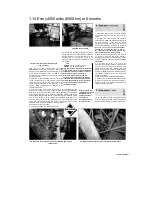
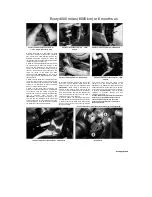
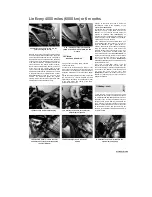
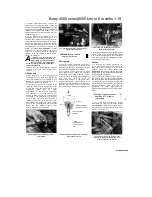
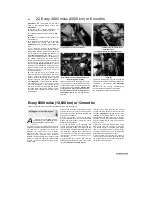
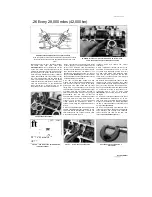
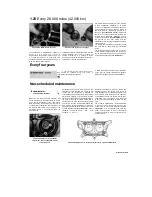
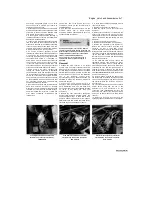
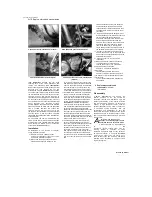
28.13 Fit the follower onto the valve
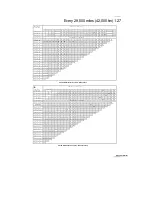
the existing shim is marked with a number not
ending in 0 or 5, round it up or down as
appropriate to the nearest number ending in 0 or
5 so that the chart can be used.
Shims are
available in 0.05 mm increments from 1.20 mm to
2.40 mm.
Note:
If the required
Every four years
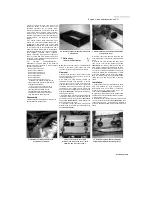
28.15 Use new O-rings on the plugs
replacement shim is greater than 2.40 mm (the
largest available), the valve is probably not
seating correctly due to a build-up of carbon
deposits and should be checked and cleaned or
resurfaced as required (see Chapter 2).
13
Obtain the replacement shim, then lubricate
it with molybdenum disulphide oil (a 50/50
mixture of molybdenum disulphide grease and
engine oil) and fit it into its recess in the top of
the valve, with the size marking on each shim
facing up
(see illustration 28.10c).
Check that
the shim is correctly seated, then lubricate the
follower with molybdenum disulphide oil and
install it onto the valve
(see illustration).
Repeat
the process for any other valves until the
clearances are correct, then install the camshafts
(see Chapter 2).
14 Rotate the crankshaft several turns to seat
the new shim(s), then check the clearances
again.
15
Install all disturbed components in a reverse
of the removal sequence. Use new O-rings on
the timing inspection plug and centre plug and
tighten the plugs securely
(see illustration).
2 Refer to Chapter 7 and disconnect the brake
hoses from the master cylinders and calipers.
Always renew the banjo union sealing washers.
Non-scheduled maintenance
30 Headlight aim
-
^
check and adjustment
fg
Note:
An improperly adjusted headlight may
cause problems for oncoming traffic or provide
poor, unsafe illumination of the road ahead.
Before adjusting the headlight aim, be sure to
consult with local traffic laws and regulations - for
UK models refer to MOT Test Checks in the
Reference section.
1 The headlight beam can
adjusted both
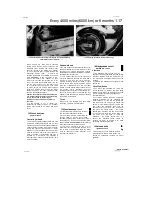
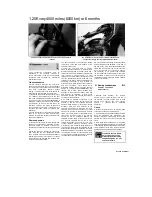
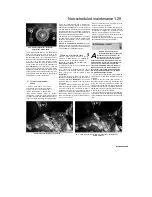
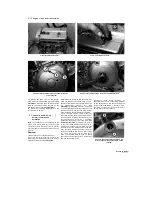
30.2 Vertical adjuster (A), horizontal
adjuster (B) -1991 to 1995 TDM models
and XTZ models
horizontally and vertically. Before making any
adjustment, check that the tyre pressures are
correct and the suspension is adjusted as
required. Make any adjustments to the headlight
aim with the machine on level ground, with the
fuel tank half full and with an assistant sitting on
the seat. If the bike is usually ridden with a
passenger on the back, have a second assistant
to do this. 2 On 1991 to 1995 TDM models and
XTZ models, vertical adjustment is made by
turning the adjuster screw on the top outer corner
of each headlight unit
(see illustration).
Turn it
clockwise to raise the beam, and anti-
clockwise to lower it.
Horizontal adjustment is made by turning the
adjuster screw on the bottom inner corner of
each headlight unit. For the left-hand beam, turn
it clockwise to move the beam to the right, and
anti-clockwise to move it to the left. For the right-
hand beam, turn it clockwise to move the beam
to the left, and anti-clockwise to move it to the
right.
3 On 1996-on TDM models, vertical adjustment
is made by turning the adjuster screw on the
bottom outer corner of each headlight unit
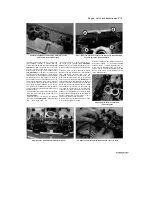
(see
illustration).
Turn it anticlockwise to raise the
beam, and clockwise to lower it. Horizontal
adjustment is made by turning the adjuster screw
on the top outer
Staned by Stalker
1
The hoses will in time deteriorate with age ^
and should be renewed every four years J^
regardless of their apparent condition.
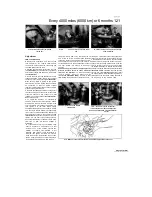
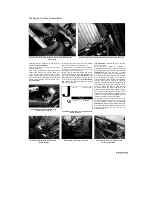
30.3 Vertical adjusters (1), horizontal adjusters (2) - 1996-on TDM models
Содержание XTZ750
Страница 174: ...UNREGISTERED VI ScanedbyStalker UNREGISTERED VI ...
Страница 207: ...Wiring diagrams 9 29 _____Scaned by Stalker 5 l 6o Cxj fi I JICM ...
Страница 208: ...UNREGISTERED VI 9 30 Wiring diagrams UNREGISTERED VERSION 01 ONREGISTEREDVI Scaned by Stalker ONREGISTERED VERSION 0 ...
Страница 209: ...I UNREGISTERED VI Wiring diagrams 9 31 ____ Scaned by Stalker UNREGISTERED VERSION OF PICTURE DESK ...
Страница 210: ...9 32 Wiring diagrams Scaned by Stalker ...
Страница 211: ...XTZ750 gauge Starter circuit Neutral Starter cut off relay switch rnotor ...

