o.io Daily (pre-ride) checks
Note:
The daily (pre-ride) checks outlined in the owner's manual covers those items which should be inspected on a daily basis.
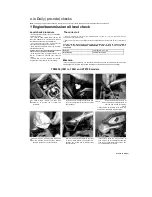
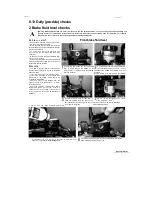
1 Engine/transmission oil level check
Level check procedure
• Position the bike upright (not on its sidestand)
on a level surface.
• On 1991 to 1995 TDM models, remove the
seat (see Chapter 8). On XTZ models, remove
the right-hand side cover (see Chapter 8).
• Check the oil level as shown in the appropriate
photo sequence and top up if necessary.
• Now start the engine and warm it up to normal
operating temperature.
Caution: Do not run the engine in an enclosed
space such as a garage or workshop.
• With the bike still in an upright position, let it
idle for a further 10 seconds then stop the
engine.
• Taking care to avoid scalding your hands,
recheck the oil level and top up if necessary.
The correct oil
• Modern, high-rewing engines place great demands on their oil. It is very important that the
correct oil for your bike is used.
• Always top up with a good quality oil of the specified type and viscosity and do not overfill the oil
tank.
Caution: Yamaha advise against using chemical oil additives, or oils with a grade of SH/CD
or higher, or oils labelled ENERGY CONSERVING II. Such additives or oils could cause
clutch slip.
Oil type
API grade SE, SF or SG
Oil viscosity
SAE10W30or10W40
Bike care:
• If you have to add oil frequently, you should check whether you have any oil leaks. If there is no sign
of oil leakage from the joints and gaskets the engine could be burning oil (see
Fault Finding).
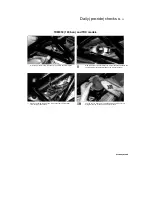
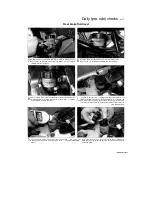
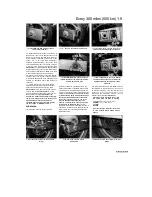
TDM850 (1991 to 1995) and XTZ750 models
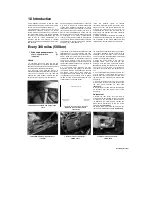
On TDM models, remove the seat (see
Chapter 8) to access the oil filler cap
(arrowed).
On XTZ models, remove the right-hand side
cover (see Chapter 8) to access the oil filler
cap (arrowed).
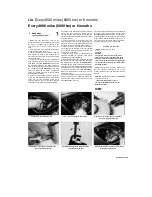
nscrew the oil filler cap from the oil
tank. The dipstick is integral with the oil
filler cap, and is used to check the
engine
oil level. Check the condition of the cap O-ring
and renew it if damaged or deteriorated.
Using a clean rag or paper towel, wipe all oil
from the dipstick. Insert the clean dipstick
back into the tank, but do not screw it in.
Remove the dipstick and observe the level
of the oil, which should be somewhere in
between the F (full) and E (empty) level
lines (arrowed).
If the level is below the E line, top the oil
tank up with the recommended grade and
type of oil, to bring the level up to the F line
on the dipstick. Do not overfill.
Scaned by Stalker
I
3Un tar
4
Содержание XTZ750
Страница 174: ...UNREGISTERED VI ScanedbyStalker UNREGISTERED VI ...
Страница 207: ...Wiring diagrams 9 29 _____Scaned by Stalker 5 l 6o Cxj fi I JICM ...
Страница 208: ...UNREGISTERED VI 9 30 Wiring diagrams UNREGISTERED VERSION 01 ONREGISTEREDVI Scaned by Stalker ONREGISTERED VERSION 0 ...
Страница 209: ...I UNREGISTERED VI Wiring diagrams 9 31 ____ Scaned by Stalker UNREGISTERED VERSION OF PICTURE DESK ...
Страница 210: ...9 32 Wiring diagrams Scaned by Stalker ...
Страница 211: ...XTZ750 gauge Starter circuit Neutral Starter cut off relay switch rnotor ...


