Every 300 miles (500 km) 1.9
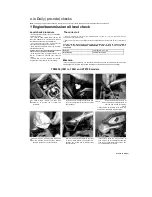
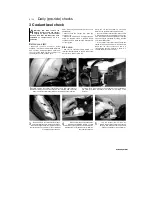
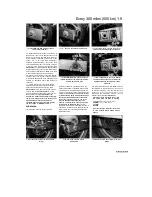
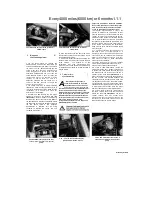
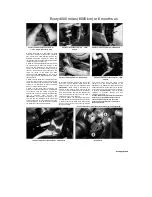
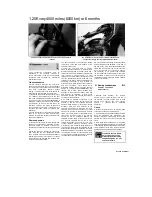
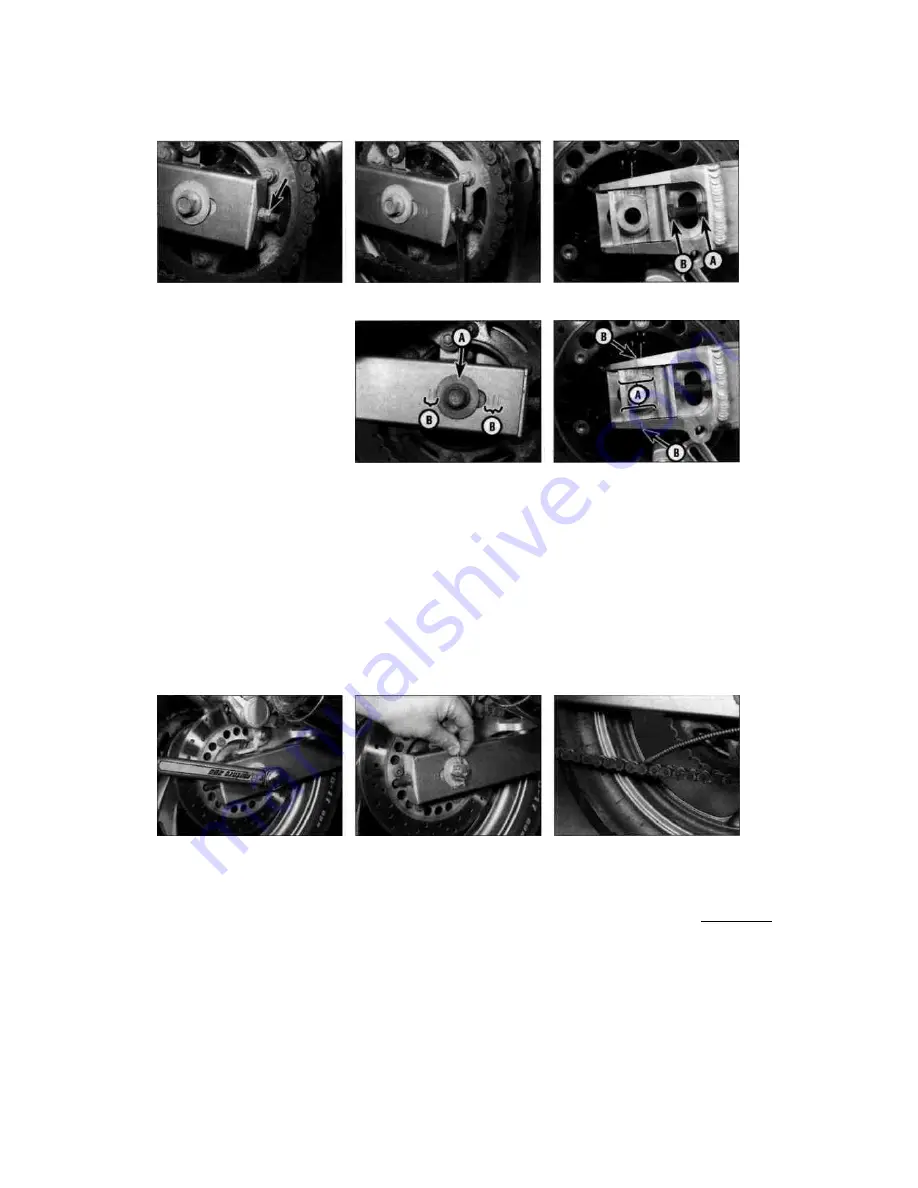
1.11a On TDM and XTZ models, slacken
the locknut (arrowed)...
1.11b ... and turn the adjuster as required
1.11c On TRX models, slacken the locknut
(A) and turn the adjuster (B) as required
11
Slacken the adjuster locknut on each side of
the swingarm, then turn the adjusters evenly until
the amount of freeplay specified at the beginning
of the Chapter is obtained at the centre of the
bottom run of the chain
(see
illustrations).
Following chain adjustment, check that each
chain adjustment marker is in the same position
in relation to the marks on the swingarm
(see
illustrations).
It is important each adjuster aligns
with the same notch; if not, the rear wheel will be
out of alignment with the front.
Note:
If you need
to check wheel alignment refer to Chapter 7.
12
If there is a discrepancy in the chain adjuster
positions, adjust one of them so that its position
is exactly the same as the other. Check the chain
freeplay as described above and readjust if
necessary.
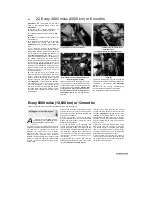
13 Tighten the axle nut to the torque setting
specified at the beginning of the Chapter, then
tighten the adjuster locknuts securely
(see
Illustration).
Where removed, fit a new split pin
onto the axle nut
(see illustration).
On TDM
models, tighten the brake caliper bracket bolt to
the specified torque
(see illustration 1.9).
Caution: On models with a split pin securing
the axle nut, if the groove in the nut does not
align with the hole in the axle after the
specified torque has been reached, tighten
the nut to align it - DO NOT loosen it.
Lubrication
14
If required, wash the chain in paraffin
l.Hd
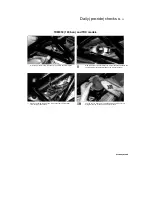
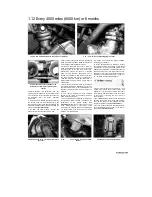
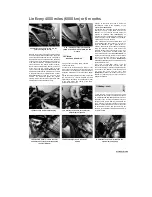
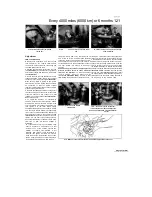
On TDM and XTZ models, check the
relative position of the marker (A) and the
notches (B) on each side
(kerosene), then wipe it off and allow it to dry,
using compressed air if available. If the chain is
excessively dirty it should be removed from the
machine and allowed to soak in the paraffin (see
Chapter 6).
Caution: Don't use petrol, solvent
or other cleaning fluids which might damage
the internal sealing properties of the chain.
Don't use high-pressure water. The entire
process shouldn't take longer than ten
minutes - if it does, the O-rings in the chain
rollers could be damaged.
15
For routine
lubrication, the best time to lubricate the chain is
after the motorcycle has been ridden. When the
chain is warm, the lubricant will penetrate the
joints between the
1.110 On TRX models, check the relative
position of the notches on the marker (A)
and the notches in the swingarm (B) on
each side
side plates better than when cold.
Note:
Yamaha
specifies SAE 30 to 50W engine oil; you can use
an aerosol chain lube, but make sure that it is
suitable for O-ring chains.
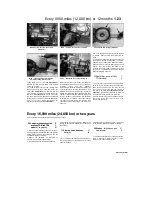
Apply the oil to the
area where the side plates overlap - not the
middle of the rollers
(see illustration).
centrifugal force will work the oil into
the chain when the bike is moving.
After applying the lubricant, let it soak
in a few minutes before wiping off any
excess.
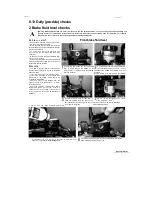
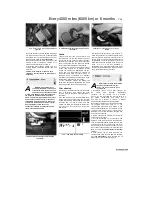
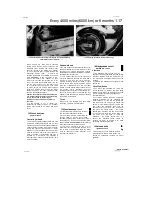
1.13a Tighten the axle nut to the specified
torque
1.13b Use a new split pin, where
appropriate
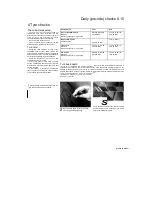
1.15 Apply the oil to the overlap in the side
plates
Staned by Stalker
JJOTJT3I
A
PPly the oil to the top of
UhjIMKI
tne
i
ower
chain run, so
HINT
Содержание XTZ750
Страница 174: ...UNREGISTERED VI ScanedbyStalker UNREGISTERED VI ...
Страница 207: ...Wiring diagrams 9 29 _____Scaned by Stalker 5 l 6o Cxj fi I JICM ...
Страница 208: ...UNREGISTERED VI 9 30 Wiring diagrams UNREGISTERED VERSION 01 ONREGISTEREDVI Scaned by Stalker ONREGISTERED VERSION 0 ...
Страница 209: ...I UNREGISTERED VI Wiring diagrams 9 31 ____ Scaned by Stalker UNREGISTERED VERSION OF PICTURE DESK ...
Страница 210: ...9 32 Wiring diagrams Scaned by Stalker ...
Страница 211: ...XTZ750 gauge Starter circuit Neutral Starter cut off relay switch rnotor ...

